Monkeys' Company


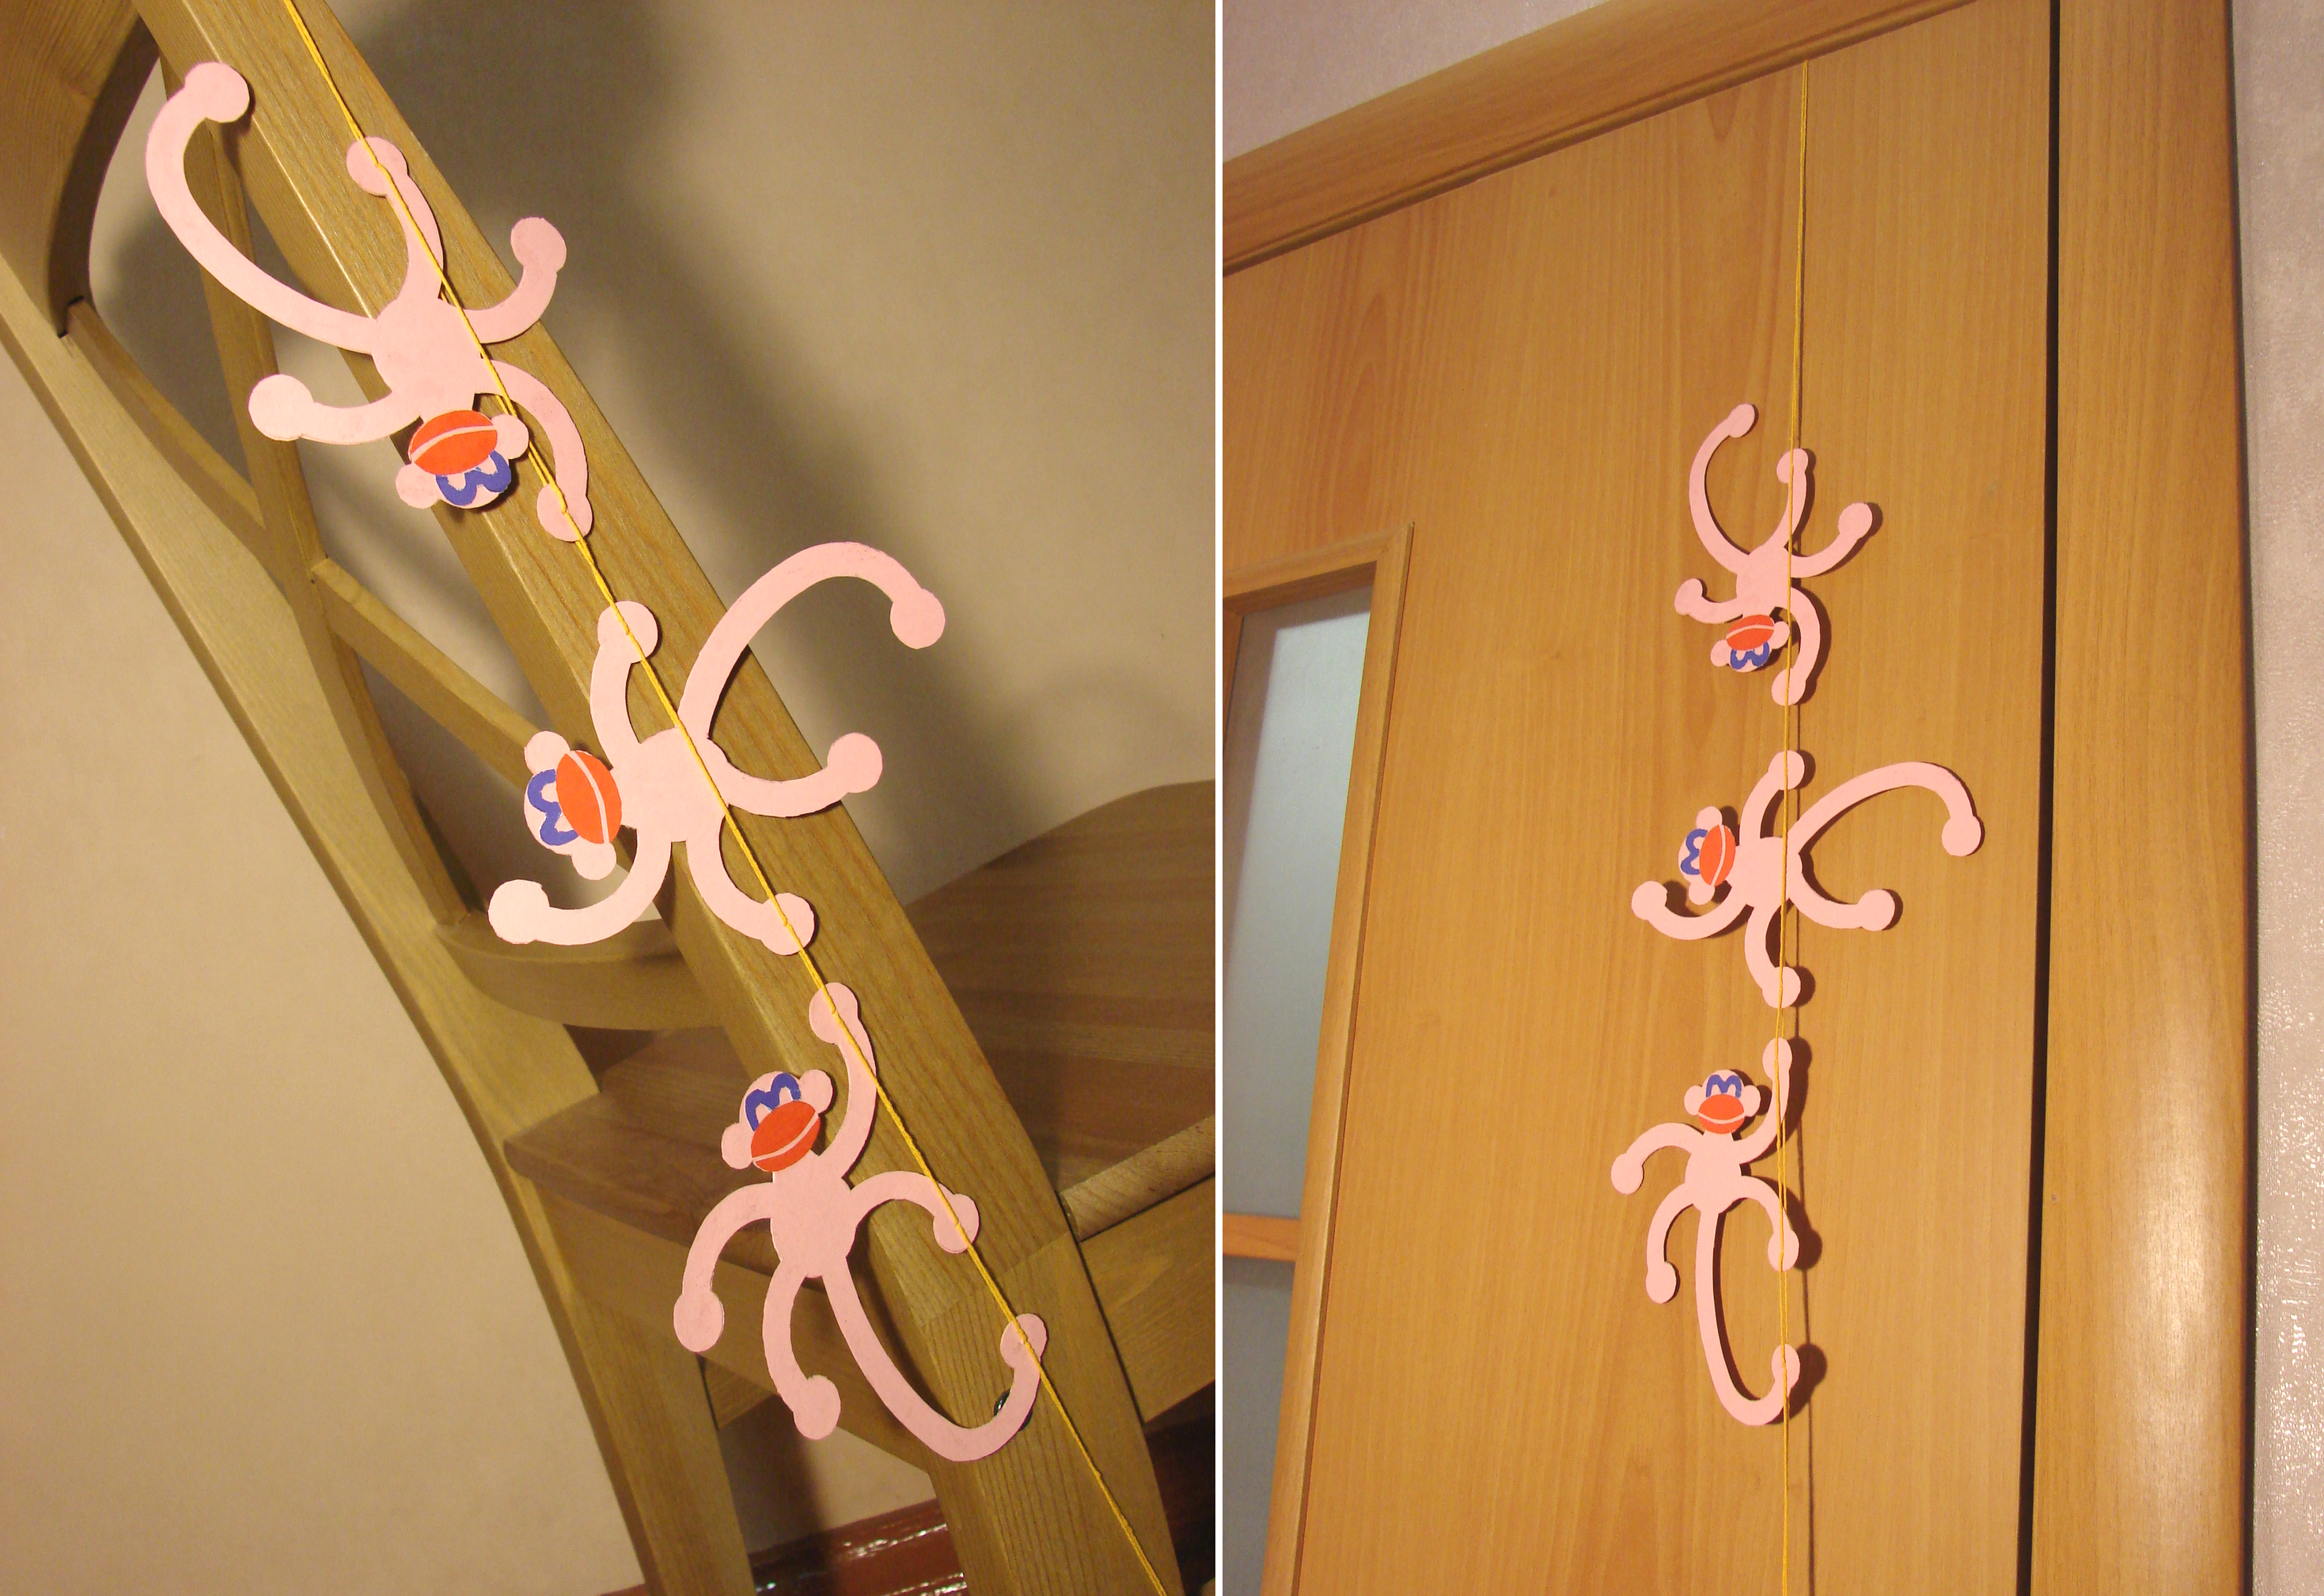
Monkeys.. monkeys.. monkeys! They are always full of funny. More monkeys – more funny. Invite them to live in your kitchen or living room. Don't be afraid about your house order, they will be always on a rather short leash.
Tools and Materials

Tools:
- PC+printer (for drawings printing) or pencil+eraser (for manual drawing);
- maximum convenient scissors;
- small awl or needle;
- paper glue (a bit);
- ruler (line)
Materials:
- A4 paper sheets (>120 g/m2) – 3..4 items;
- twine or thread (D=1..2 mm) – 1..2 m;
- small pieces of any color paper
Preparing of the Drawings


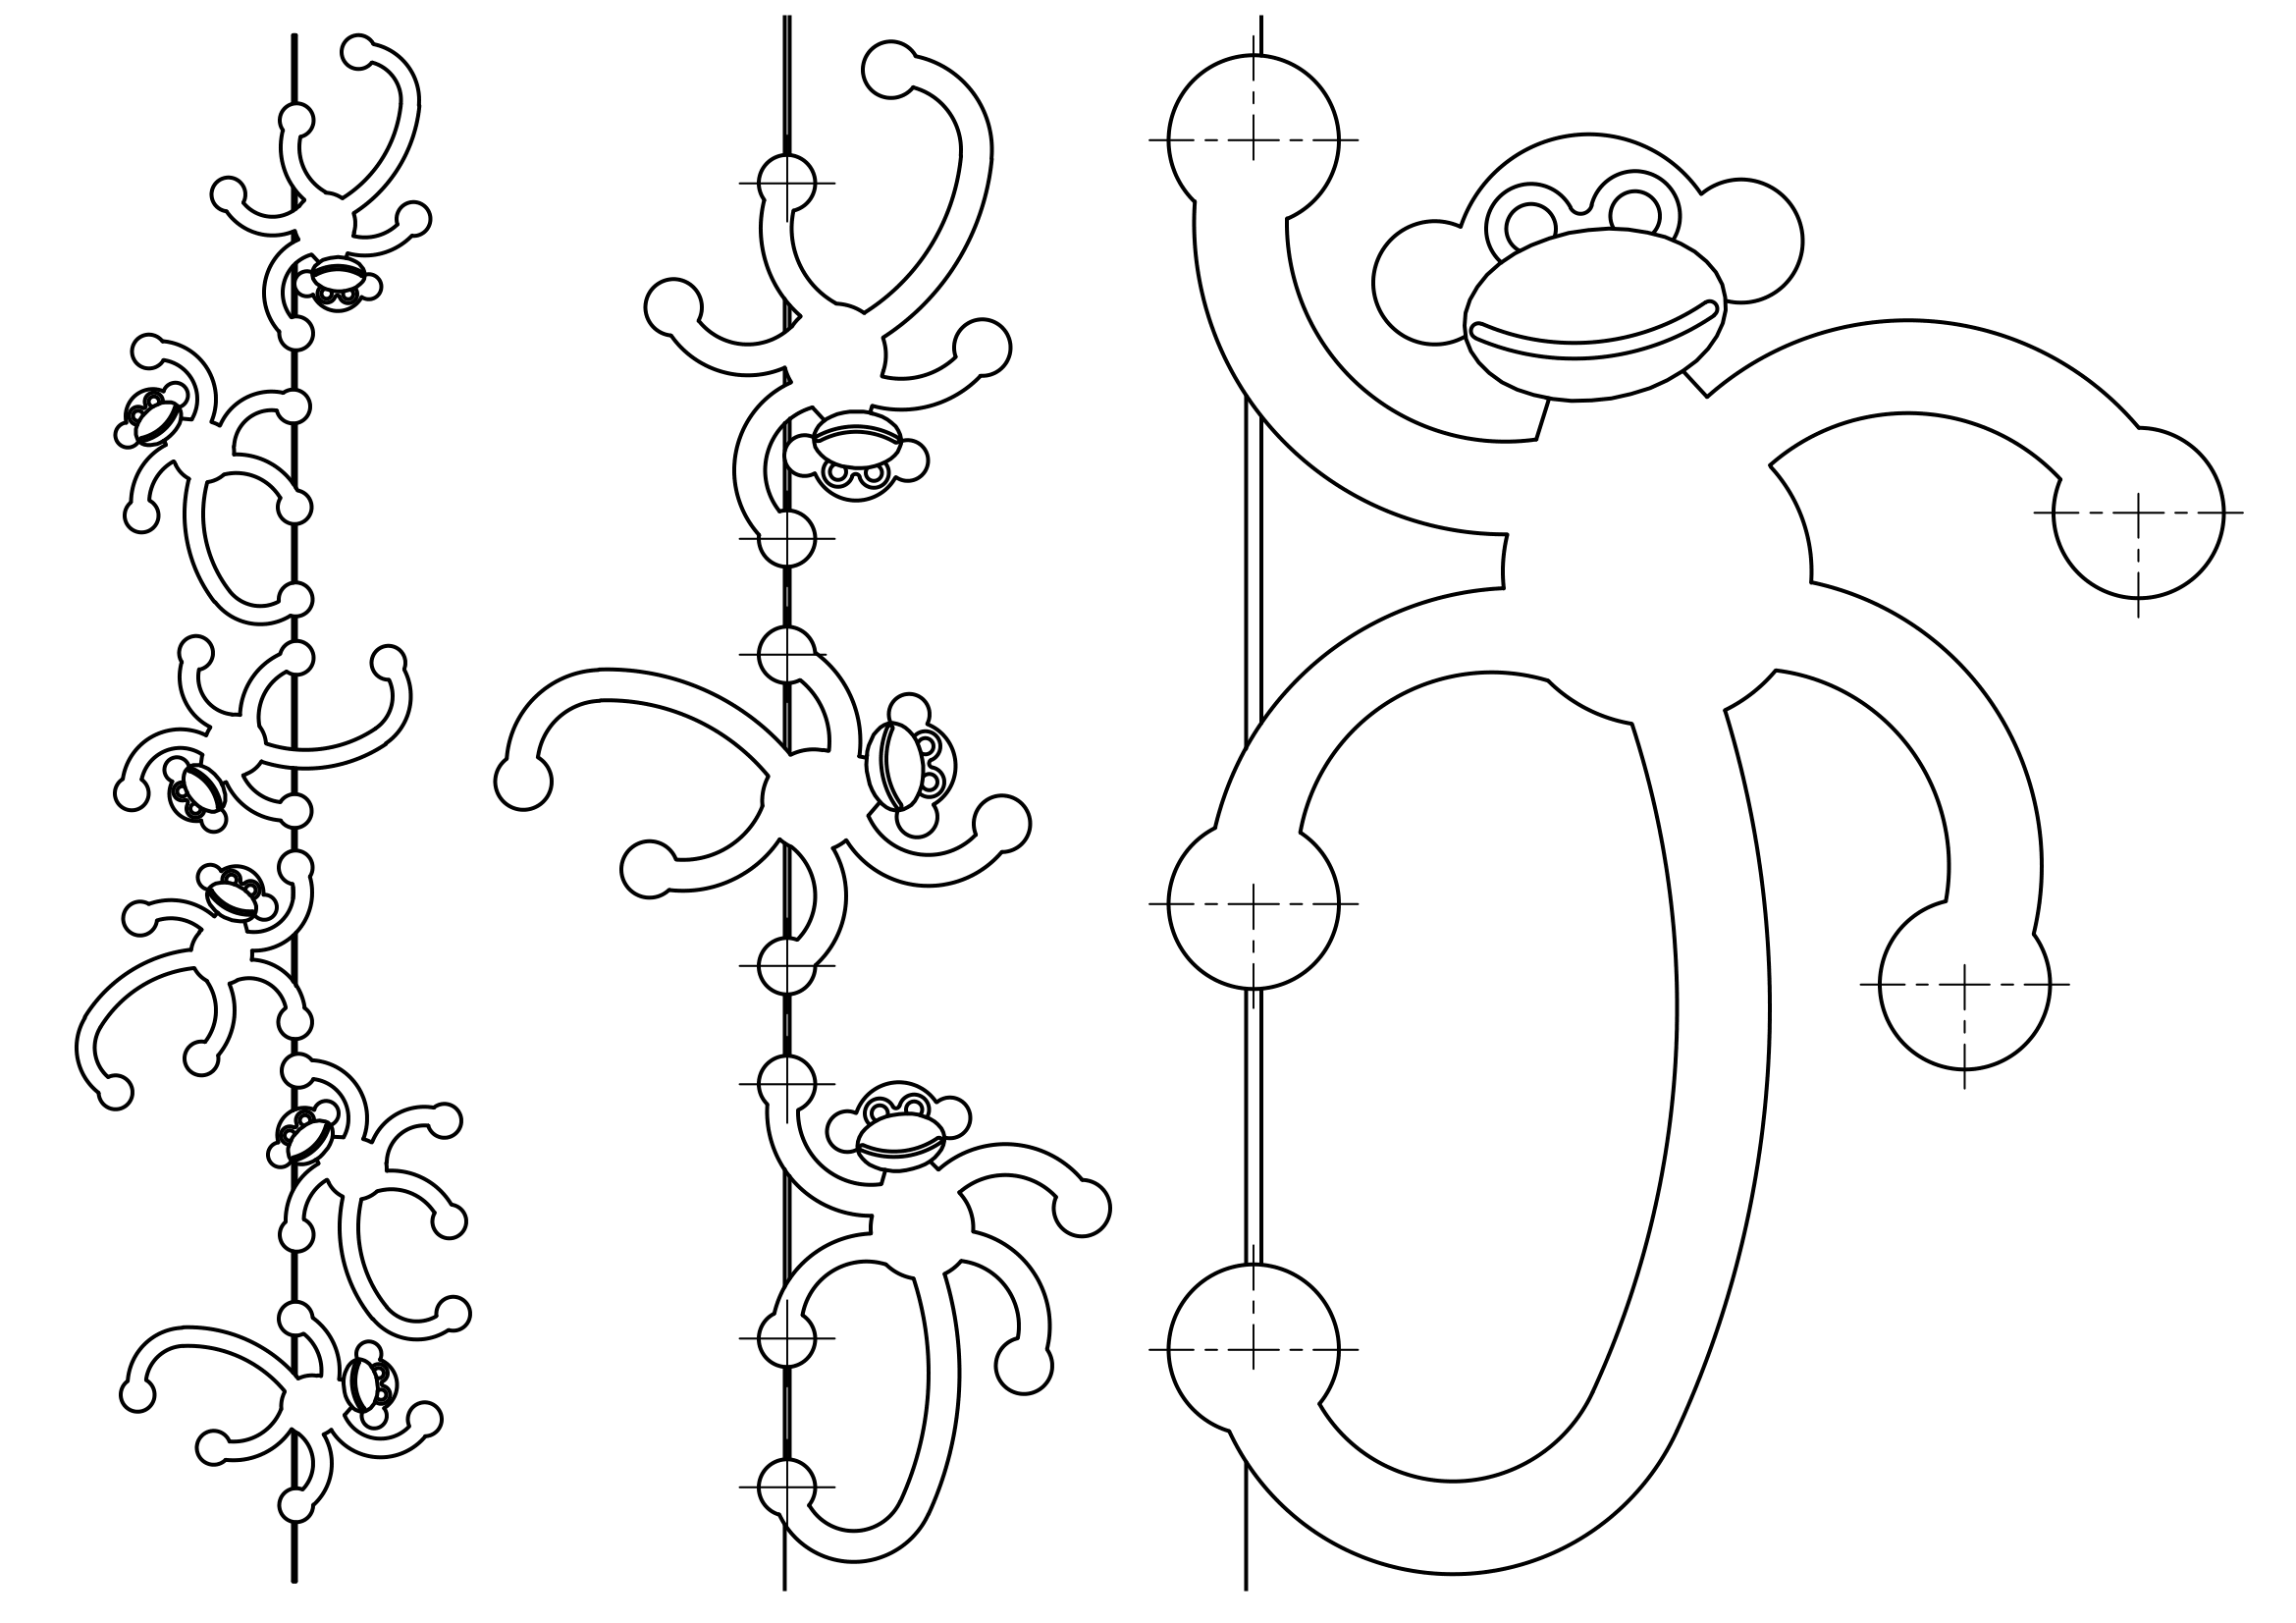
You can print sample drawings or make your own manually on the sheets of thick paper (with density a bit greater than 120 g/m2). Plan your job (and forces) – each monkey needs to be cut around the contour! Round elements on the top of each hand or foot (or tail) will be used to organize monkeys' party.
Cutting the Items


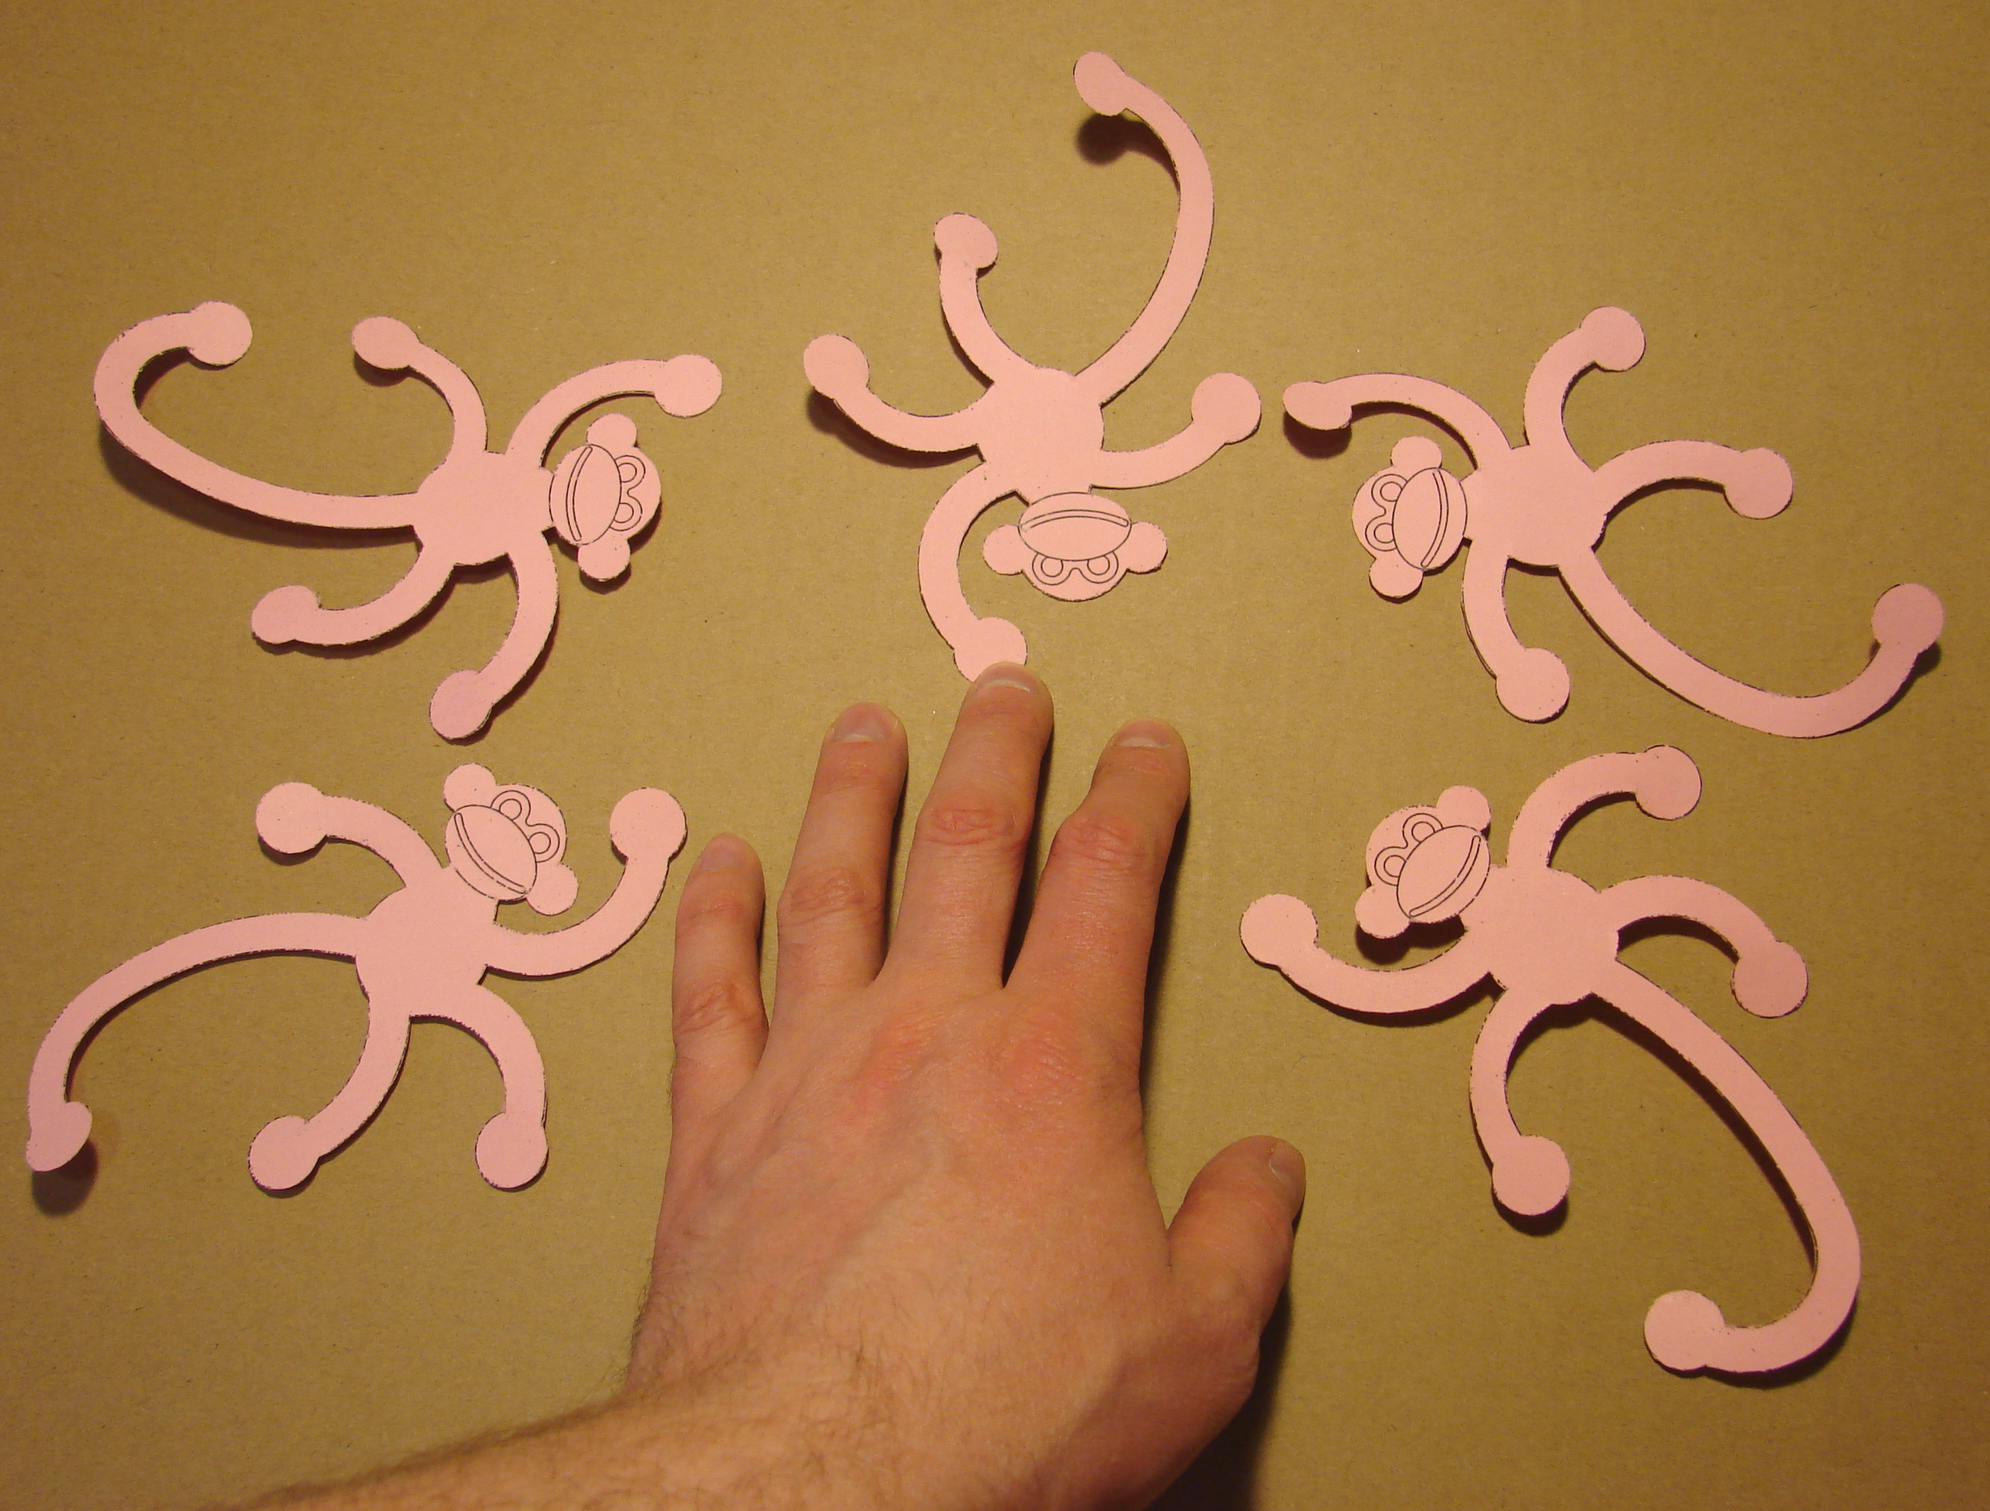
The most monkeys' step (;-)) – cut each figure around the contour. You need to make as many monkeys as you can!
Composing


Collect your monkeys' team and arrange them in appropriate sequence and orientation.
A Small Make-up


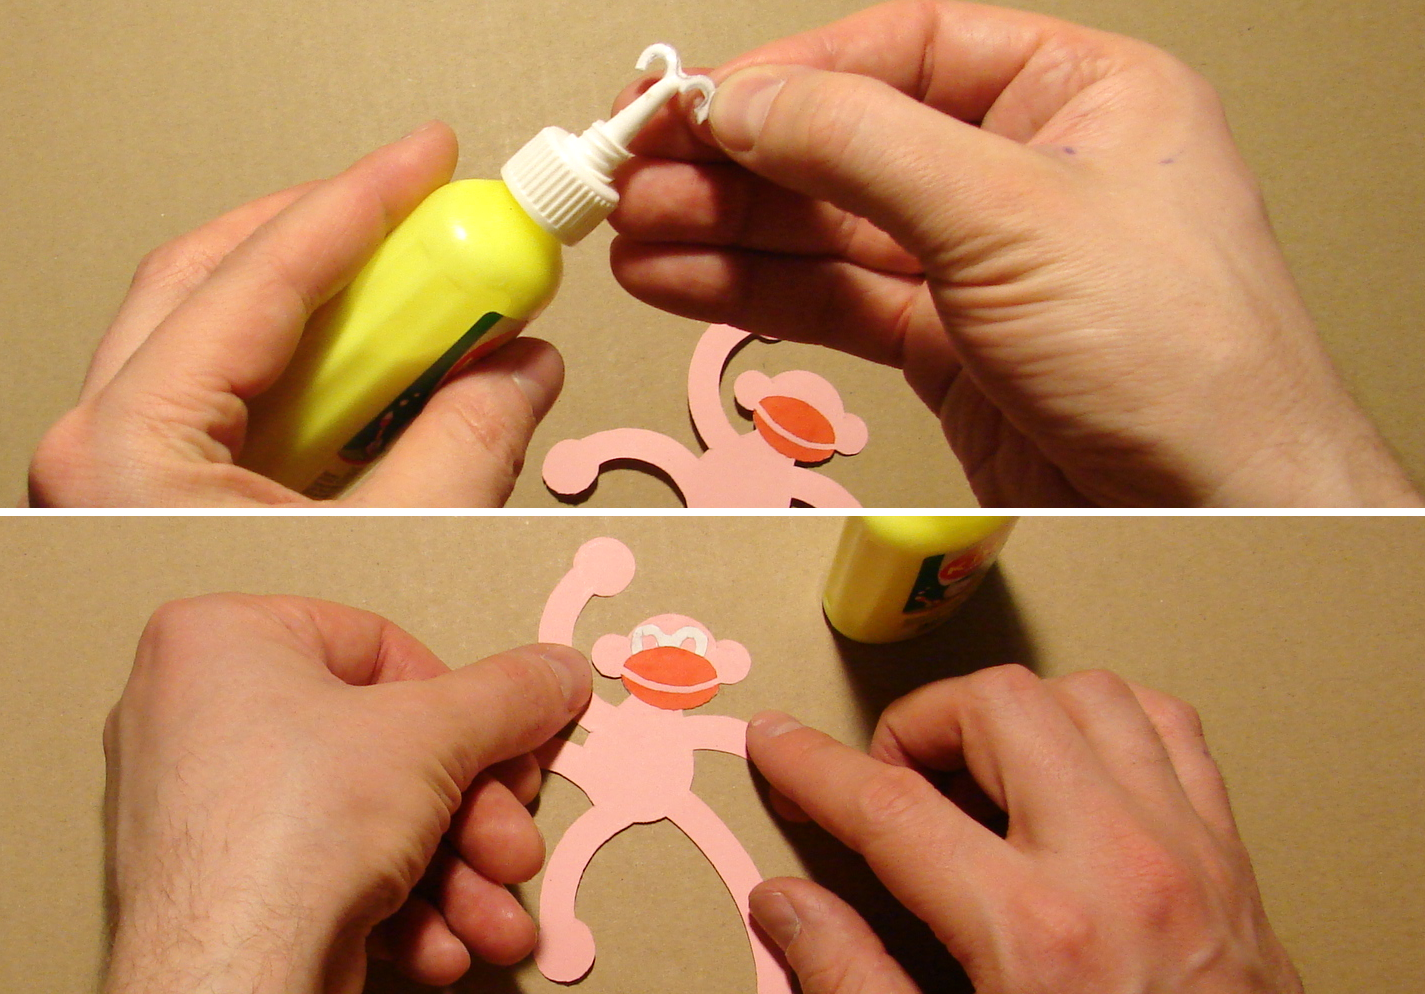
Each monkey needs to have a face. Use small pieces of color paper and glue.
Assembling


Make holes (with awl or needle) on the all-round elements (on monkeys' figures) according to a composing plan. To fix each arm or foot (or tail) on the twine skip the loop of twine in the hole on a monkeys' figure and use a small paper chip or twine as a lock. Such mounting will give you opportunity to make any changes in final assembly (without items breaking). Fasten all the monkeys on the twine.
Installation


Mount the twine with monkeys on suitable surface. At any place your monkeys they will make themselves at home!