Mr. Bean's Teddy

by visionaryartaka in Craft > Sewing

1848 Views, 18 Favorites, 0 Comments

Mr. Bean's Teddy

IMG_20210707_102343.jpg
20210707-3_1080p (3).gif
IMG_20210703_185320.jpg
IMG_20210706_172434.jpg
PicsArt_07-06-05.01.31.jpg
20210707-4_1080p.gif
IMG_20210706_172951.jpg
IMG_20210706_173559.jpg
IMG_20210706_173918.jpg
IMG_20210706_173818.jpg
IMG_20210706_173321.jpg
IMG_20210706_174109.jpg
IMG_20210704_140259.jpg
IMG_20210706_173435.jpg
PicsArt_07-08-09.56.44.jpg
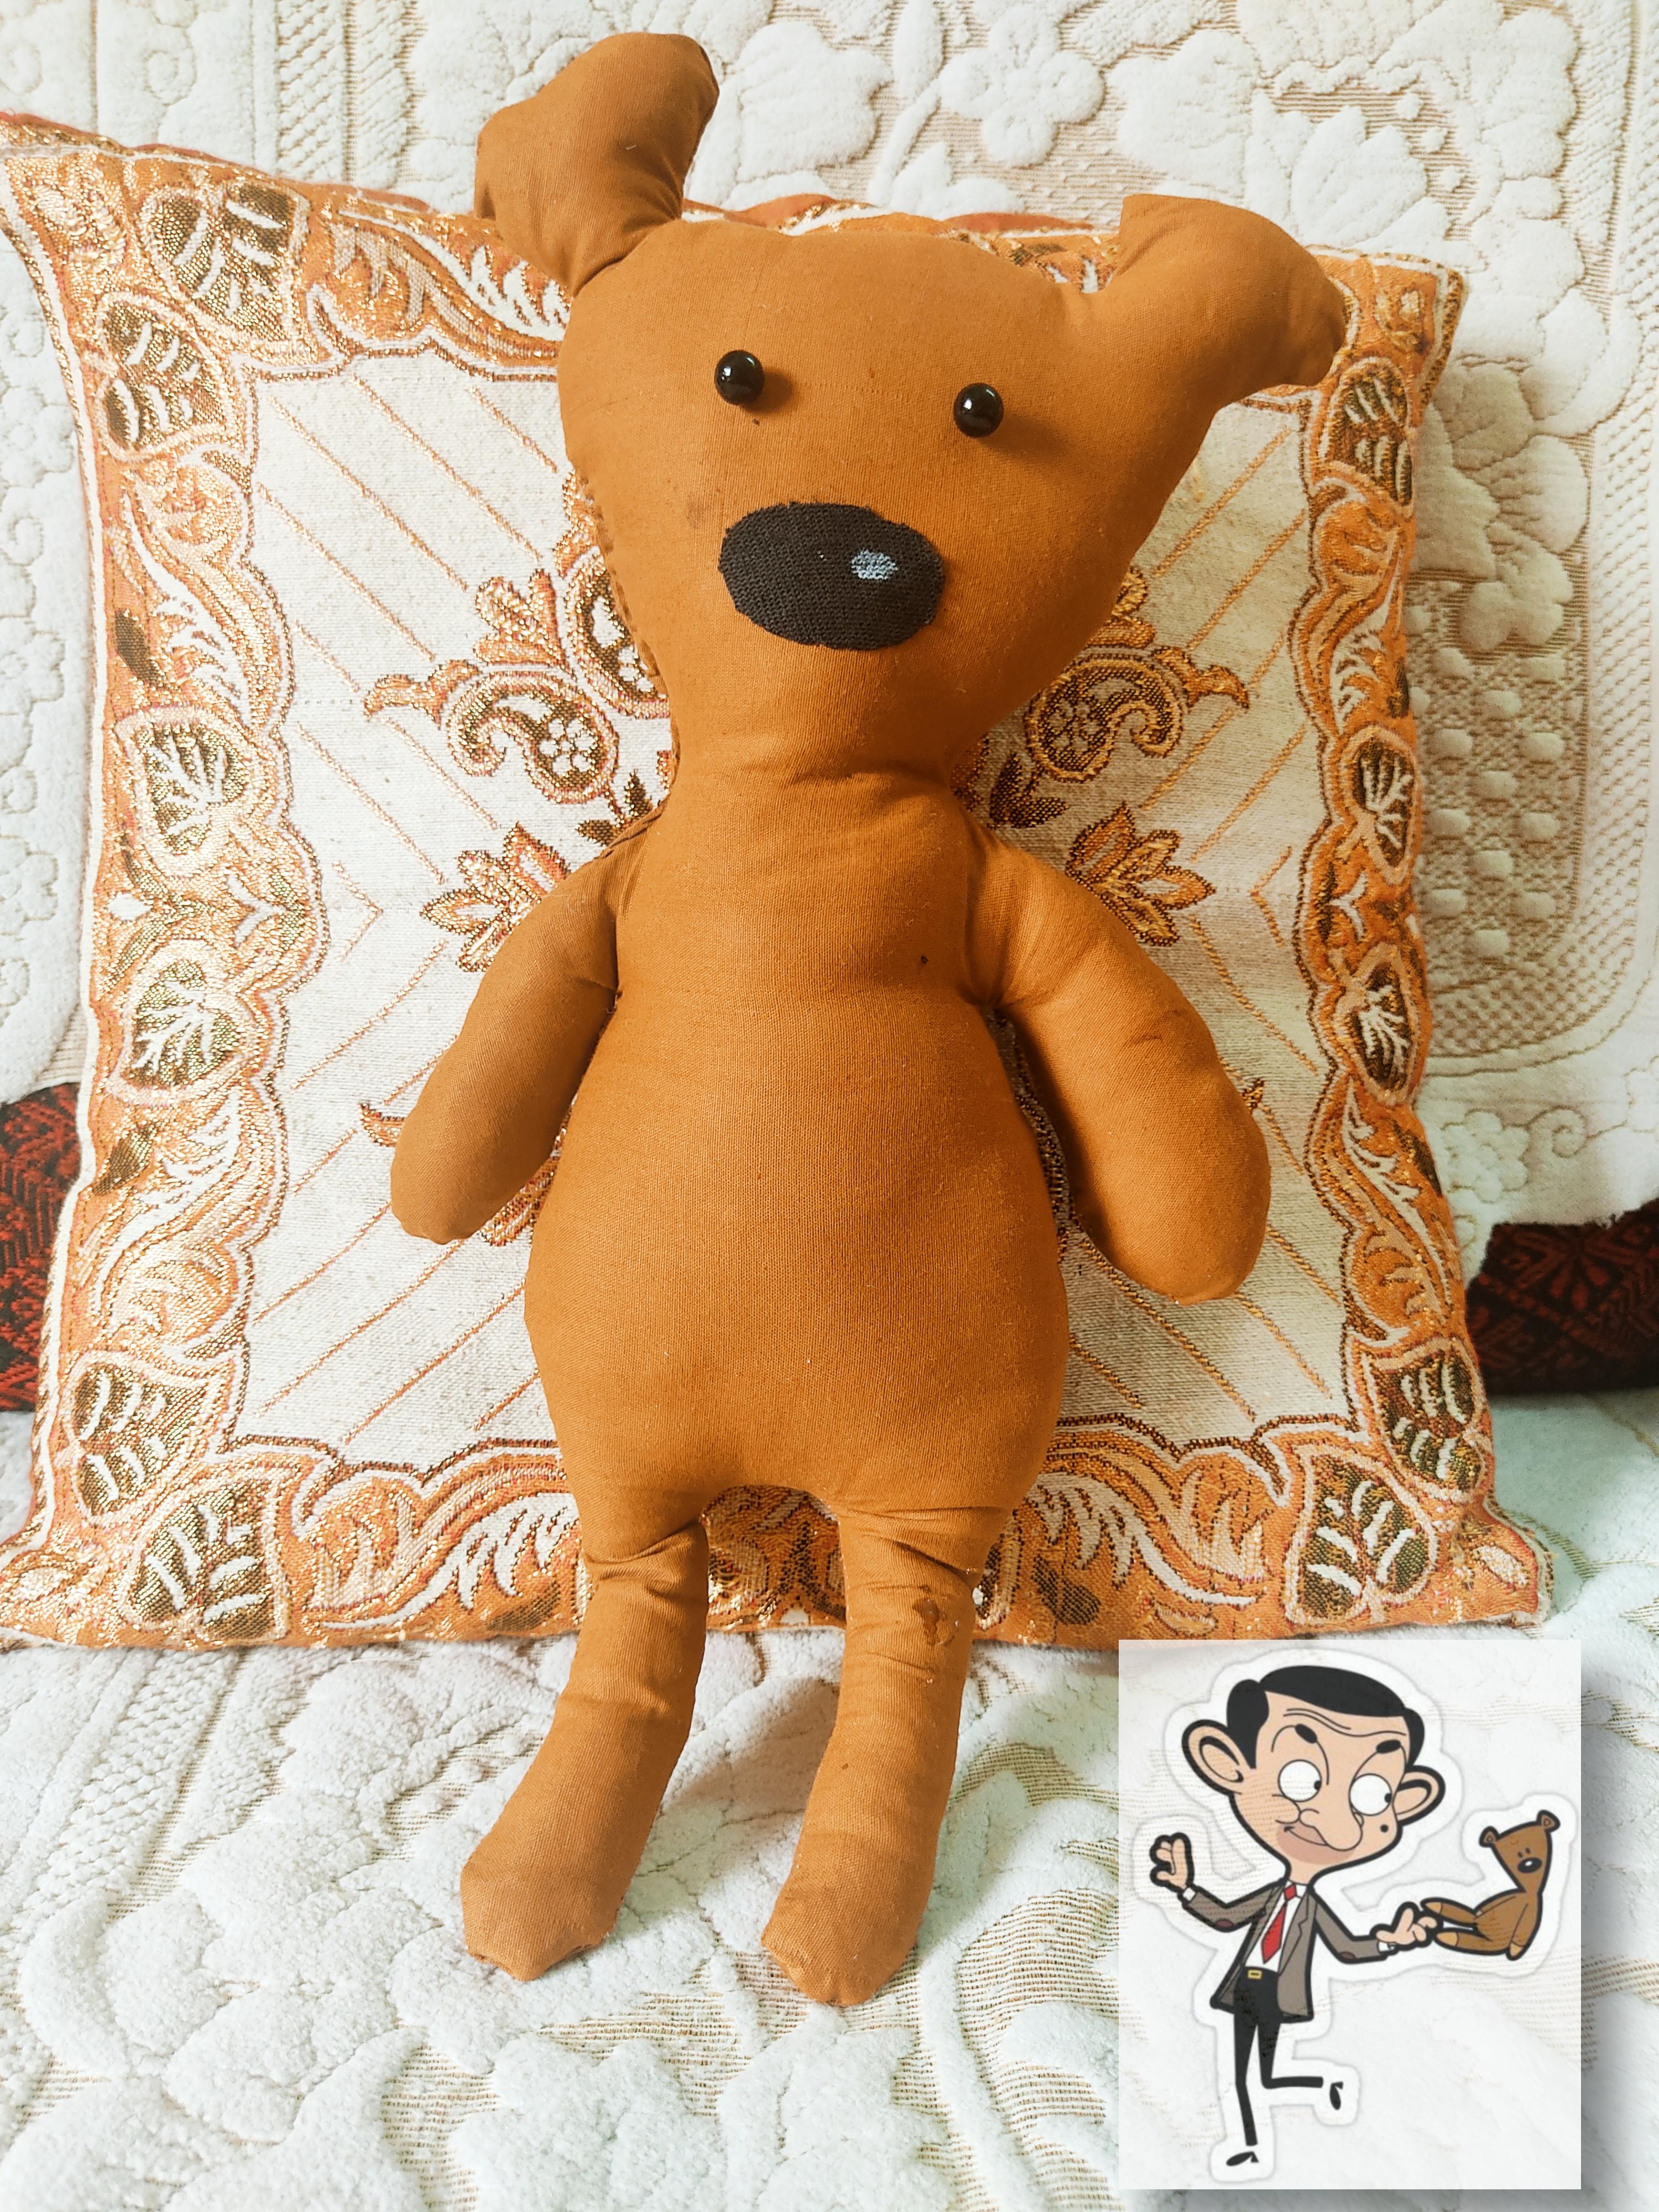
Mr. Bean has been a part of everyone's childhood. I loved watching Mr. Bean, I enjoy it even now. The way he brings smile on countless faces without even uttering a word is admirable. I always wanted the teddy he carries around so I made the teddy with the materials I had at hand.

Supplies

A Brown piece of cloth
Chalk
Sewing machine
Thread
Needle
Cotton
Black socks
Black beads
Glue
Scissors

Draw a Rough Sketch of Teddy on a Price of Brown Cloth

IMG_20210706_172434.jpg
PicsArt_07-06-05.01.31.jpg

Tak a piece of brown cloth and fold it from between. Next draw the teddy on one side of the cloth using a piece of chalk.

Sewing

IMG_20210706_172722.jpg
IMG_20210706_172626.jpg
20210708_1080p(1).gif

Sew along the drawn line using a sewing machine. Leave a side of the cloth unstitched in order to turn it inside out later.

Cutting and Turning Teddy Inside Out

IMG_20210706_172951.jpg
20210707-4_1080p.gif
20210707-6_1080p.gif
IMG_20210706_173321.jpg
IMG_20210703_174513.jpg
IMG_20210703_174221.jpg
IMG_20210706_173435.jpg

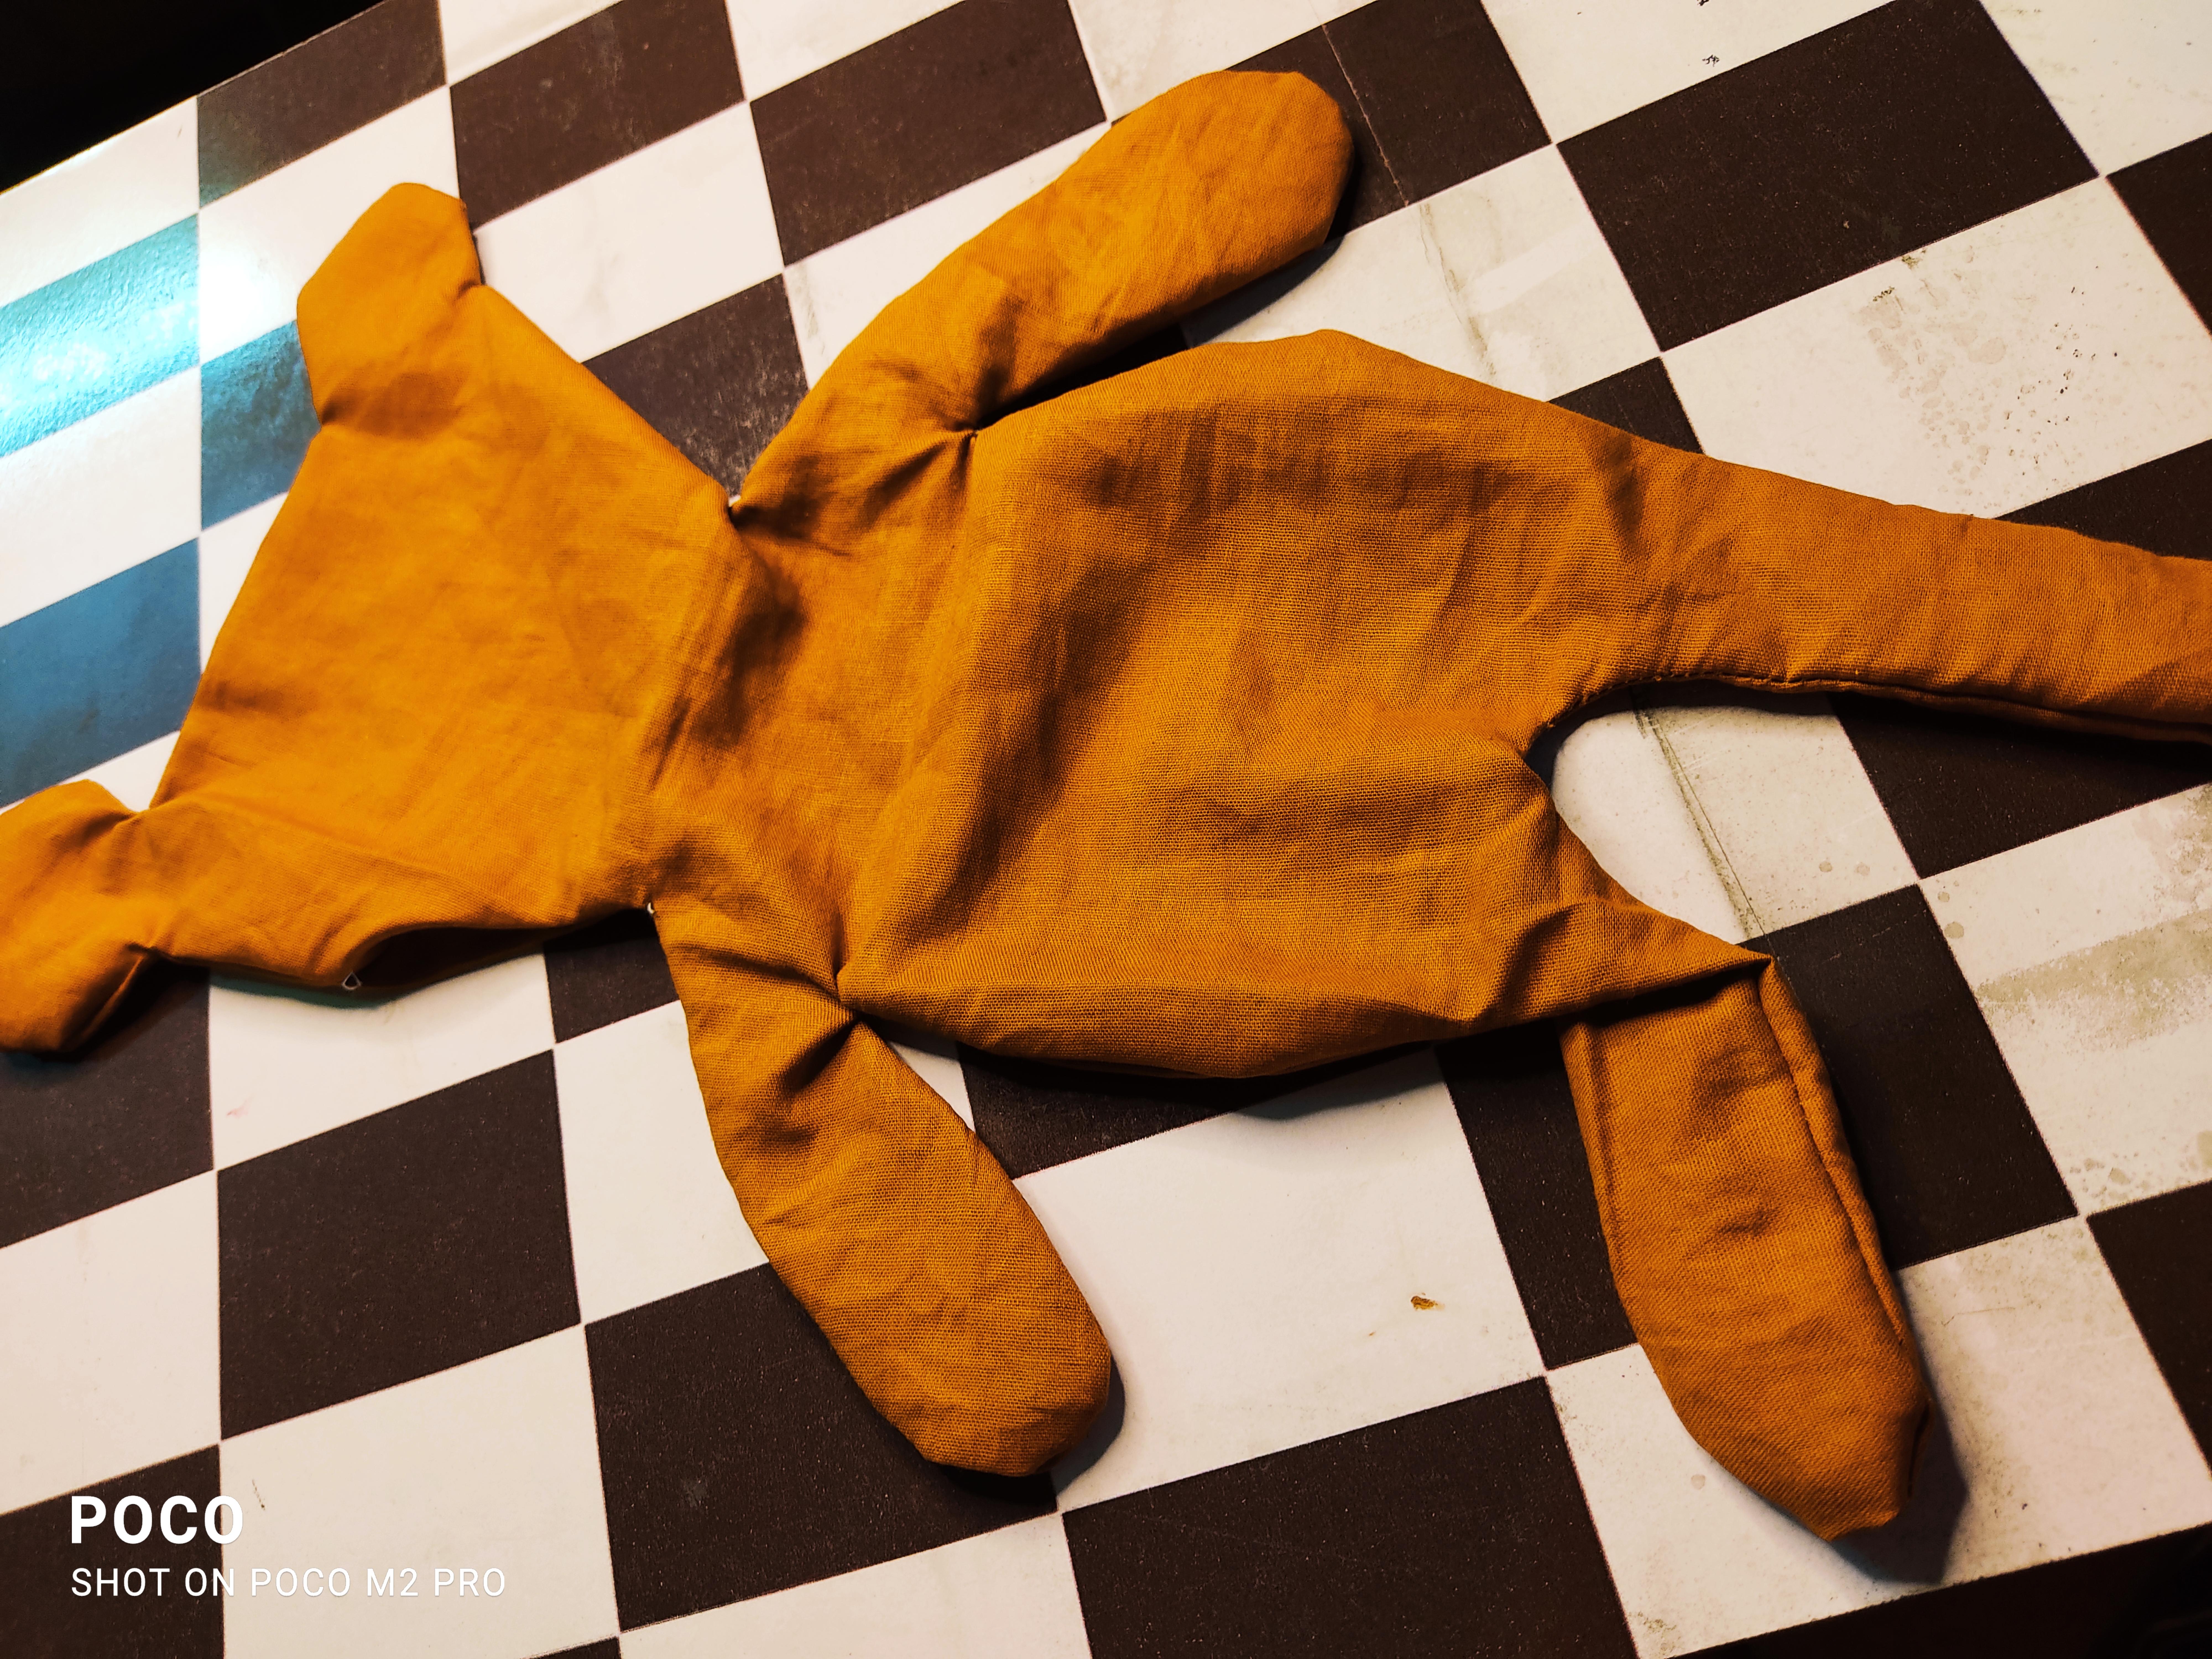
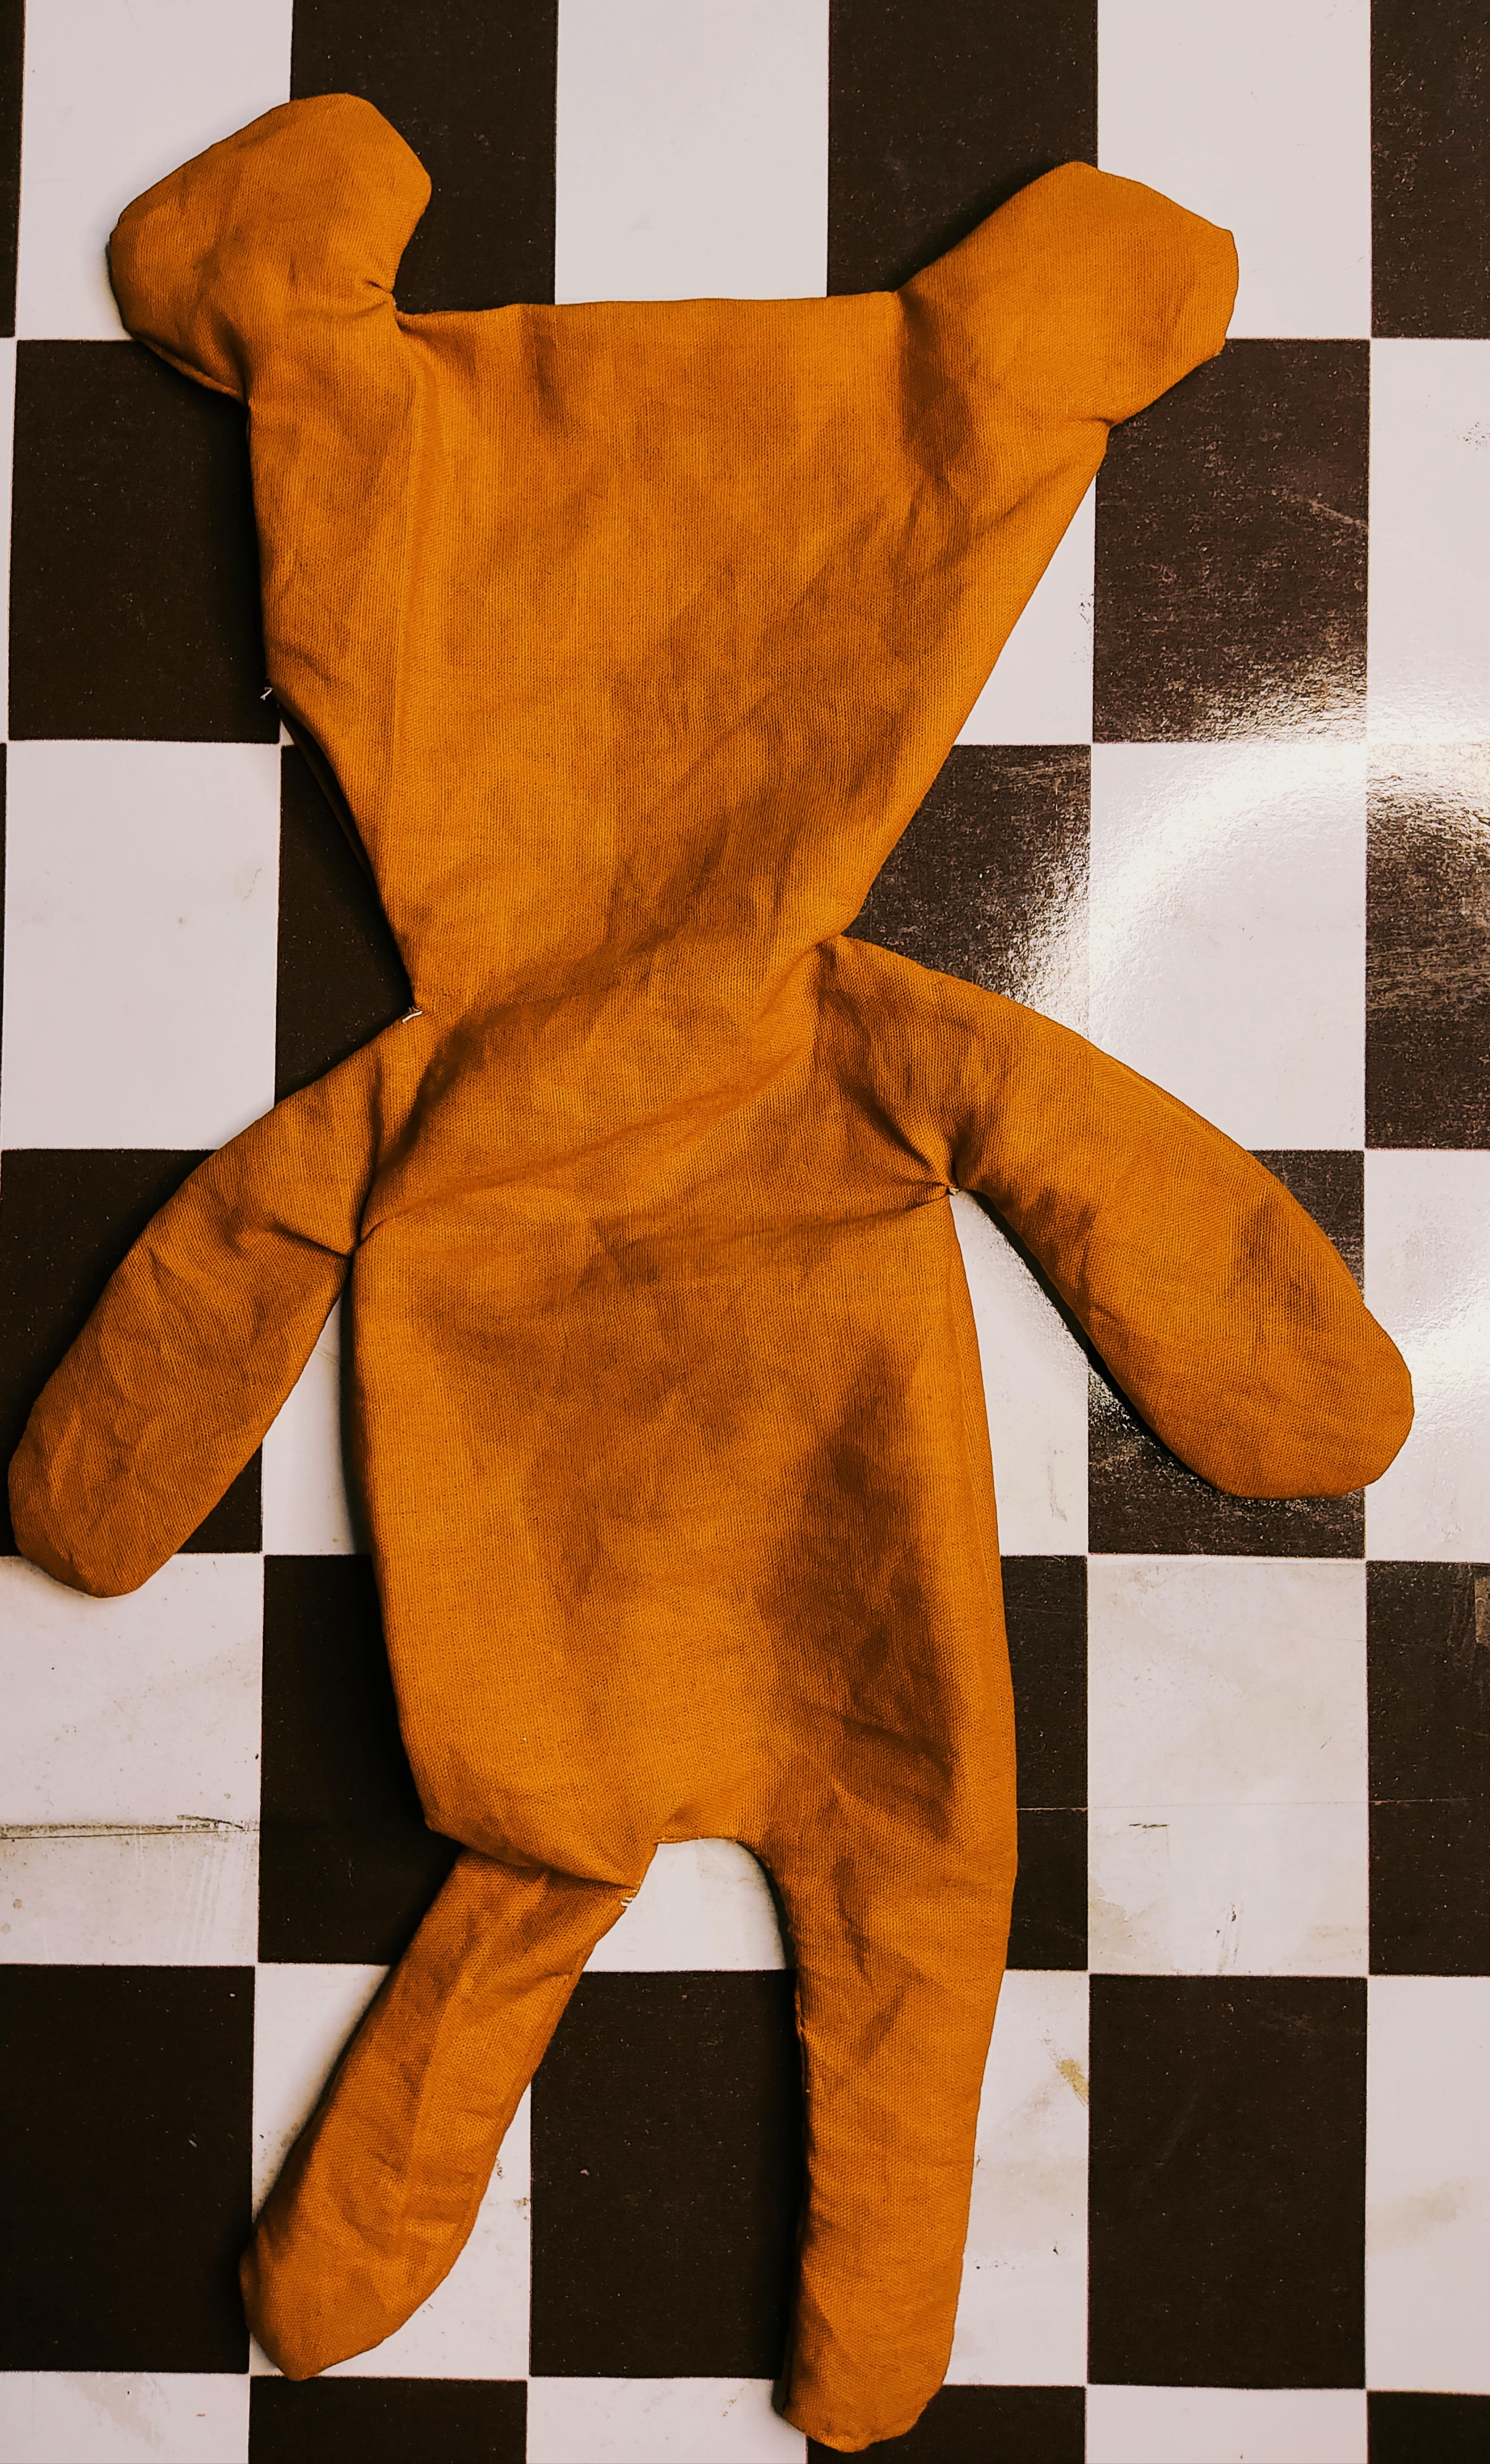
Cut the cloth in a teddy shape one centimeter away from the stitches. Now cut the edges near underarms, legs, neck and ears so that it doesn't curl up on turning it inside out.Then turn it inside out through the opening.

Stuffing It With Cotton and Stitching the Opening

20210707-1_1080p.gif
IMG_20210706_173853.jpg
IMG_20210706_173730.jpg
IMG_20210706_173559.jpg
IMG_20210703_182047.jpg
VID_20210703_182554.gif
IMG_20210706_173918.jpg
IMG_20210703_185320.jpg
20210707-3_1080p (3).gif
Fill the teddy with cotton through the opening. Stuff it well. After that, stitch the opening using a needle and a brown thread from outside. Make sure to give it small stitches so that it is not visible from the outside. Big stitches might ruin the look of the teddy.

Making Teddy's Face

IMG_20210703_182138.jpg
IMG_20210703_182123.jpg
IMG_20210706_174109.jpg
IMG_20210706_174135.jpg
IMG_20210706_174304.jpg
IMG_20210706_174201.jpg
IMG_20210706_174225.jpg
IMG_20210704_140004.jpg
IMG_20210704_140119.jpg
IMG_20210704_140259.jpg
IMG_20210704_140203.jpg
IMG_20210704_140329.jpg
IMG_20210707_102136.jpg
IMG_20210707_102343.jpg

Take a pair or black beads or button, whatever you have at hand and use it to make it's eyes. Stick the beads using glue. Next, to make it's nose, take a black socks, draw an oval shaped nose on the socks using a chalk. Now, cut the oval shape with scissor and stick it on the teddy's face using glue. In the end to highlight it's nose use a whitener. And our teddy is ready!!

You can make any character or stuff toy🧸using with different colored cloth using this method. Do try this in your free time💕.