Multifunctional Lanyard

Imagine a scenario...
You're a Year 12 A-Level Product Design student who has just been issued with a brand-spanking new polypropylene lanyard... unimpressed?
Let's fix that.
Supplies

SOUNDS GREAT, BUT WHAT DO I NEED?
- 3D Printer
- 3D Printing Filament - PLA or alternative
- Access to Slicing Software & Fusion360
- Tools to Remove Support Material - Xacto/Scrapper Knives
- Contact Adhesive
- Spring (Outer ⌀: 4mm, Wire ⌀: 1mm Height: 5mm)
- Some Keys & Credit/ID Card!

WHERE TO BEGIN?
With the wide brief of "Back to School", I went into this project with multiple design ideas:
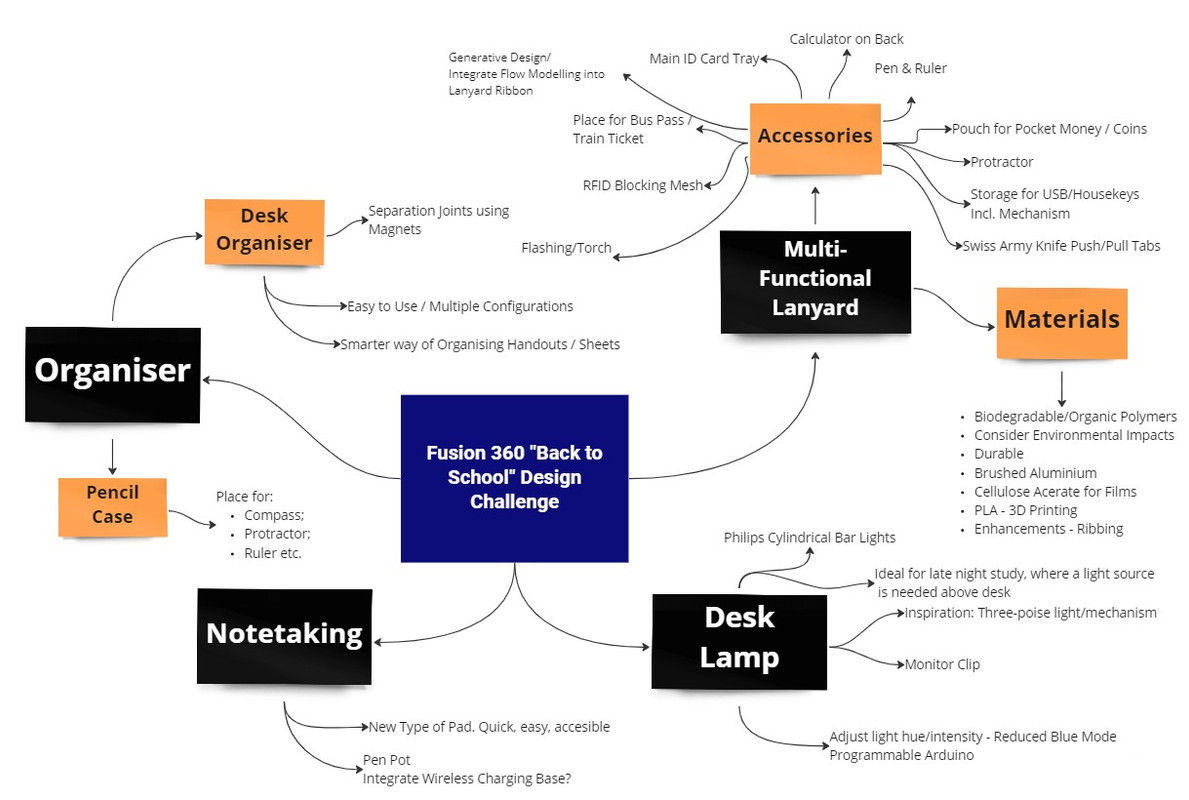
I settled on the Multifunctional Lanyard as the most feasible idea because of its novelty, potential for 3D printing and because it was the idea I felt most passionately about.
Before loading up fusion though, I outlined a few design criteria to help focus my initial design ideas.
DESIGN CRITERIA & CONSIDERATIONS:
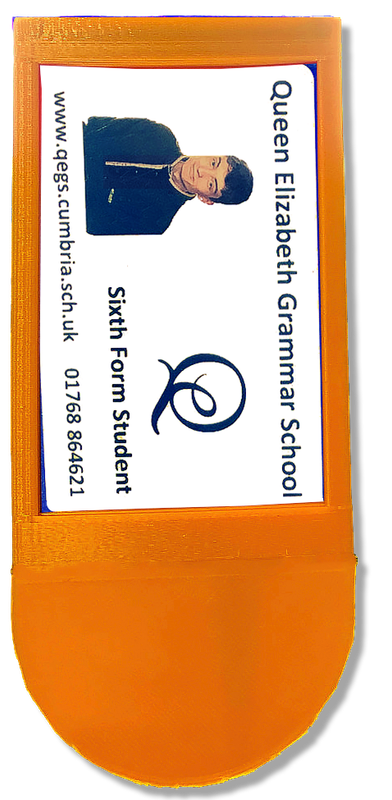
- Visible location for identification card -sufficient space for standardised card size
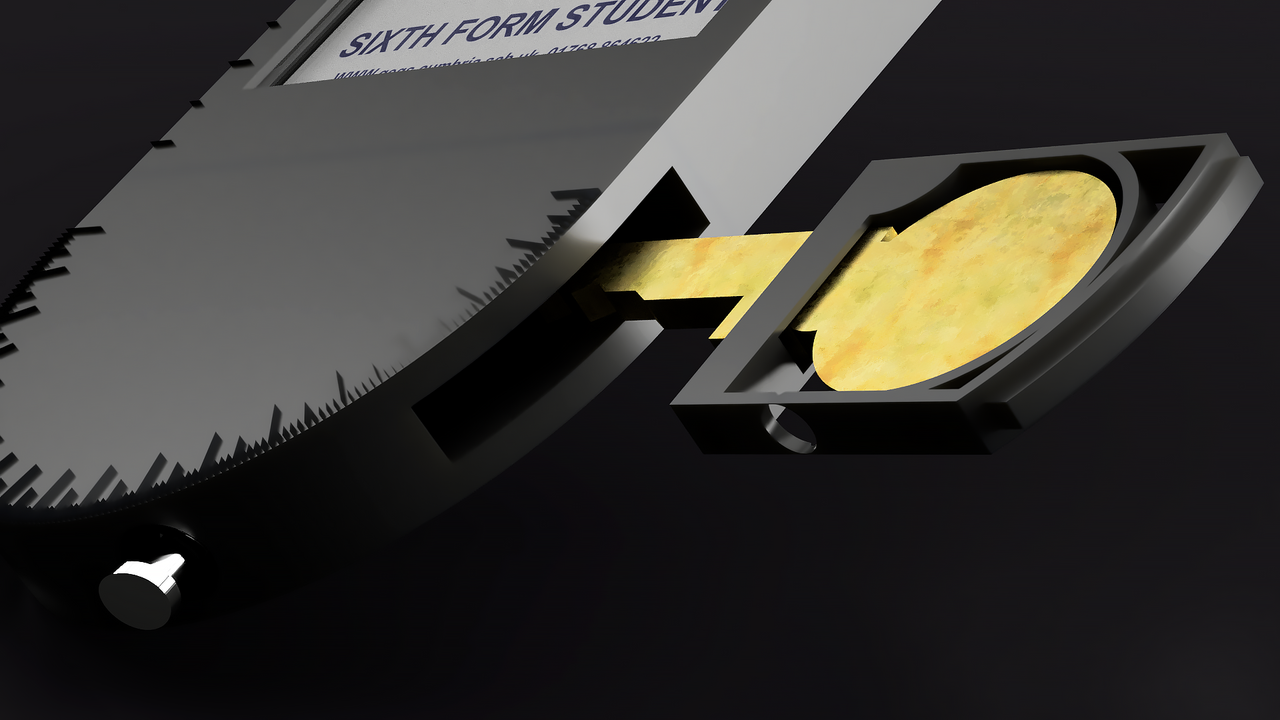
- Accessible storage for house keys
- Pen Storage
- Environmental Impact of Materials
- Coin battery flashlight
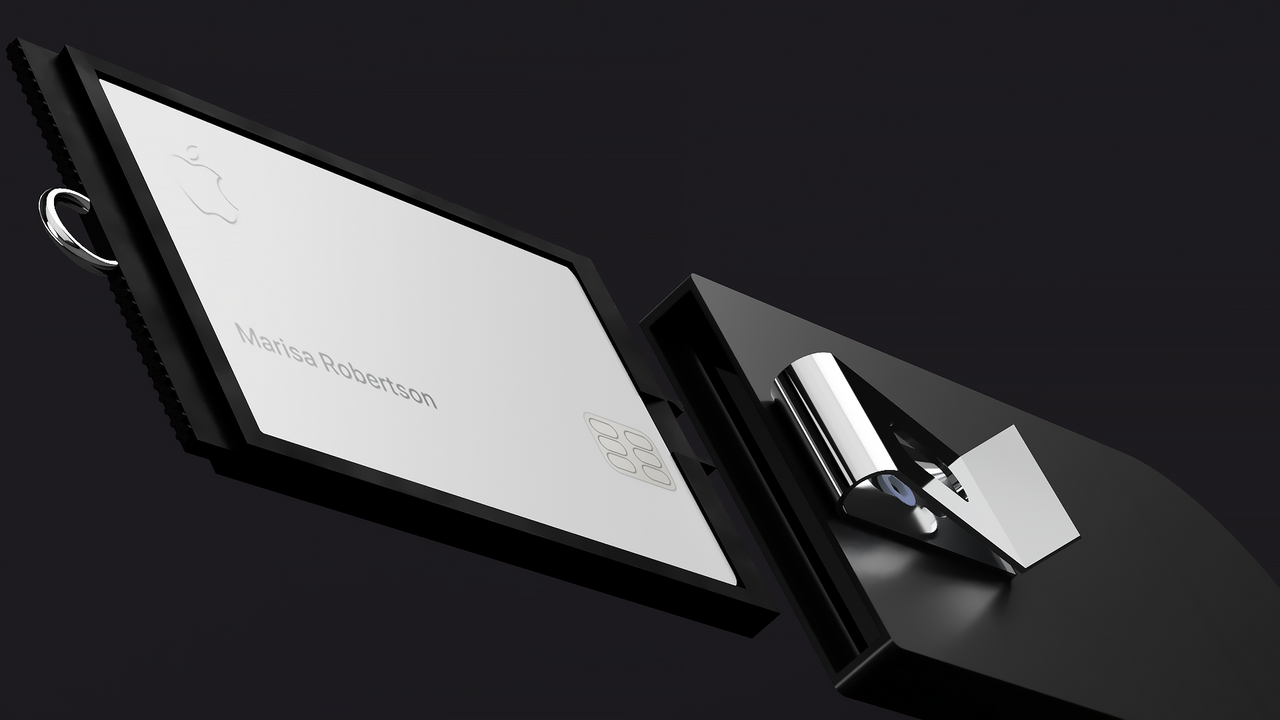
- Debit/credit card holder utilising RFID blocking technology
- Minimal form factor to reduce product "bulk"

BACK TO PEN & PAPER.
Through my sketch development, I've collated all my initial ideas, illustrating different shapes, accessories, and concepts while trying to meet as many of the key objectives/criteria outlined earlier.
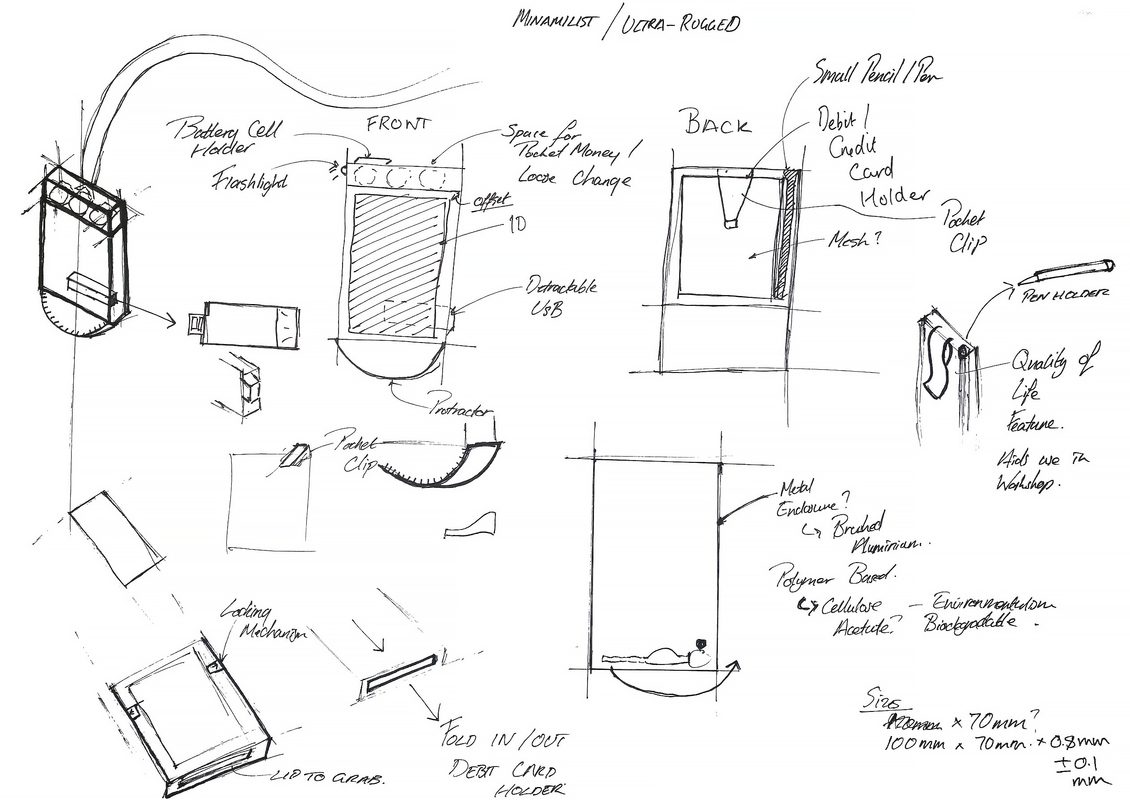
After some sketching, I had the dimensions and most of the major components worked out. This process was instrumental in developing a fully fletched design.

INTO FUSION WE GO.
By far this was the most enjoyable stage of the process. I had some prior experience with Fusion but, to be honest, this was my real bash at the software. And 170+ versions later, I can certainly say I learned a lot throughout the rapid prototyping stage.
SPACE. SPACE. SPACE.
The largest challenge I faced whilst modelling was space. I wanted to fit as many components as possible into the enclosure, however, I made compromises to ensure the housings' dimensions were fit for purpose, prioritising comfort for the client, reducing overall weight and the structural integrity of the casing.
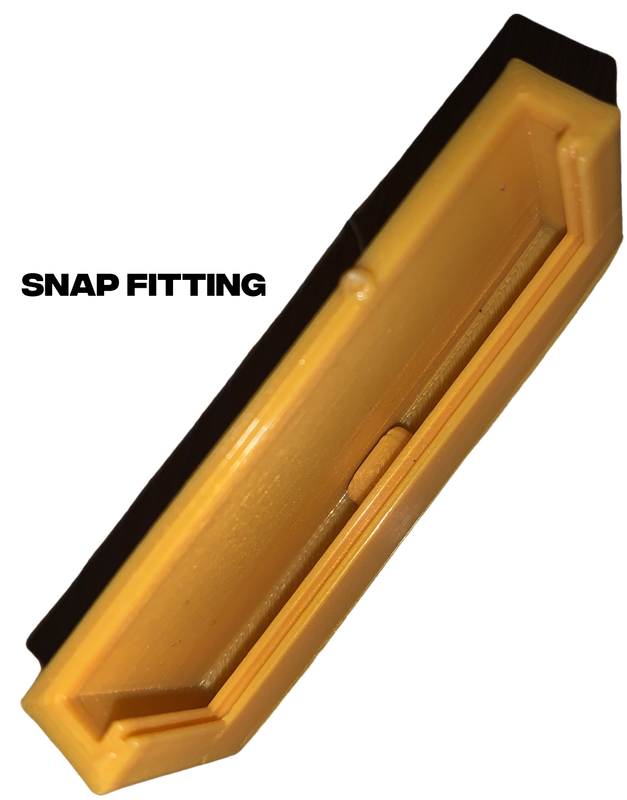
SNAP FITTINGS.
Additionally, snap fittings proved difficult to master. I went through multiple iterations to build a fitting that worked.
Note: This bit requires a bit of trial and error in achieving the ideal snap fit; the nozzle size, slicing/orientation of print and filament used will likely affect the fitting's function.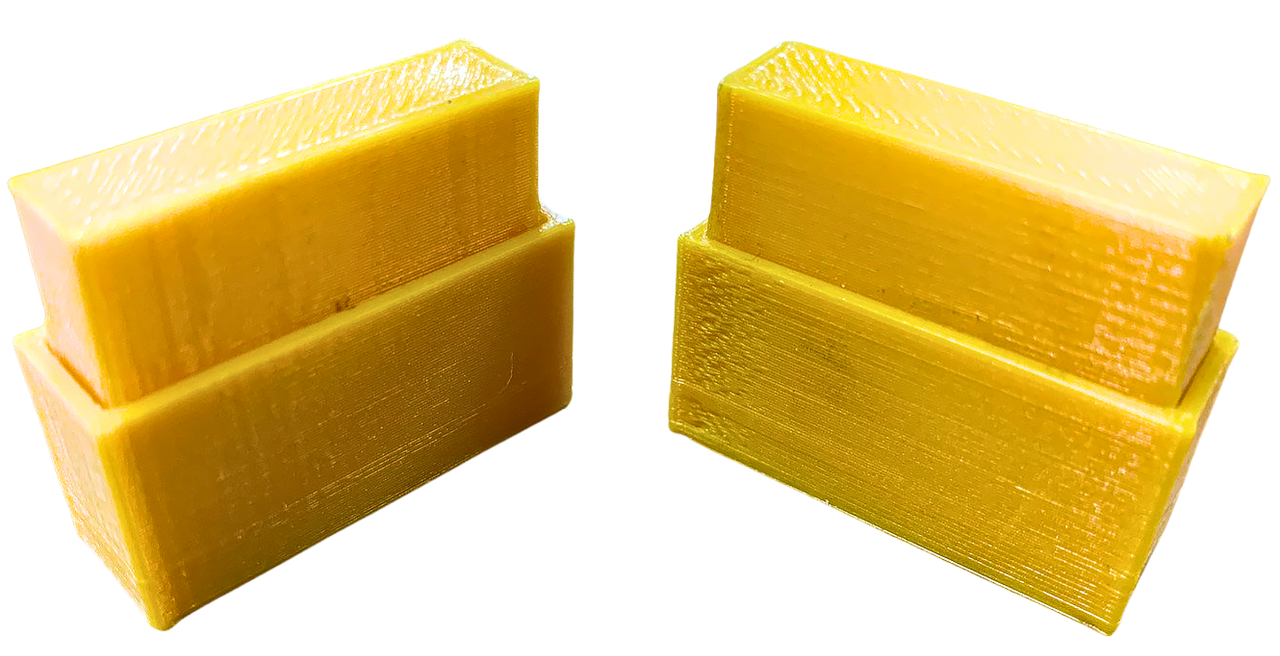
FEATURES:
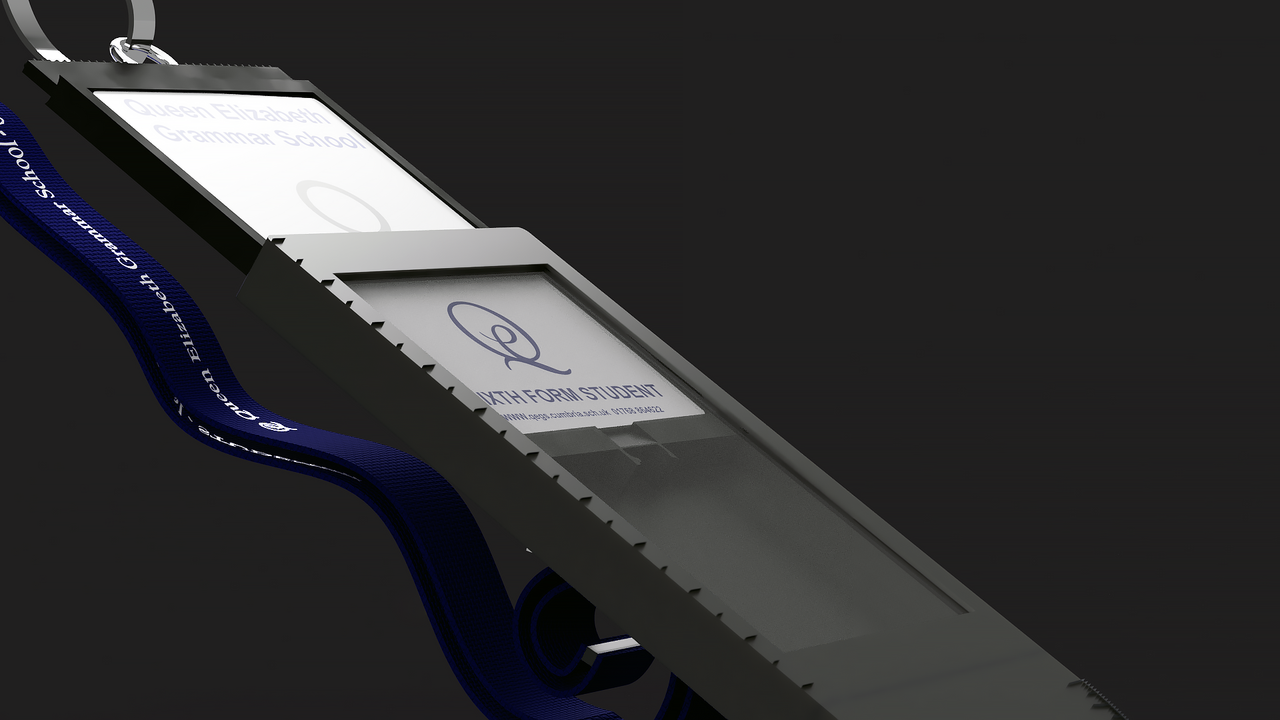
- Locking-Pin House Key Mechanism
- Snap-Fitting Tray
- Credit/Debit Card Holder
- Identification Card Holder
- Clip for use in Workshop
- Texturized Grip Pattern for Card Tray
- Recess for Translucent Film/RFID Blocking Mesh
- Ruler
- Protractor


GET SLICING...
We're nearly there, follow these steps to print and assemble the model:
1. ⠀Firstly, download all the .f3d files below;
2.⠀Open the .f3d in Fusion360 and
Navigate to: File → 3D Print → Select Bodies → Set Format (e.g. OBJ)
→ Uncheck Sent to 3D Print Utility ☐;
Note: We exported the components as .OBJ files as these are the best-read format for PrusiaSlicer (chosen slicing software).3.⠀Import your OBJ/STL/3MF file into your chosen slicing software.
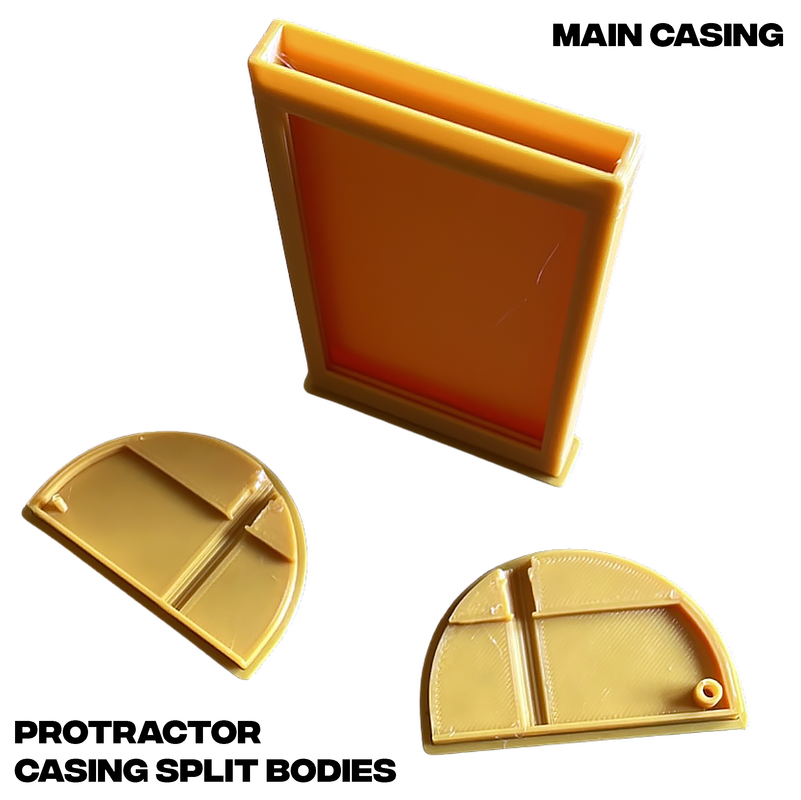
NOTE: We used a Prusa I3 and PrusaSlicer. Print each component separately, (in some circumstances,MAIN_CASINGandPRO2_CASINGcan be printed together - if your printer's build volume is permitting).
SLICING SETTINGS: We used 0.4 Nozzle Size, PLA Filament, Skirt & Brim and Support Material for the major components. PRO2_CASING contains two split bodies, it's recommended to print each flat surface of the protractor split bodies on top of the print bed for the best print.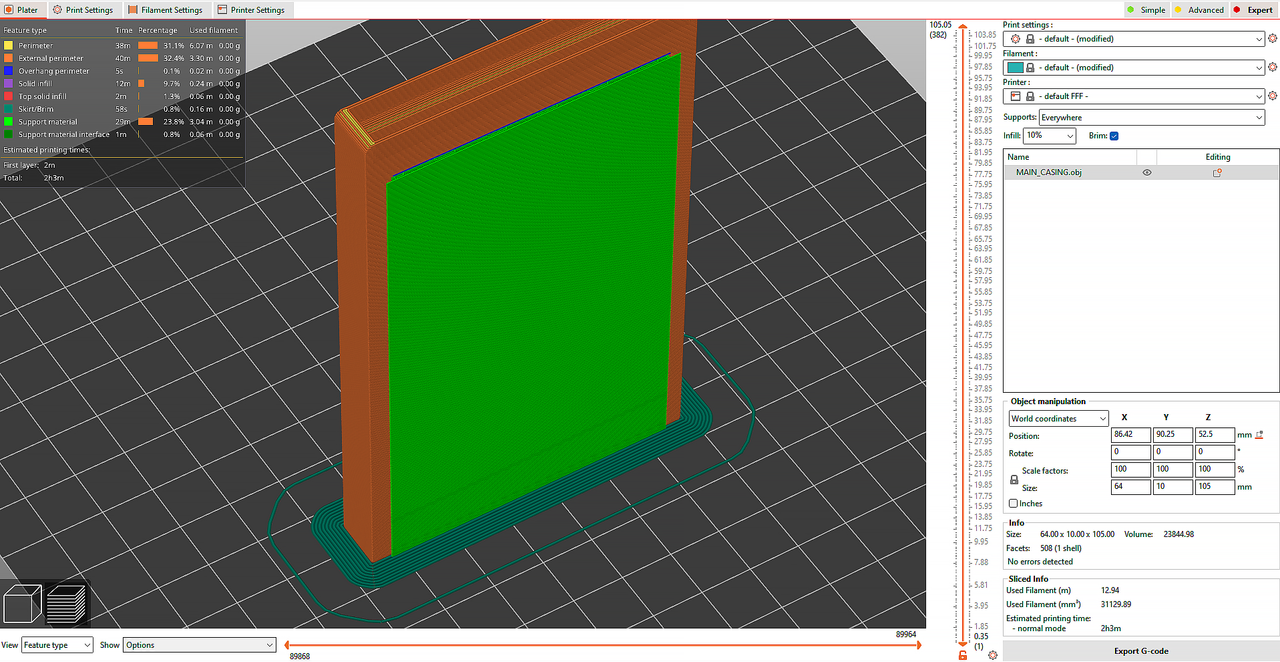
4.⠀Slice, Export G-Code and Print!
ASSEMBLY
Once all the components have been printed, they can be assembled with some basic equipment to produce the final product:
- Removal of Burrs & Supporting Material - whip out the pliers (or scrapper knife) to carefully remove any excess material.
- Quality Assurances - it's highly advisable to give each component the exterior housing, a once-over with abrasive paper, to ensure any rough edges or splintering.
- Fabrication - to assemble the protractor, place a small number of contact adhesive onto both the female pin socket and the raised flat surfaces below and adjacent to the pin. Hold in a wood vice for 5-10 mins. Repeat this process, to assemble the clip and the protractor, to the main casing.

⠀⠀⠀⠀⠀⠀⠀⠀
