Mystical Shoe House Secret Storage
by Aura_hobbies in Craft > Art
194 Views, 1 Favorites, 0 Comments
Mystical Shoe House Secret Storage


Shoe houses have always fascinated me. First time I came across one was in my elementary, it was an illustration in kids story book. The idea of living in such a place had been a dream to me on many a nights that followed my encounter. Though it might look a bit unrealistic now, nothing stops from having some fun with this concept, right?!
Here I'm trying to put forth a miniature shoe house which can also be used as a secret storage location. Mystical, fun and functional! :)
This is my first Instructable. kindly bear with me while I try my level best to explain.
Supplies

Materials used:
- Old plastic bottle (1L)
- Old Newspapers
- Old tissue papers
- Duct tape
- PVA Glue
- Water
- Acrylic paint
- Paint brushes
- Thin cardboard sheets (I got it from dry cleaners, you can use any thin cardboard sheets available in packaging, its only for reinforcing the addendums)
- Scissors
- Measuring tape
Build the Skeleton


I'm using an old water bottle and few news papers to create my base structure. You can replace the bottle with cardboard tube or anything else that fits your storage needs.
- Place the bottle over the cardboard sheet and cut it perpendicular to the bottle.The bottle's base will be the heel and the extended cardboard will act as a base for middle and foot structure. (the bottle measures approximately 27cms, i will cut the sheet to 20cms, will trim it later if needed).
- Stick the bottle to the cut cardboard sheet.
- With the bottle as a base, add the newspaper to desired volume to form the middle & foot part of the house. Scrunch up the newspaper in the required shape and stick it to the bottle with duct tape or PVA glue.
- Hint: its totally fine if the scrunched up paper is not neat, we will be using PVA glue slurry to cover up & make the structure in desired way.
- I've used 2 small Newspaper balls for the middle and one big scrunched up sheet for the foot.
- Reinforce the structure with more newspaper wherever needed.
- Cut the cardboard sheet into a circle (20cm diameter) - (Since i did not have a compass i had to improvise in cutting the circle first in newspaper using the parchment paper technique and then use this stencil to cut the cardboard sheet).
- Cut the circle till 10cm radius from one side and form a cone, secure it with duct tape. This would be our roof (I used both the sheet as well the newspaper circle) Use the duct tape along the cut to secure the cone firmly.
- Now cut the bottle at the desired level.
- Measure the circumference of the opening that is cut in the bottle (24cm). Make 2 thick strips of folded newspaper at this measured length and secure this strips - 1 from the inside of the bottom part and 2 from the outer circumference of the top part (bottle cap part)using tape, so that the newspaper strips are a little outside the cut edges.
- The wedge that forms between these two strips of paper will be used to open and close the secret storage.
- Stick the cone to the bottle cap.
NOTE: Pictures attached for everystep
Seal the Deal


Now that the basic skeleton is ready, Prepare a slurry with 1 part PVA glue and 2 parts water, which will then be used to apply strips of newspaper and tissue papers to our skeleton structure providing a better form and shape to the shoe house.
First coat : Tear sheets of news paper, place them over the shoe house and apply the slurry with a paint brush
Second coat: Tear the sheets of tissue paper, place them over the first coat and apply the slurry with a paint brush.
Let this set up dry before the next steps.
Attention to Details!


Now lets add the doors, windows and other details to the house.
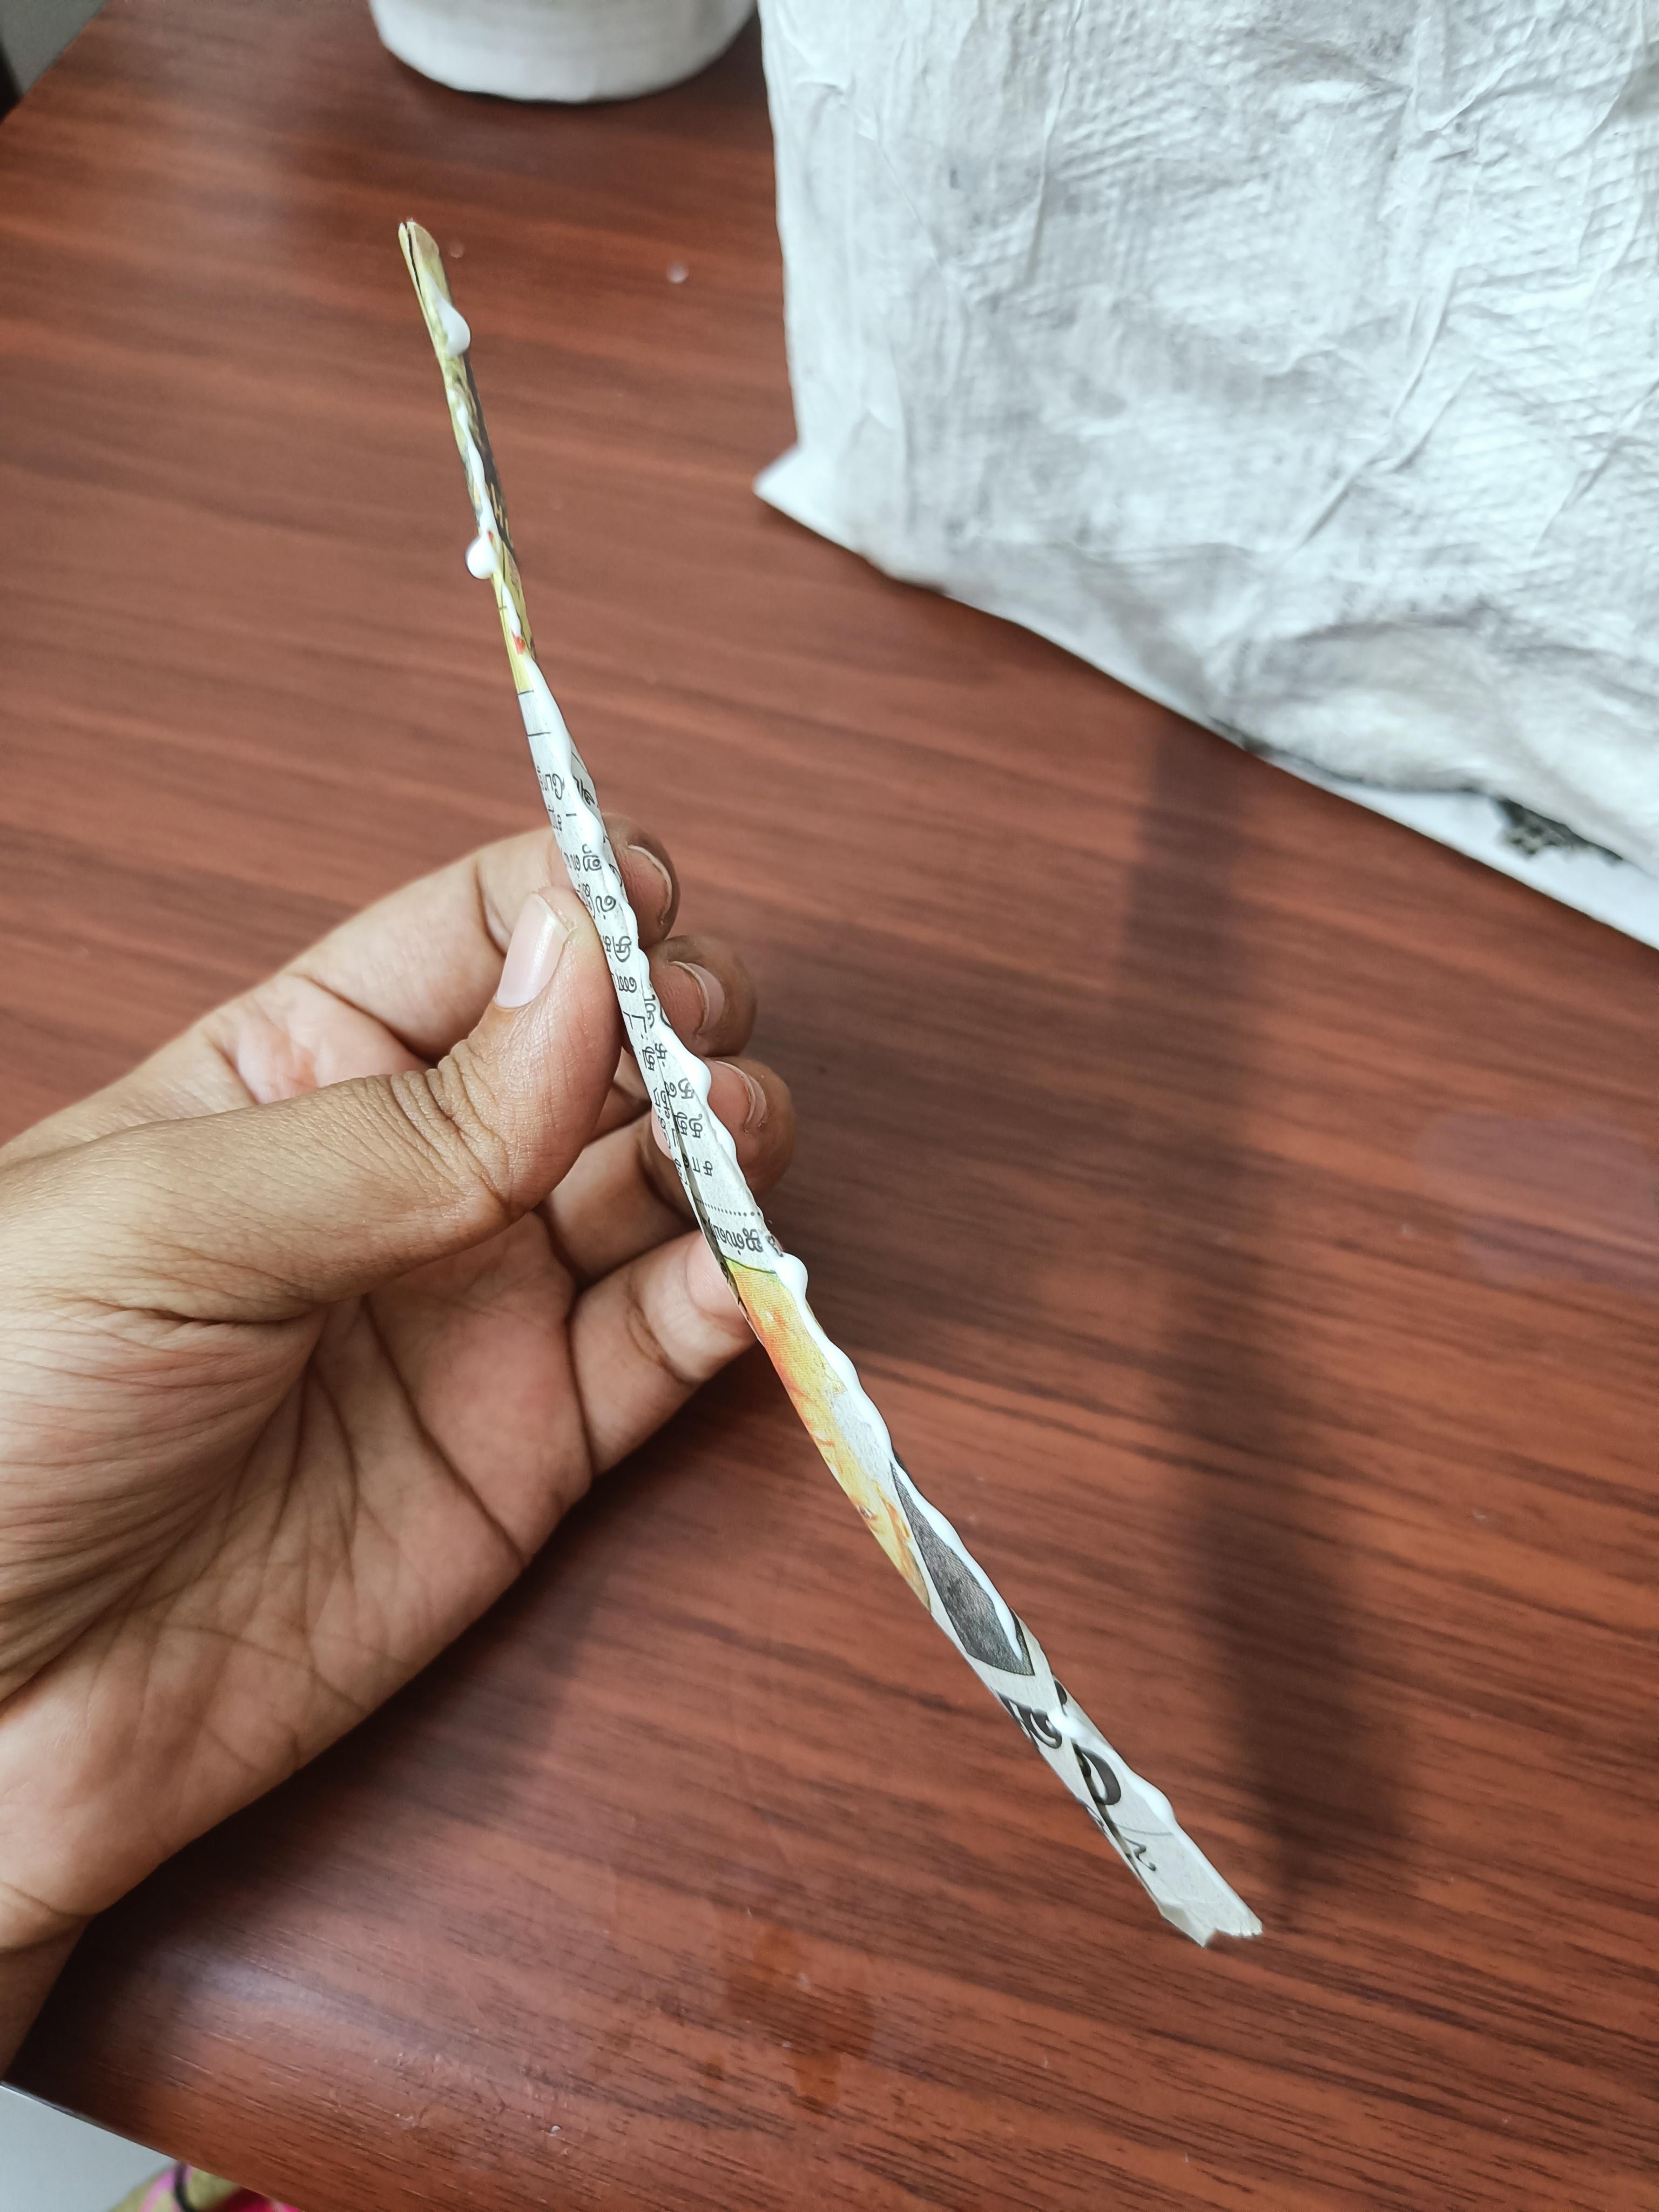
- Cut lengthy strips of newspaper & start folding them diagonally like cigarettes.
- once you get a tube like structure, stick the ends with PVA glue
- Press them gently so that they lay flat.
- Use this to model the outline of doors, windows & the shoelace part in required places in the shoe house.
- Paste the strips with glue
- Once dry cover these strips with tissue and PVA glue slurry.
Colouring


After the paper coating dries up, apply acrylic colours for the vibrant look.
- Further detailing is added with paint, I've included a flower veins in the front and back of the house.
- In order to accessorize the shoe-house further
- I've cut cardboard sheet hearts, painted and pasted them to the doors and windows.
- Also have cut random shapes in cardboard sheets, this will be placed in the roof.
Finally trim the base cardboard sheet as per need.
You can also add a bigger base and make it a fairy garden. I prefer to have this is as a single piece to make it easy to move.
Et Voila!


Stash your secrets!! :)