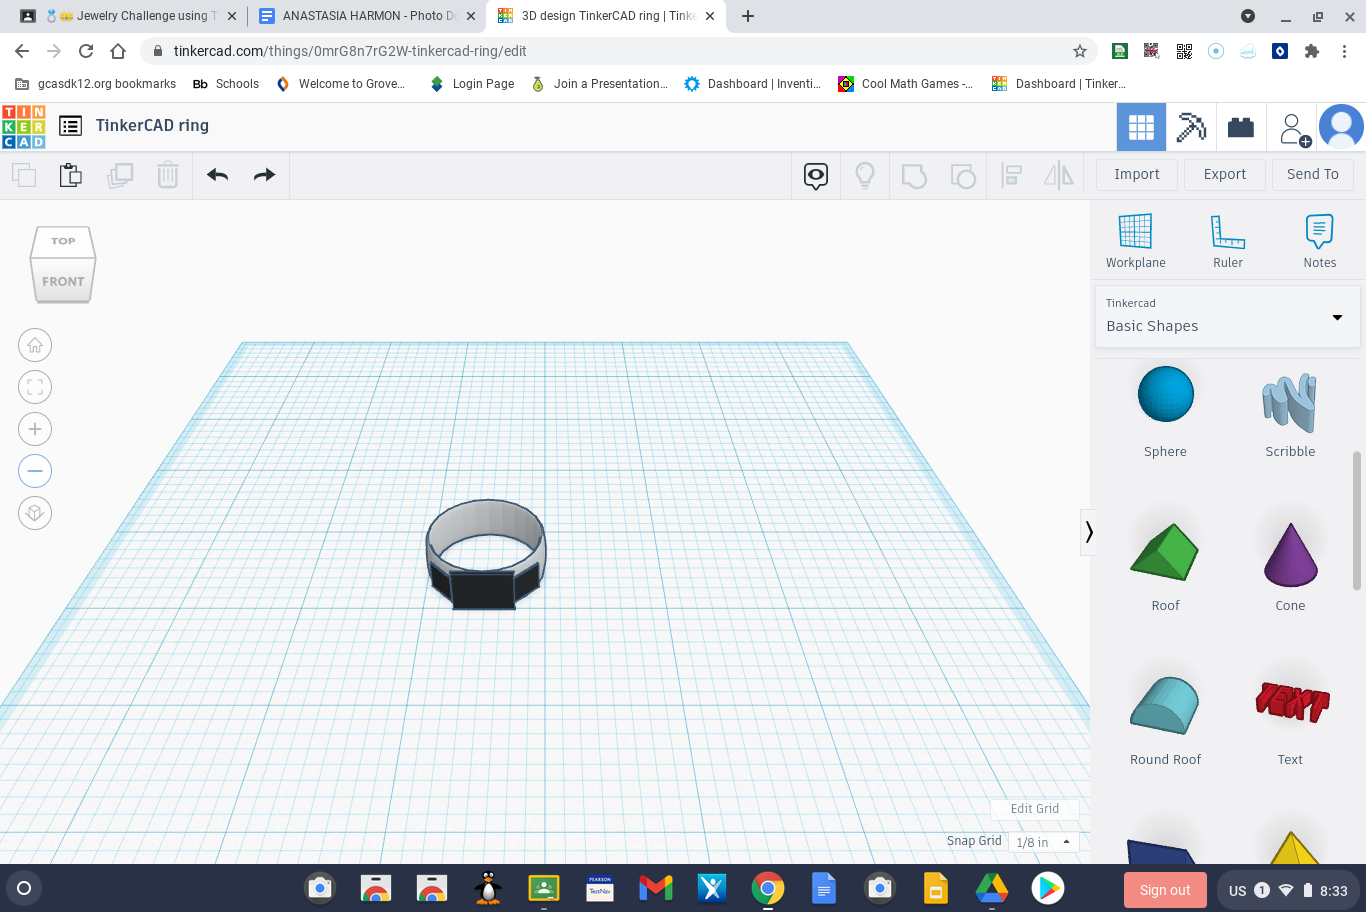
Panther King Ring

The Panther King Ring uses rings, squares, diamonds, and triangles.

To join, go to the TinkerCAD website: Tinkercad.com

Either click "sign in" or "join now" to get started.

Go to your dashboard and click “create a new design”.

Add the ring shape to the workspace and make it sliver.

Add a small black square to the front of the ring.


Add a small black square on either side of the middle one then copy and paste to make the second square. Make sure the center of the squares are in line.


Cut a second ring in half with box hole, make it black, and put it around the back of the first ring. Also add a black rectangle to the gap on one side then copy and paste (repeat the step to the other side). The black must connect all the way around the ring. Make sure all of the black pieces are as close as they can be to the sliver ring.

Add a blue diamond to the center square and adjust it so it is in the middle.

Add one more diamond then copy and paste for the other side. Put one on either side of the center piece. Make sure they also line up on the squares they are on.


Put a cylinder through the roof then group it so there is a hole. Make the roof as thin as it will go then make it smaller and gray. Copy and paste to make the second one. Add them to the squares next to the ones with the smaller diamonds.
You're finished!