Paper Samurai Sword
by shane0137 in Craft > Costumes & Cosplay
49071 Views, 50 Favorites, 0 Comments
Paper Samurai Sword
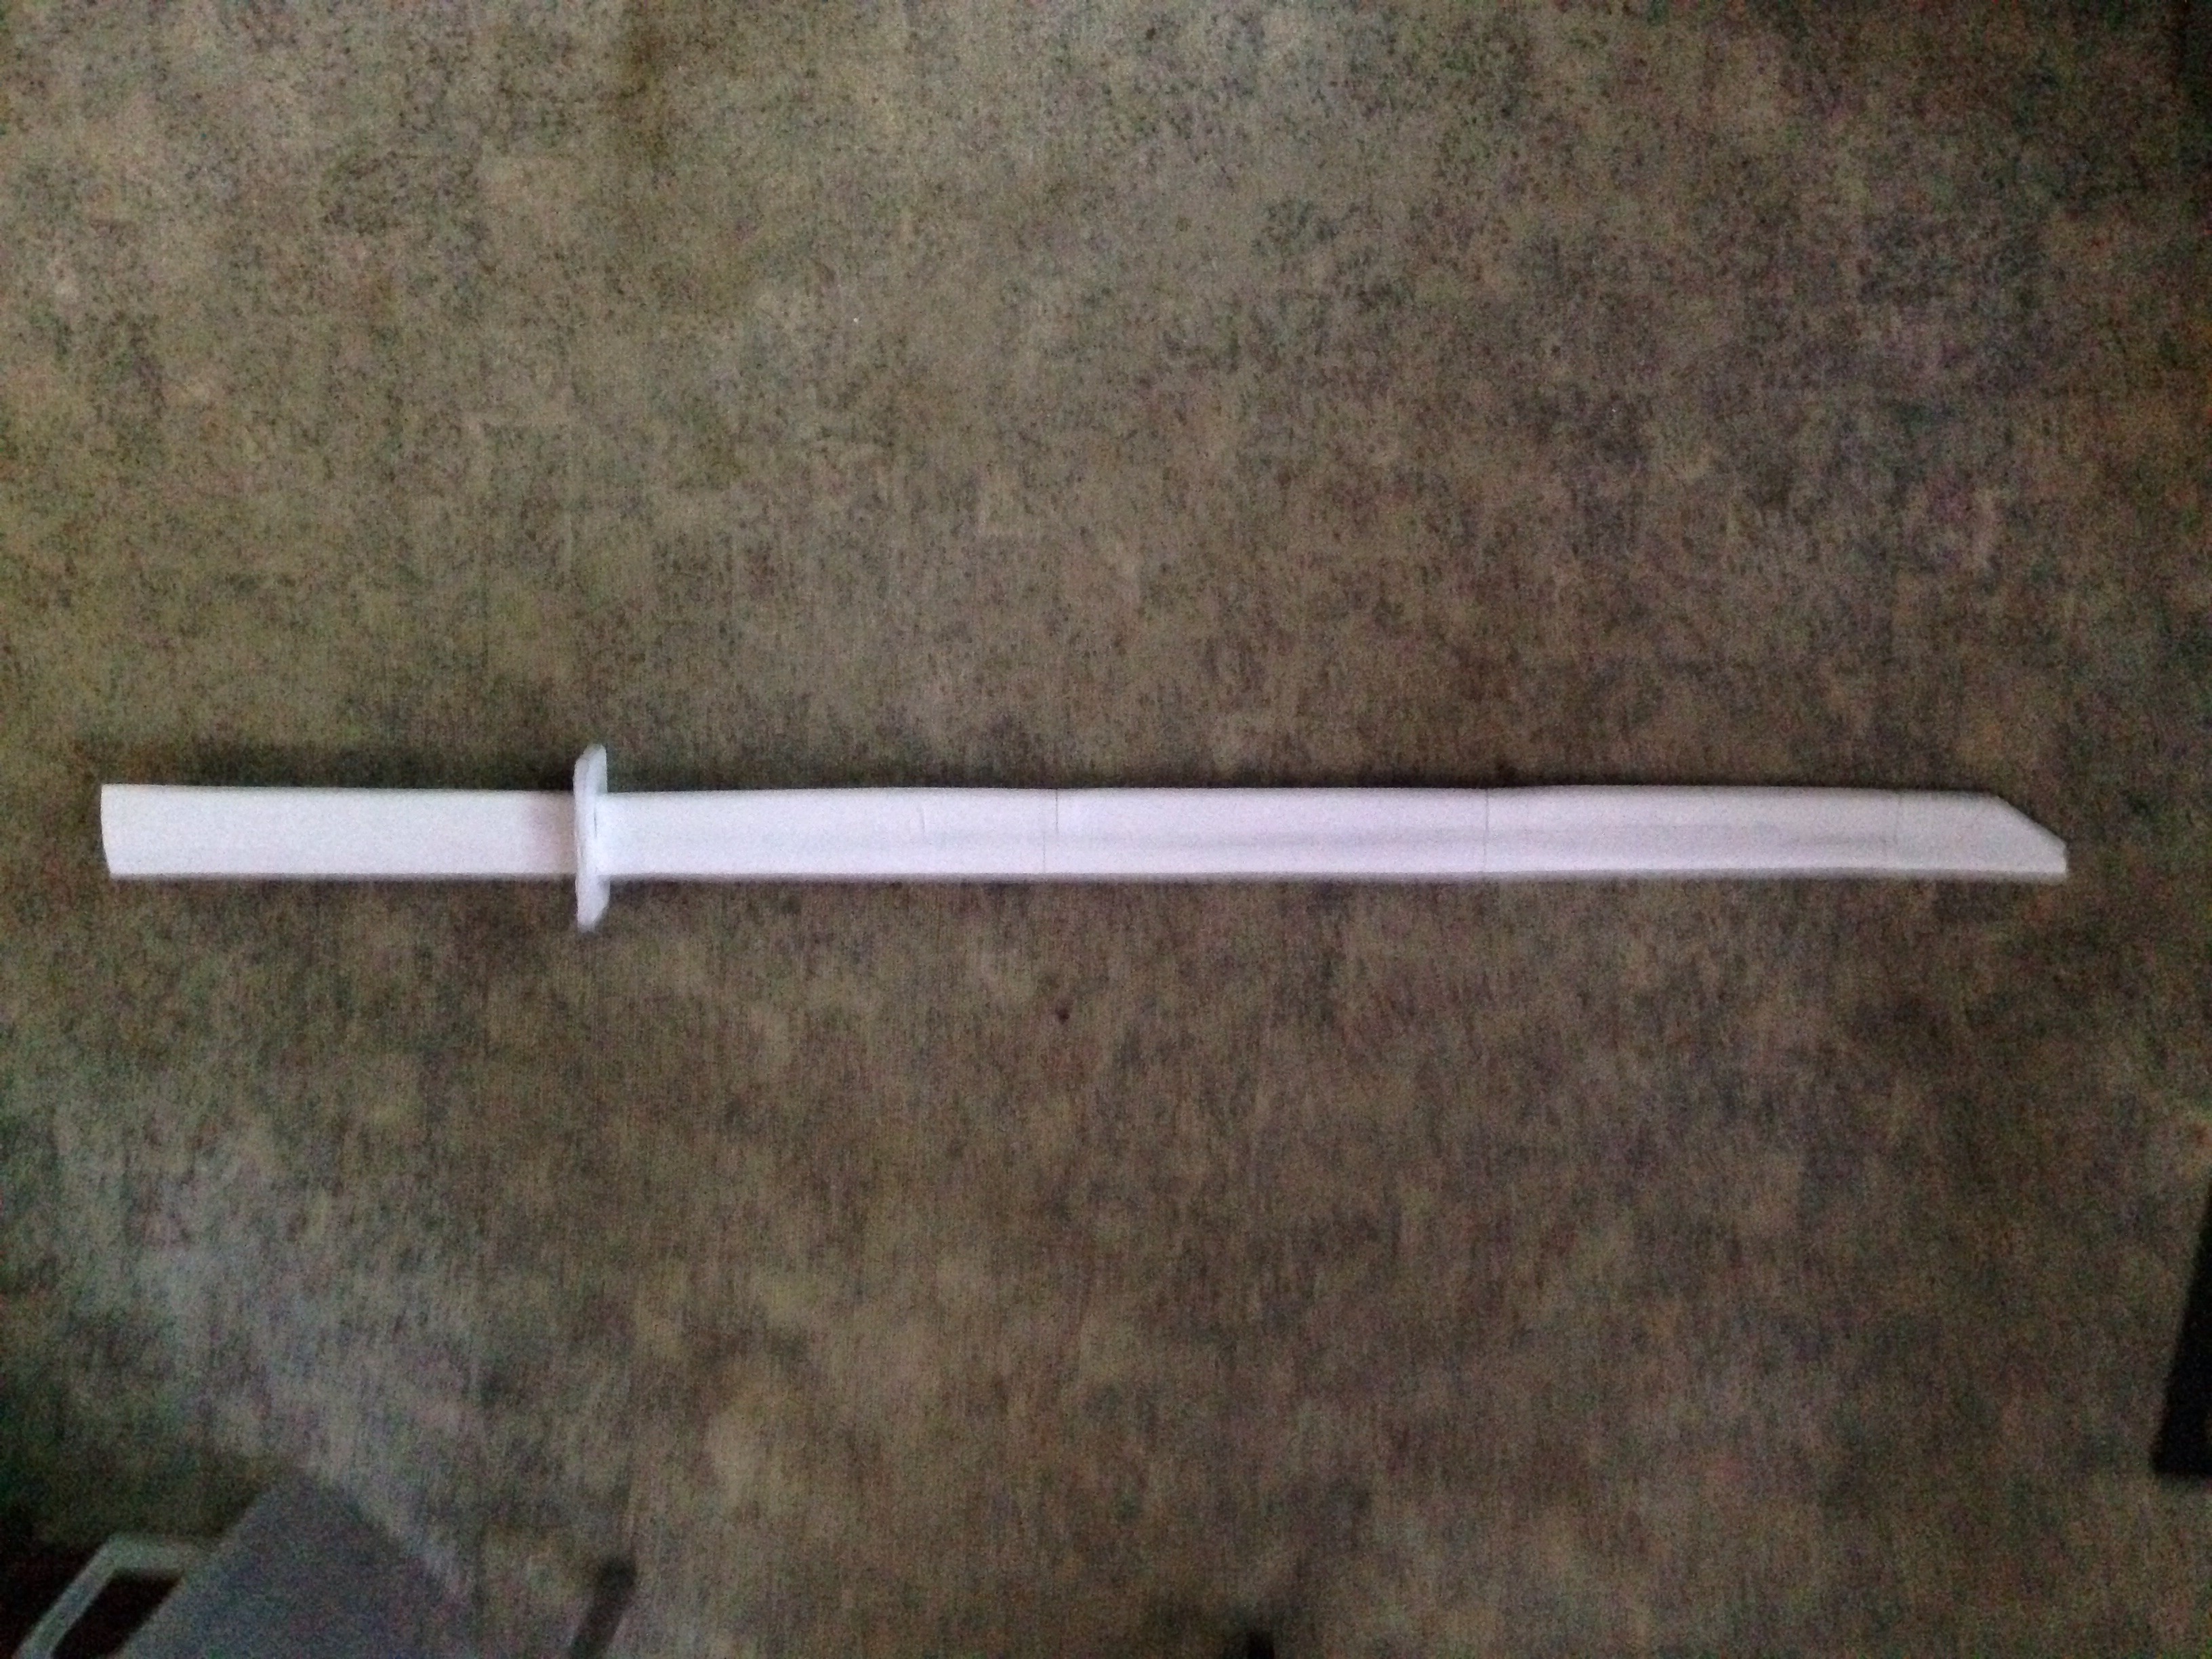
This instructable will show you how to make a paper sword from only a few pop sticks, paper, and glue sticks. My inspiration for this instructable comes from Returacan. http://youtube.com/user/Returacan
His swords are truly epic, but require a lot more patience and hard work, although his methods produce a better final product. Using some of his methods, I've produced a way to make a sword much quicker and with fewer, slightly more common supplies.
And if you like it, don't forget to vote for it in the paper craft contest.
What You Will Need

1. Standard A4 Paper
2. Glue sticks (I used 3 and a bit by the time I was finished )
3. A cutting implement of some type ( A Stanley knife or exacto knife work well )
4. A sturdy ruler to compact folds and smooth out paper
5. Something to cut on so you don't destroy your table
6. A pencil ( Or pen )
7. Pop sticks (More than in the picture)
Paper "Blanks"

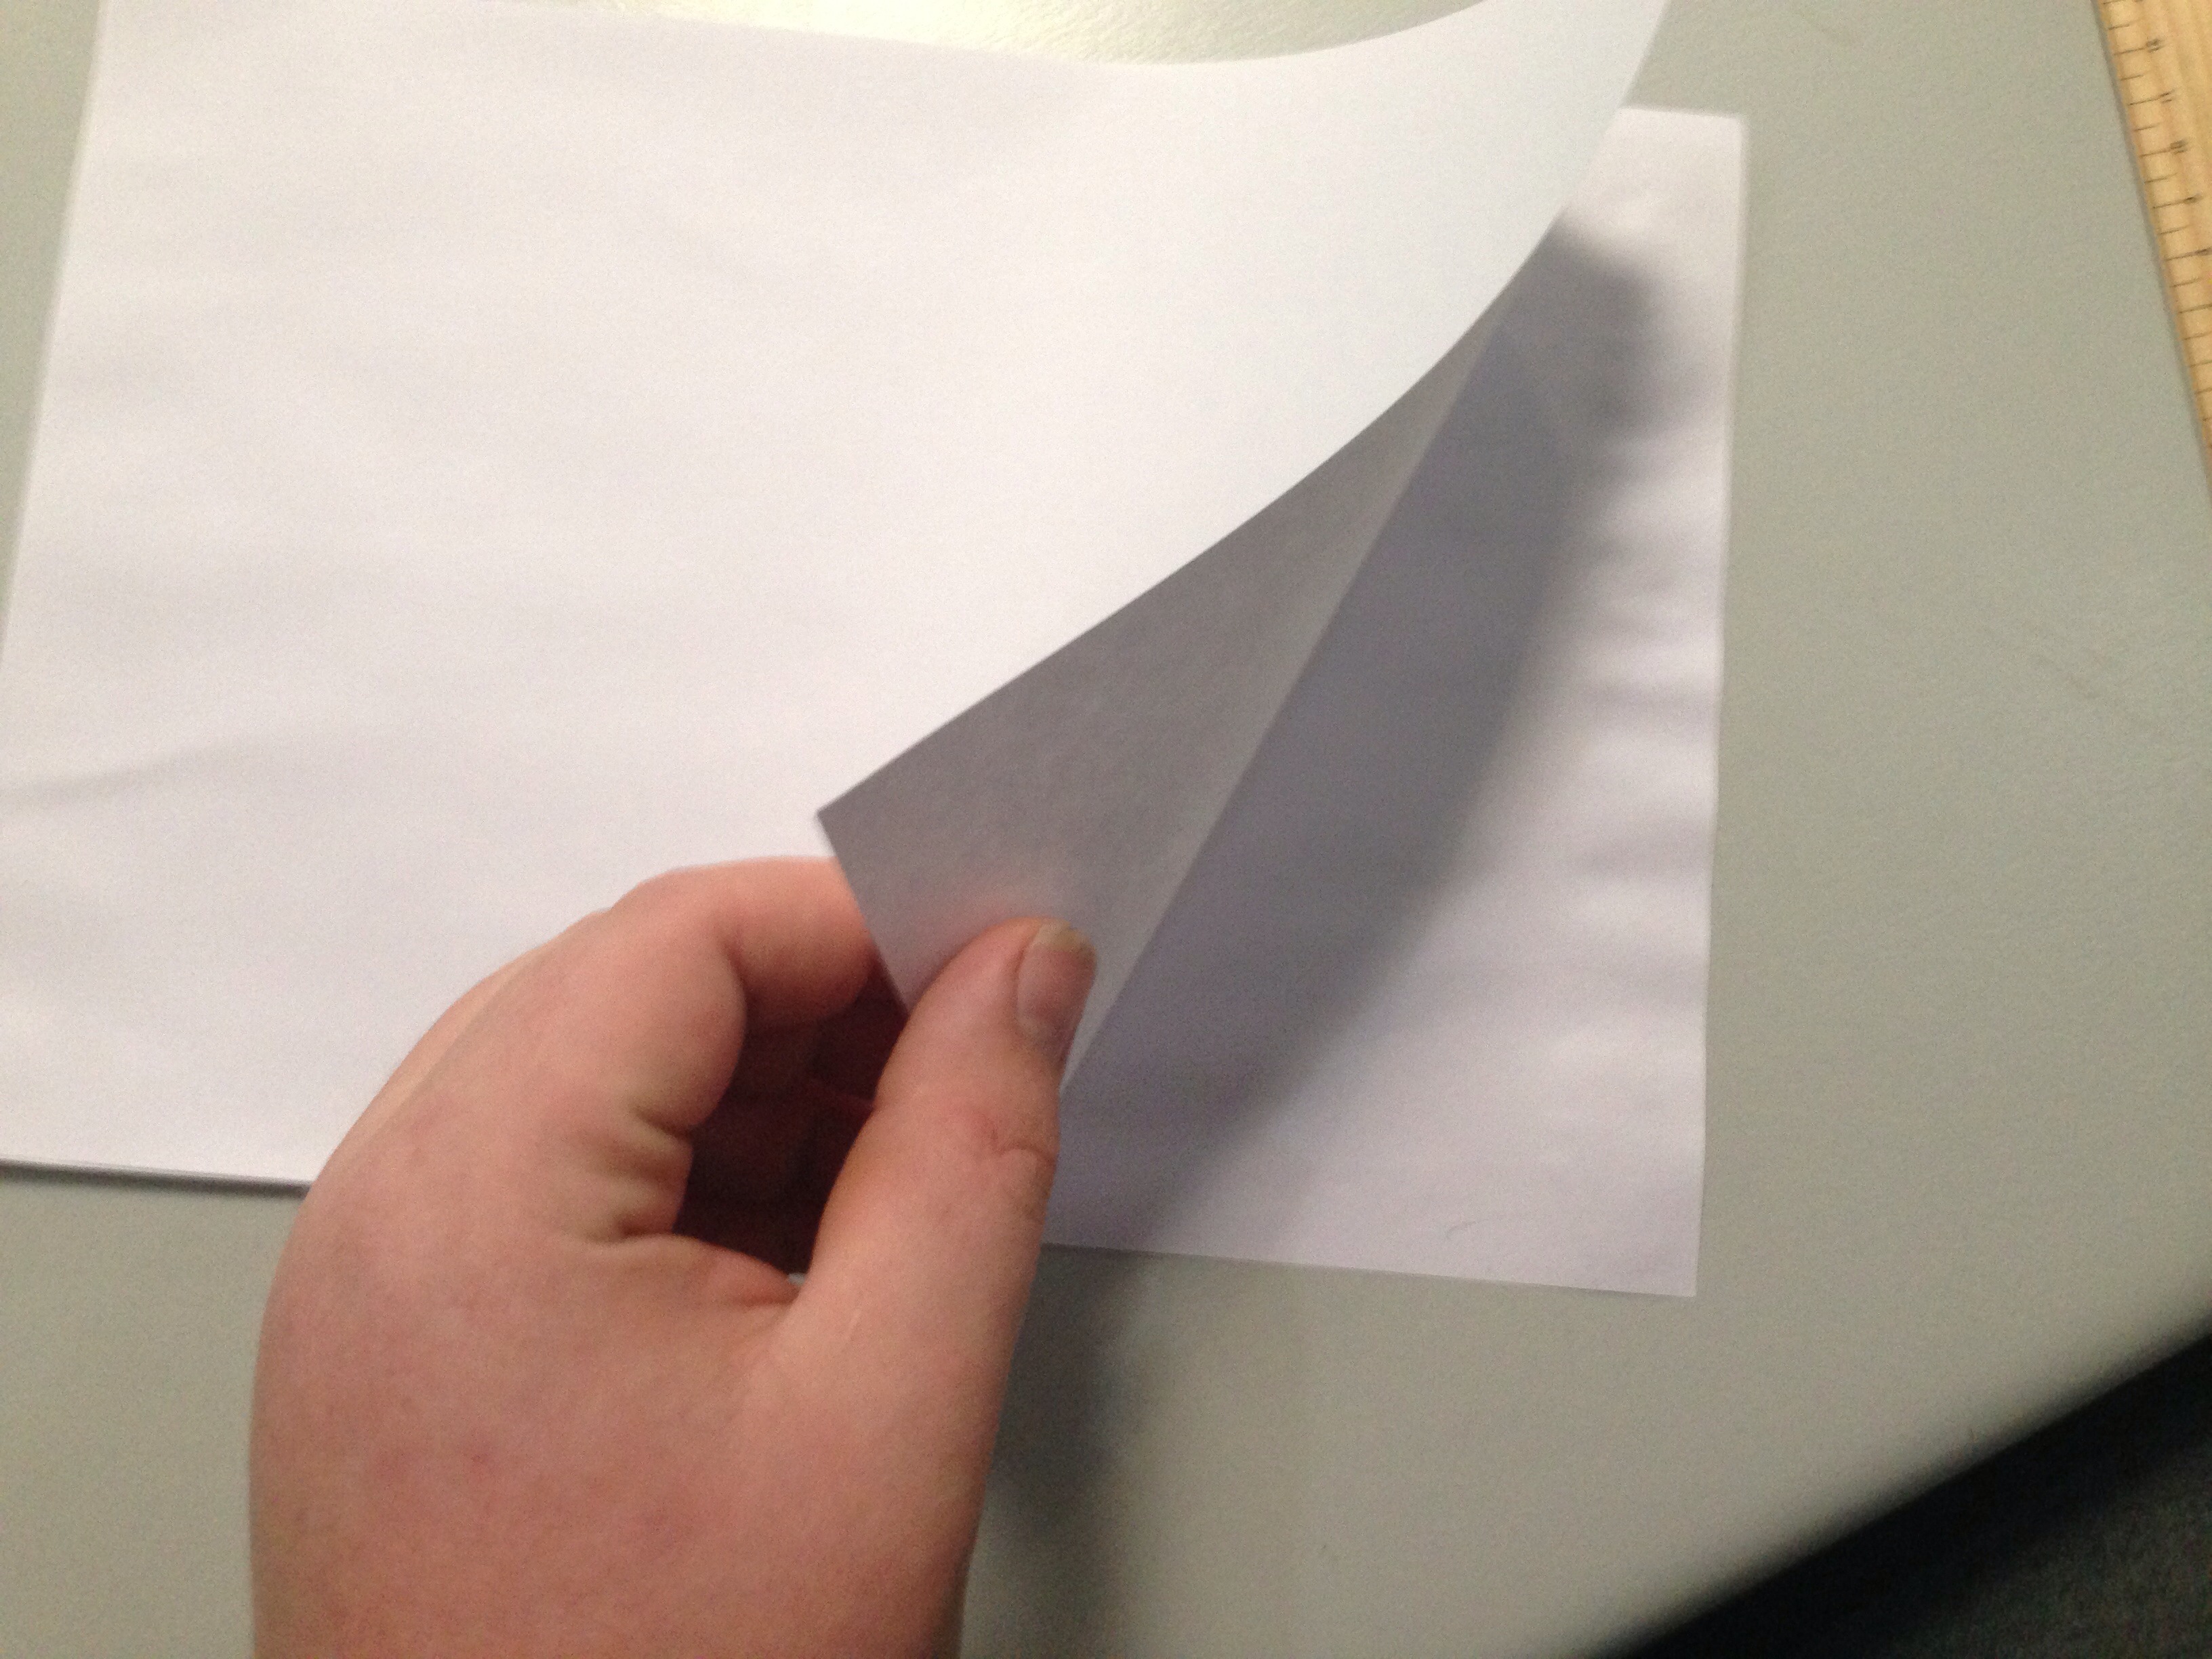


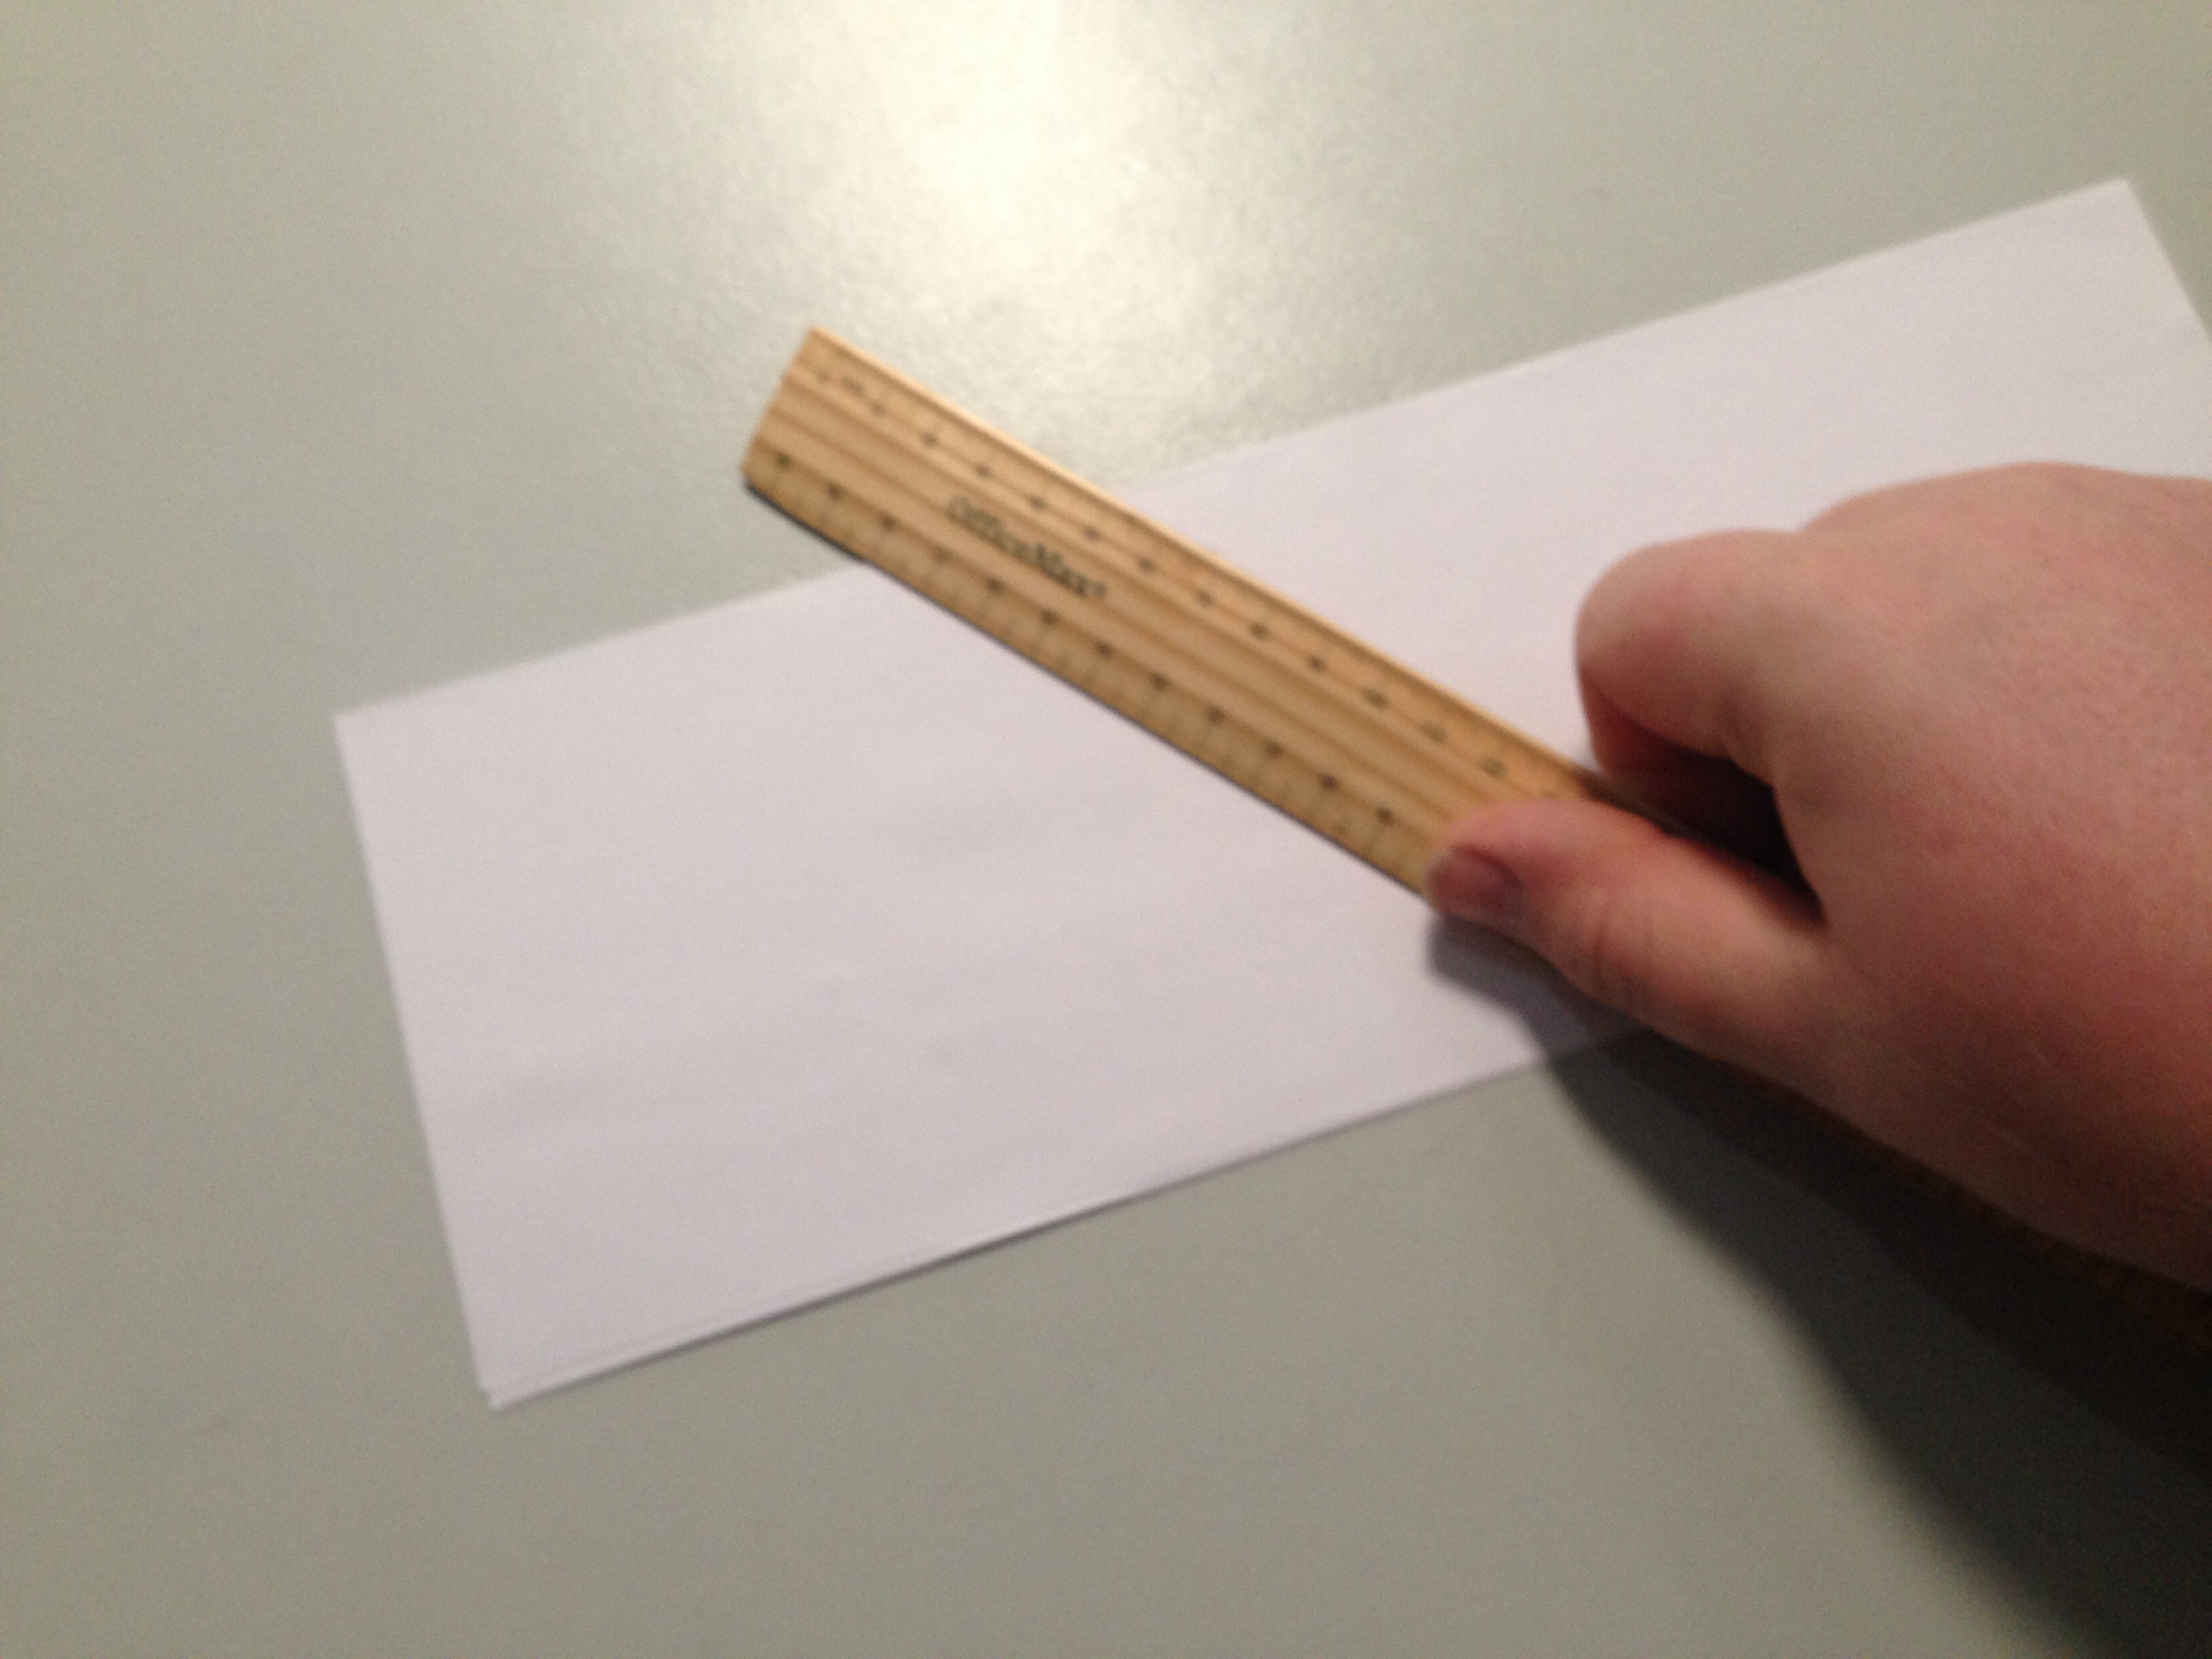


1. Take a piece of paper and cover one side of it with glue, making sure the edges are all covered.
2. Place another sheet of paper on top of the glue, taking the time to line it up as best you can.
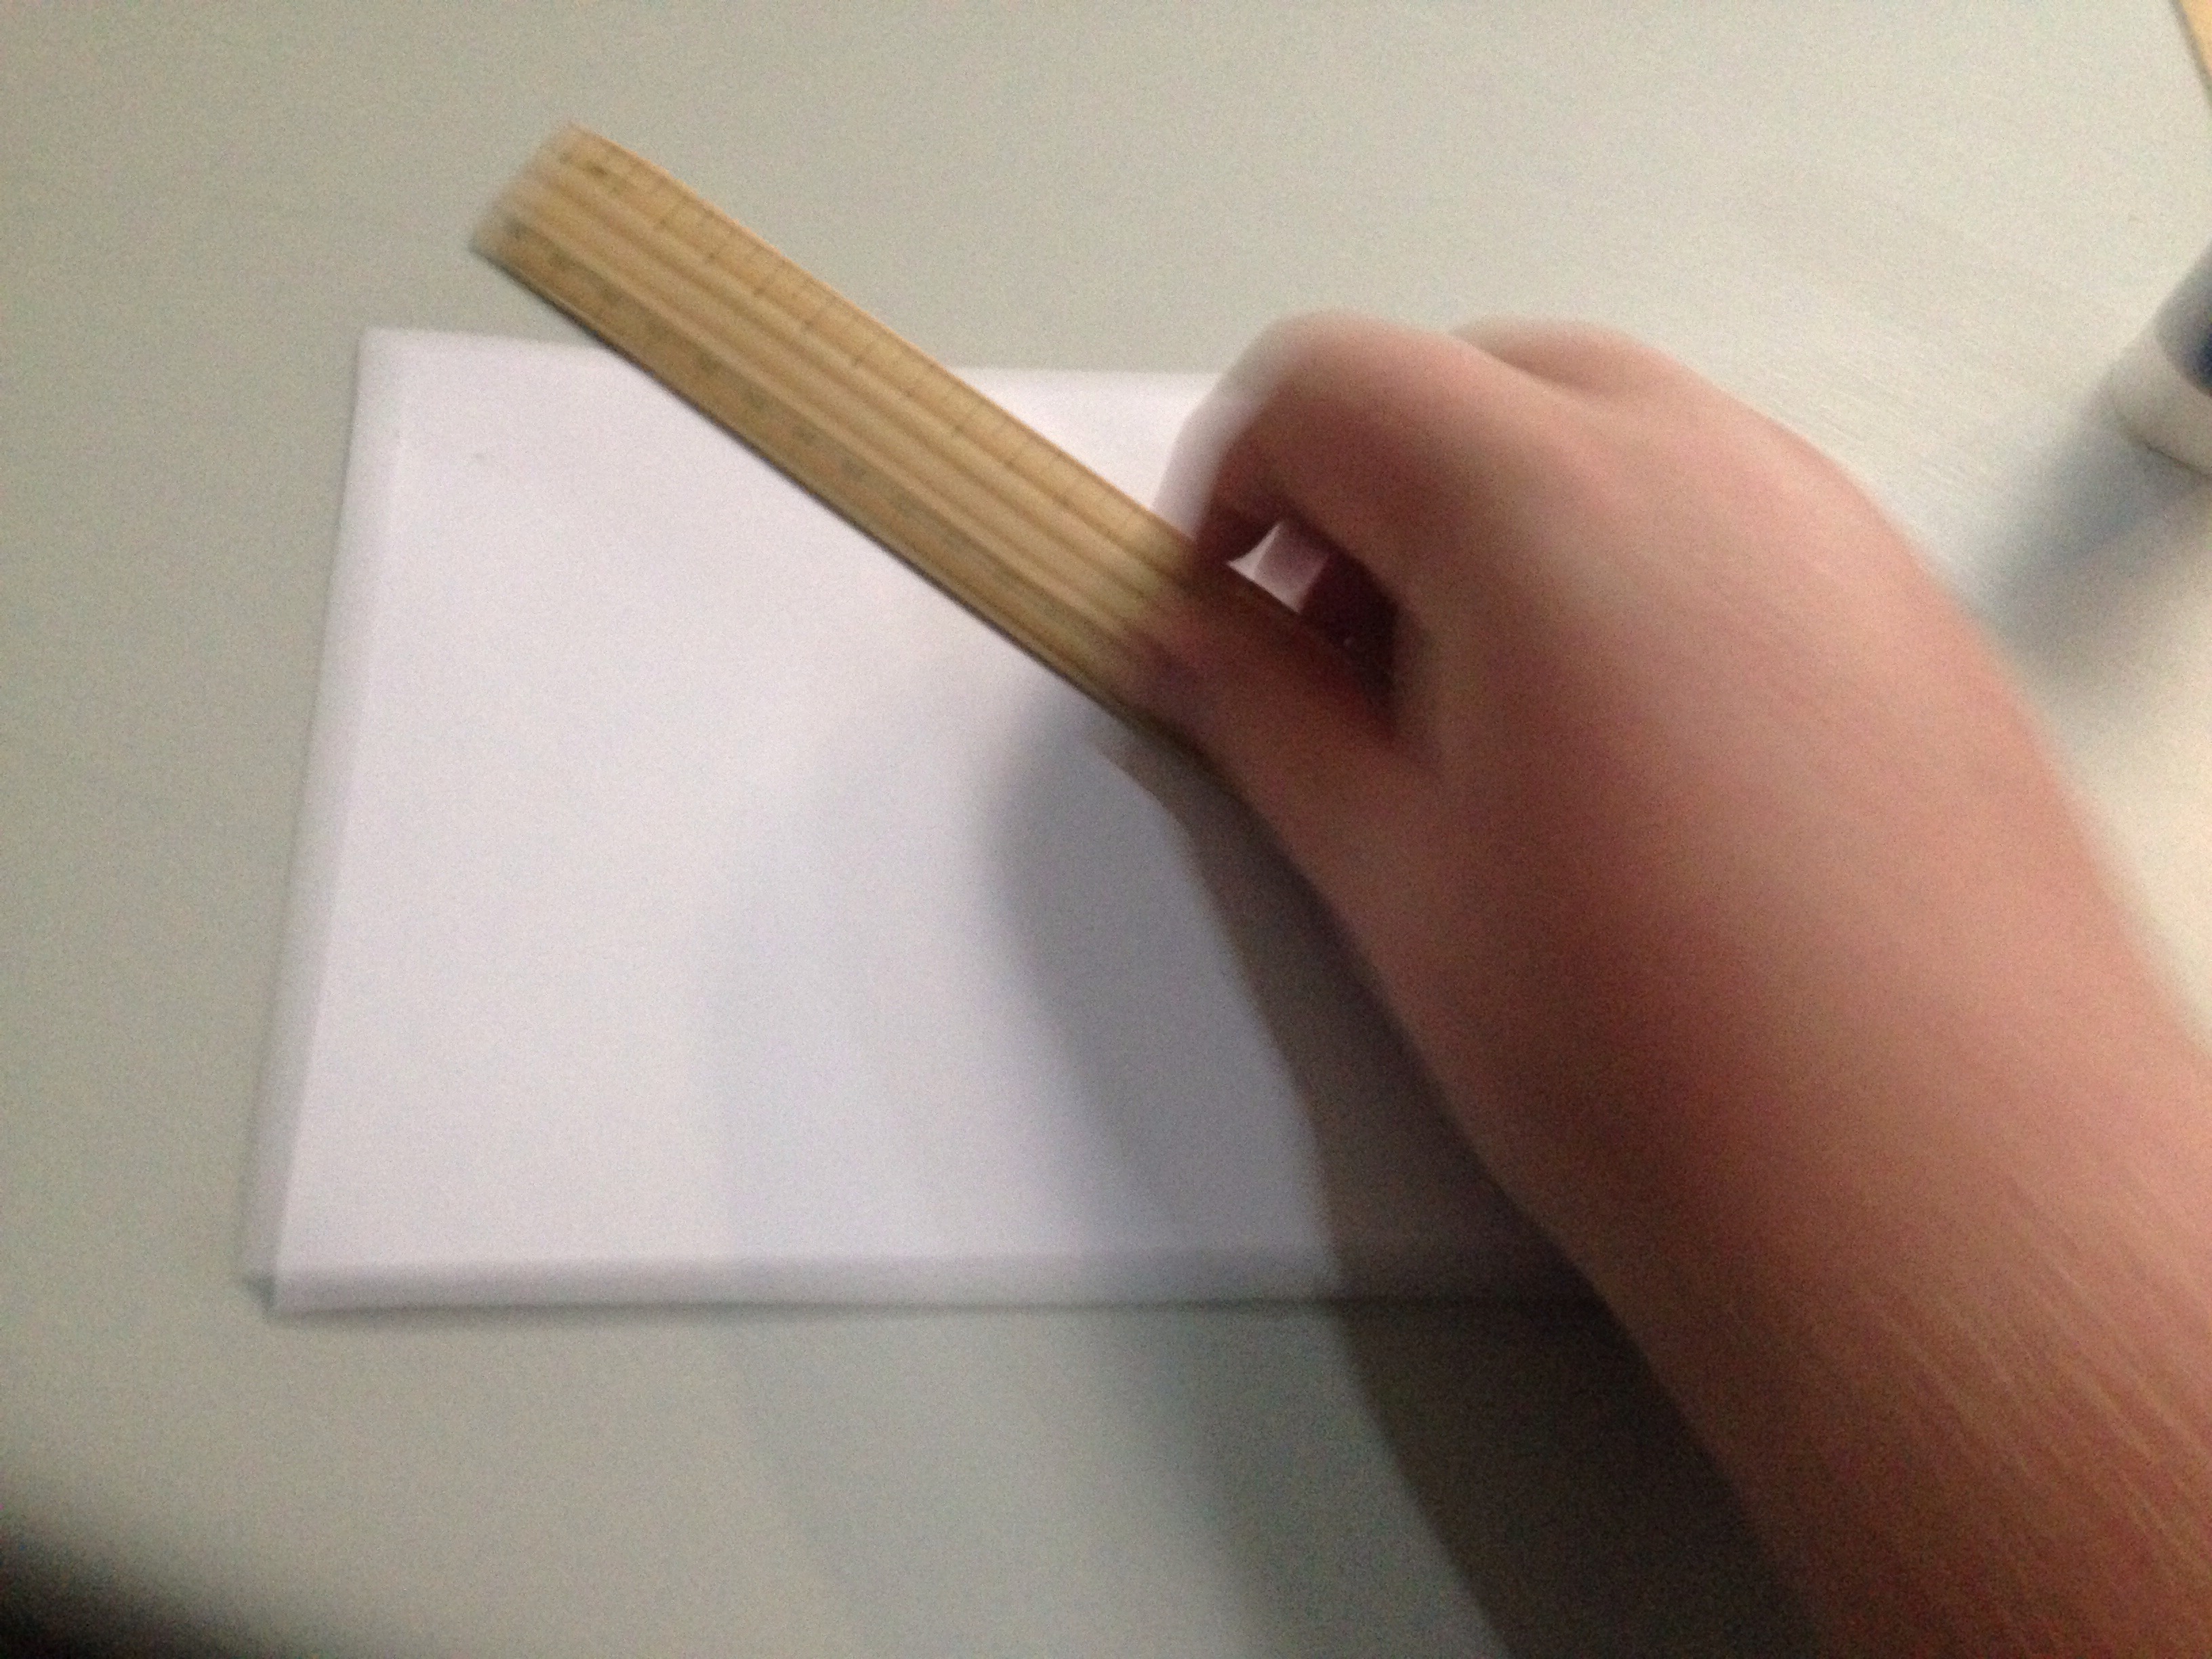
3.using a ruler at about a 45 degree angle smooth out the paper and squish the two sheets together.
Repeat steps 2&3 so you have a 3 sheet thick piece of "laminated" paper
4. Fold the piece of "laminated" paper in half vertically.
5. Open it back up, and cover half of the inside with glue, then fold it back together.
6. Use the ruler to smooth out the paper, and to further squish it together.
7. Fold in half vertically again.
8. Open it back up, and cover half of the inside with glue, then fold it back together.
9. Use the ruler to smooth out the paper, and to further squish it together.
10. Repeat steps 1 through to 9 until you have 16 paper "blanks"
Making the Sword Core


1. Take 2 of the paper "blanks" and cut them in half horizontally.
2. Lay 4 of them in a row, end to end.
3. Cover the top face of the 4 blanks with glue.
4. Lay one of the half blanks on top.
5. Place a full blank covering the remaining half of the first blank and half of the next blank, just like laying bricks.
6. Continue on with 2 more full blanks, and finish it off with one of the half blanks. You should now have a 2 layer thick, 4 blank long strip of paper, which each strip overlapping the underneath blanks.
7. Continue on with the rest of the blanks layering them as before so you end up with a 4 layer thick sword core.
8. This should be what you end up with.
9. Side view of the sword core.
Refining the Sword Core


1 & 2. Draw out an outline in preparation to cut.
3 & 4. Cut along the outline.
3 & 4. Cut along the outline.
Strengthening and Defining the Shape


1. Smother the sword core in glue, then place the pop sticks three wide on the handle.
2. All the way up the blade, place pop sticks 2 wide along the back edge, and right at the tip 1 wide.
3,4&5. The second layer of pop sticks should overlap the joins in the previous layer, like the paper blanks. (Don't forget to use plenty of glue)
2. All the way up the blade, place pop sticks 2 wide along the back edge, and right at the tip 1 wide.
3,4&5. The second layer of pop sticks should overlap the joins in the previous layer, like the paper blanks. (Don't forget to use plenty of glue)
Constructing the Cross Guard


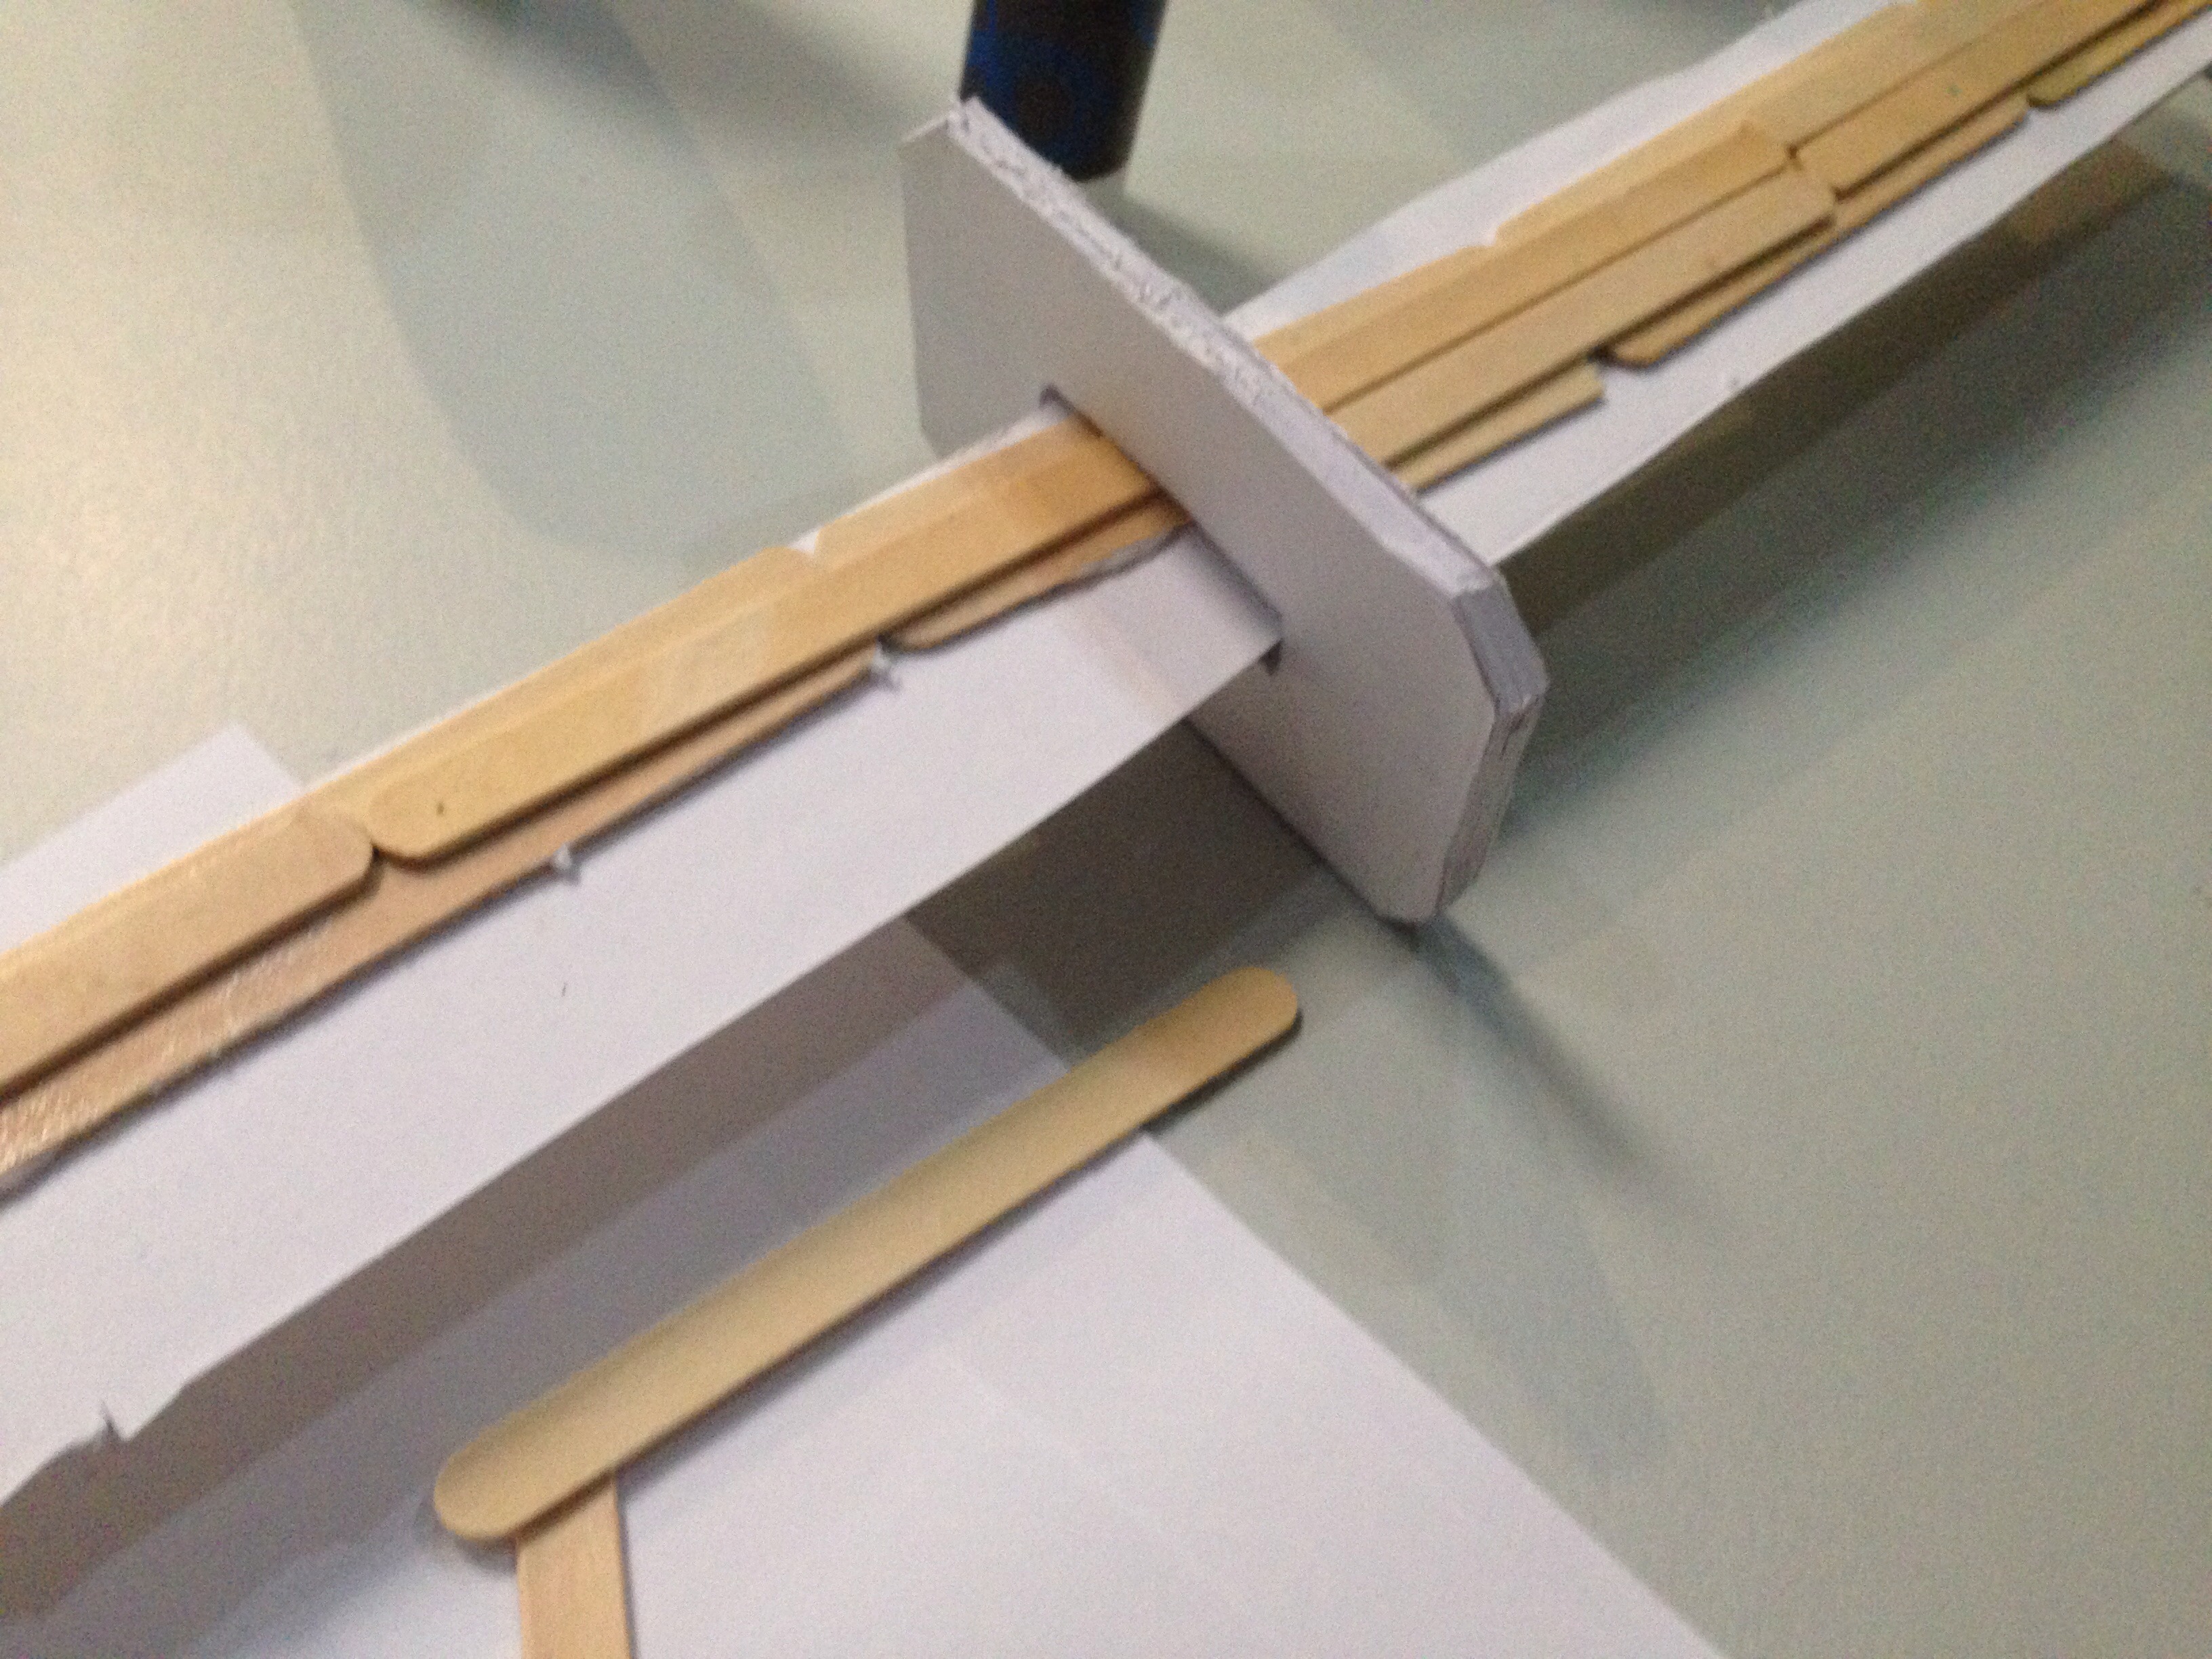
Using the methods from making the paper blanks, laminate 3 pieces of paper together.
1. Take the laminated paper and fold it in half horizontally.
2. Open it up, smother half of it with glue, then fold it back in half
3. Use the ruler to smooth out the paper, and to further squish it together.
4. Fold in half again, along the horizontal line.
5. Open it up, smother half of it with glue, then fold it back in half.
Use the ruler to smooth out the paper, and to further squish it together.
6. Fold in half again, and repeat the glueing and ruler squishing.
Repeat steps 1 through 6 so you have 2
7. Cover the face of on of the pieces with glue.
8. Place the other piece on top of the glue.
9. Use the ruler to smooth out the paper, and to further squish it together.
10. Find the middle of the piece and mark out a hole the size of the sword, take into account the size difference of the blade and hilt.
11. Draw out any other things you want to cut out on your cross guard, I have left mine rather simple.
12. Cut out the cross guard.
13. Slide it down the blade and sit it against the top of the hilt.
Covering the Sword




Laminate 2 pieces of paper together, then fold and glue in half vertically.
1. Fold in half vertically, open up, then smother the entire inside of the piece of laminated paper.
2&3. Place on the back of the sword blade and smooth over, bonding it to the reinforced sword blank.
4. Do this for the whole blade and hilt, stopping just before the bend at the tip of the sword.
5. Do this on both sides of the hilt but only on one side of the blade
6. Fold and glue a piece if paper in half horizontally.
7. Use the ruler to smooth out the paper, and to further squish it together.
8. Fold in half again and glue.
9. Fold in half yet again, but don't glue.
10. Place the sword along the fold made in the previous step, and trace out the shape of the tip onto the piece.
11. You will end up with something similar to this.
12. Cut it out.
13. Smother it with glue.
14. Position it on the sword and smooth it out.
The Edge


Using the same technique of making the paper blanks, but instead of using three layers only use one.
Fold the blank in half again, so you have a thin strip.
1. Cover all of the inside of the strip of paper with glue.
2. Place around the front of the blade.
3. Smooth over, and fuse to the sword, forming the edge of the blade.
Do this for the whole blade, stopping at the base of the curve of the point.
4. Cut a piece of paper in half along the horizontal line.
5. Fold and glue.
6. Fold and glue again.
Fold in half both horizontally, unfold then fold vertically.
7. Cut as shown in the picture.
8. Place over the tip, and work out the shape you need to cut it.
9. Cut off the excess.
10. Smother it in glue.
11. Position on the tip and fuse it to the sword.
Allow to dry for 24 hours or so for best result.
Congratulations you now have a paper sword.