Personalized 3D Printed PEZ Dispensers
by allie.fauer in Workshop > 3D Printing
30022 Views, 137 Favorites, 0 Comments
Personalized 3D Printed PEZ Dispensers


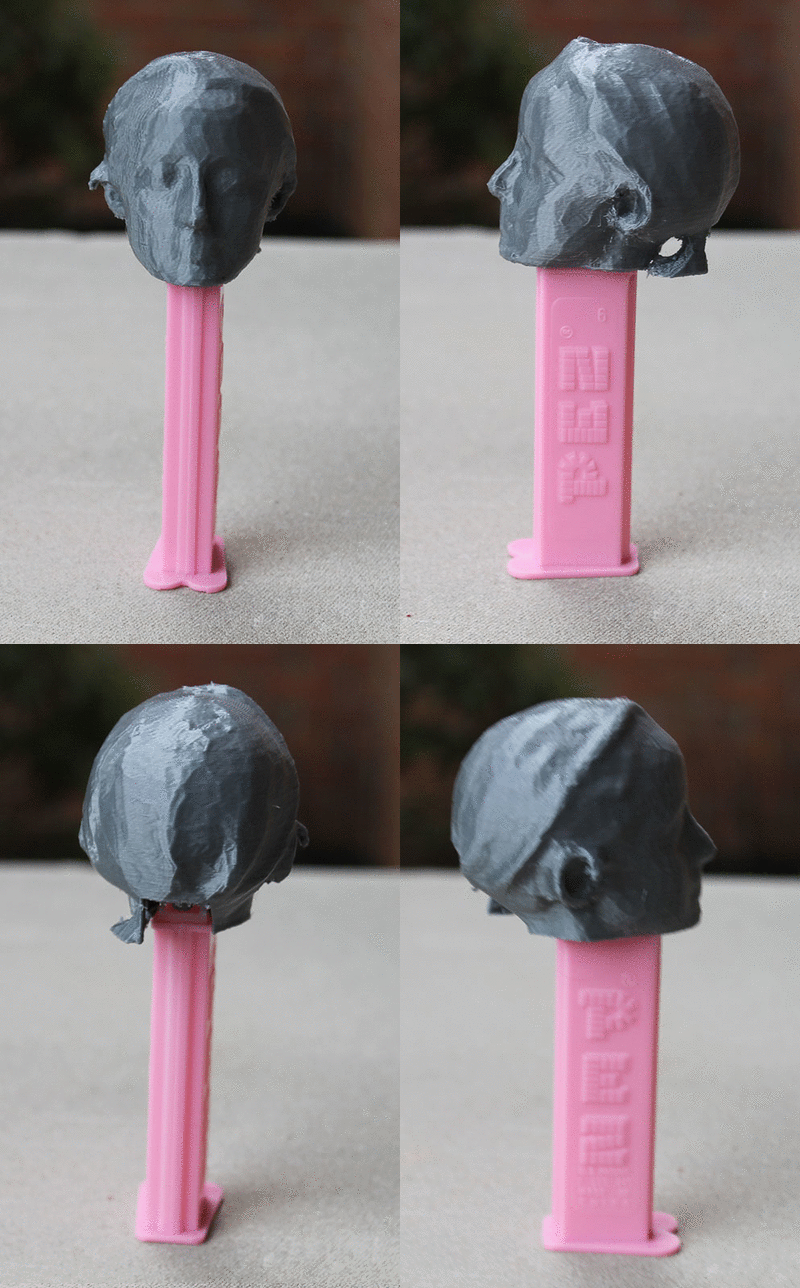
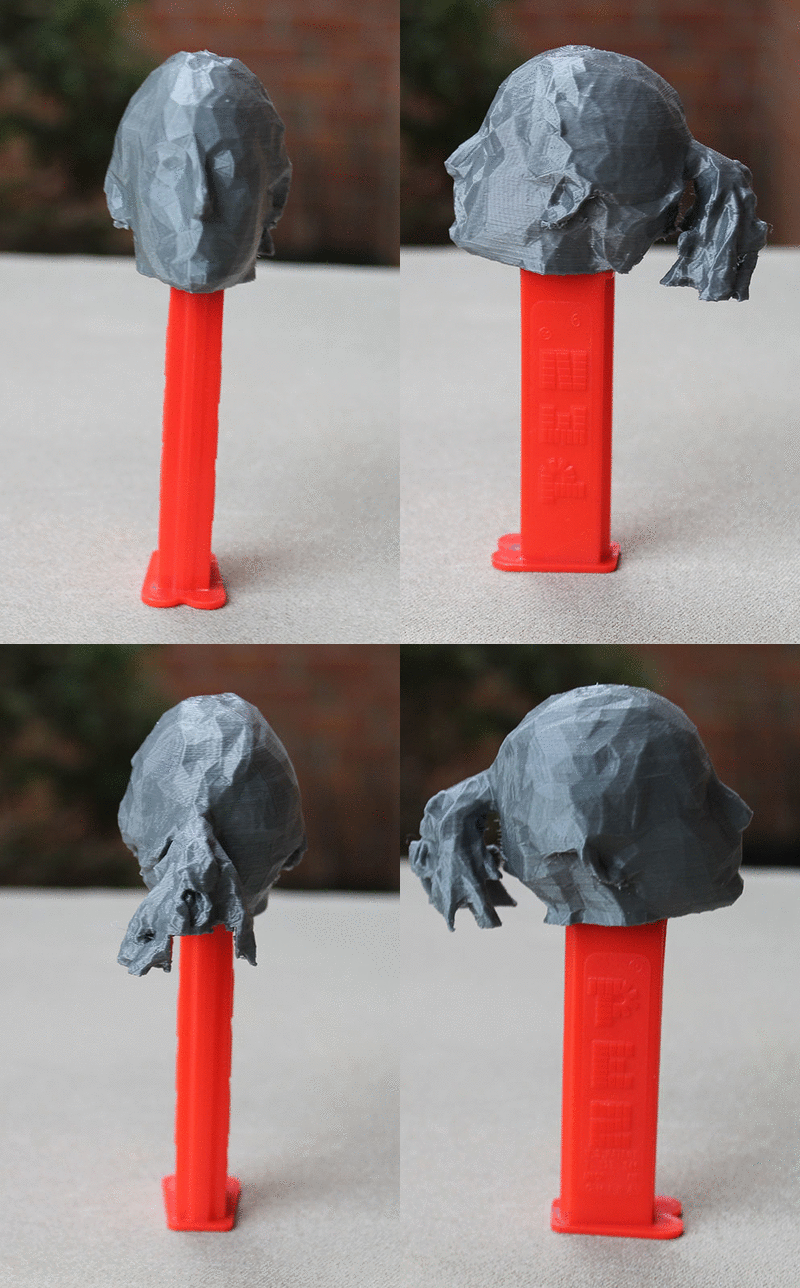
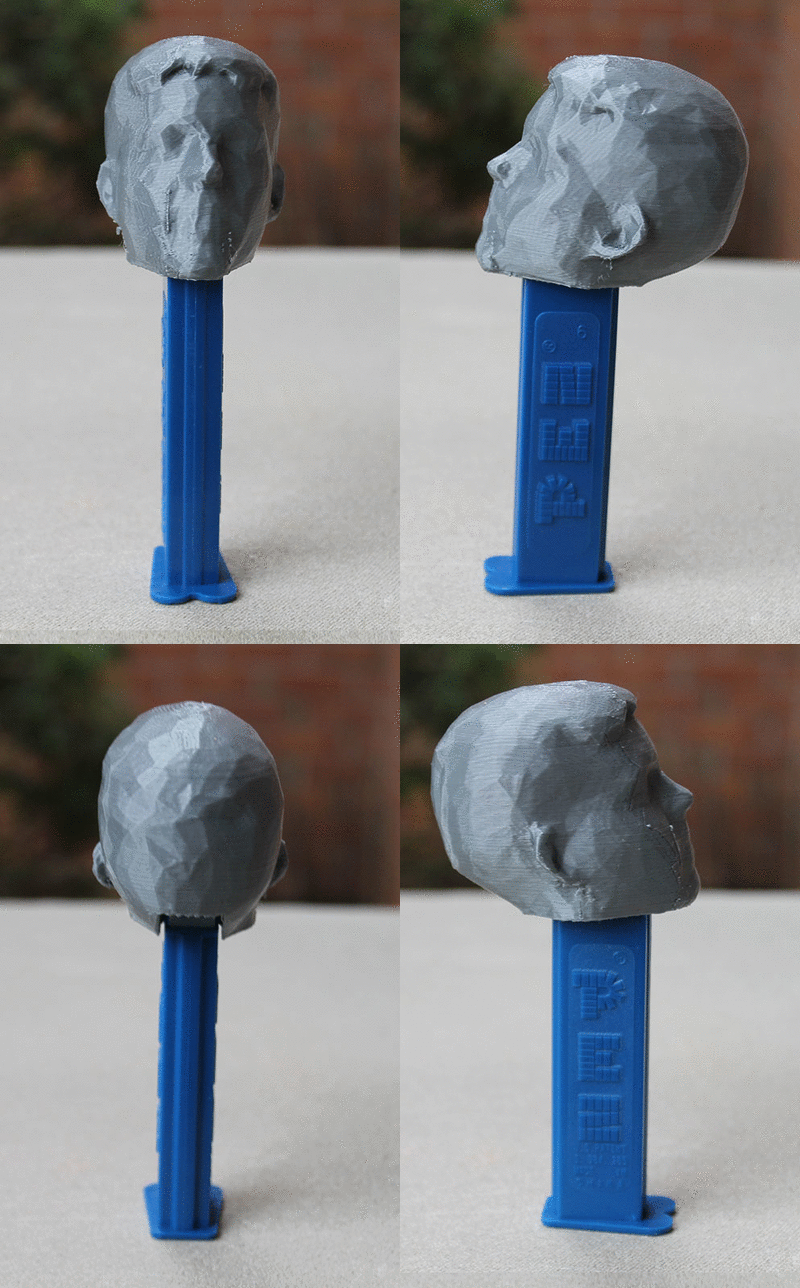
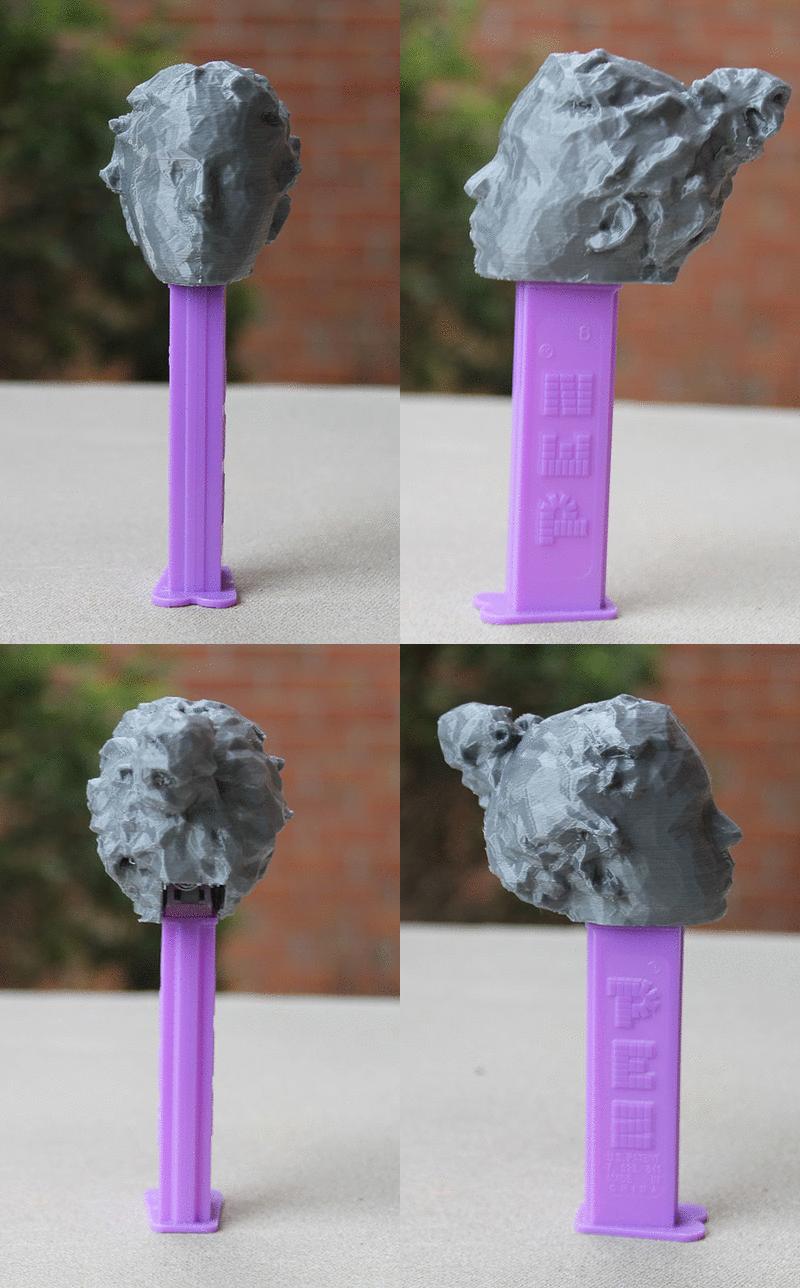
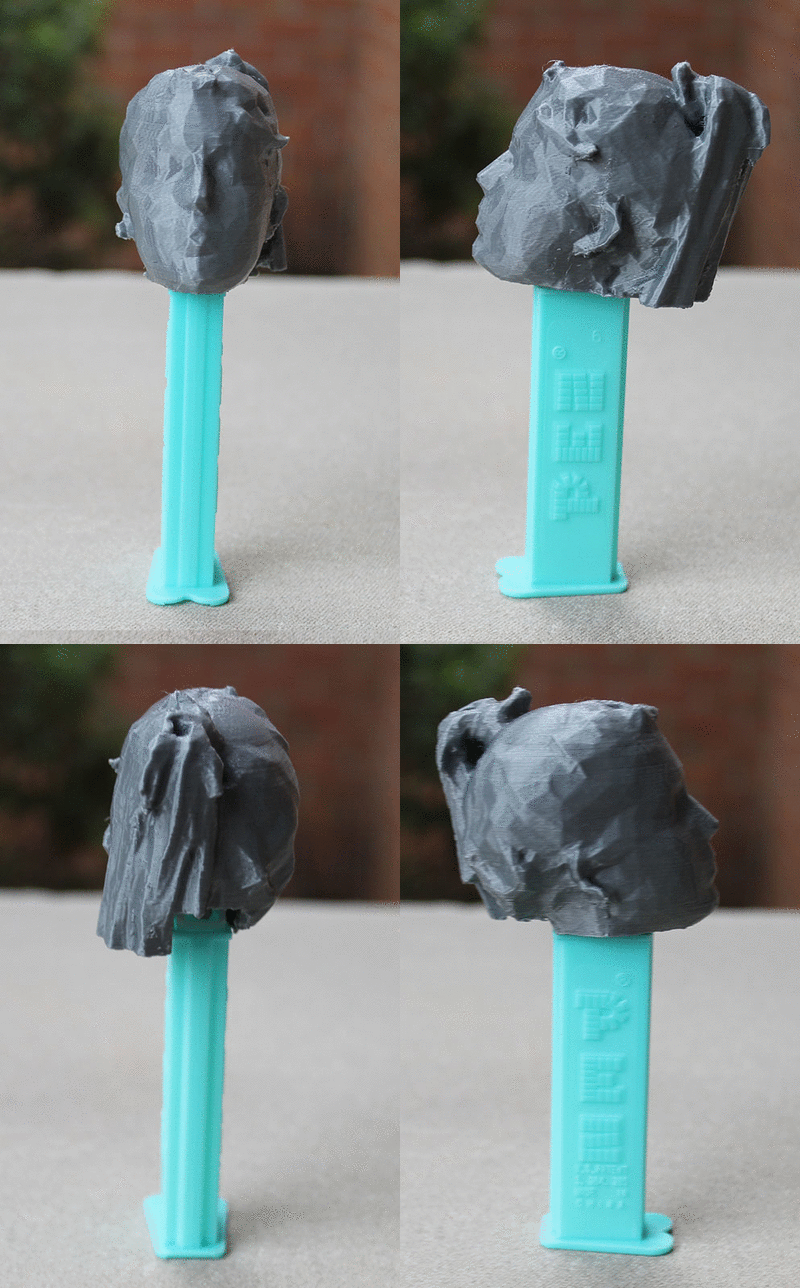
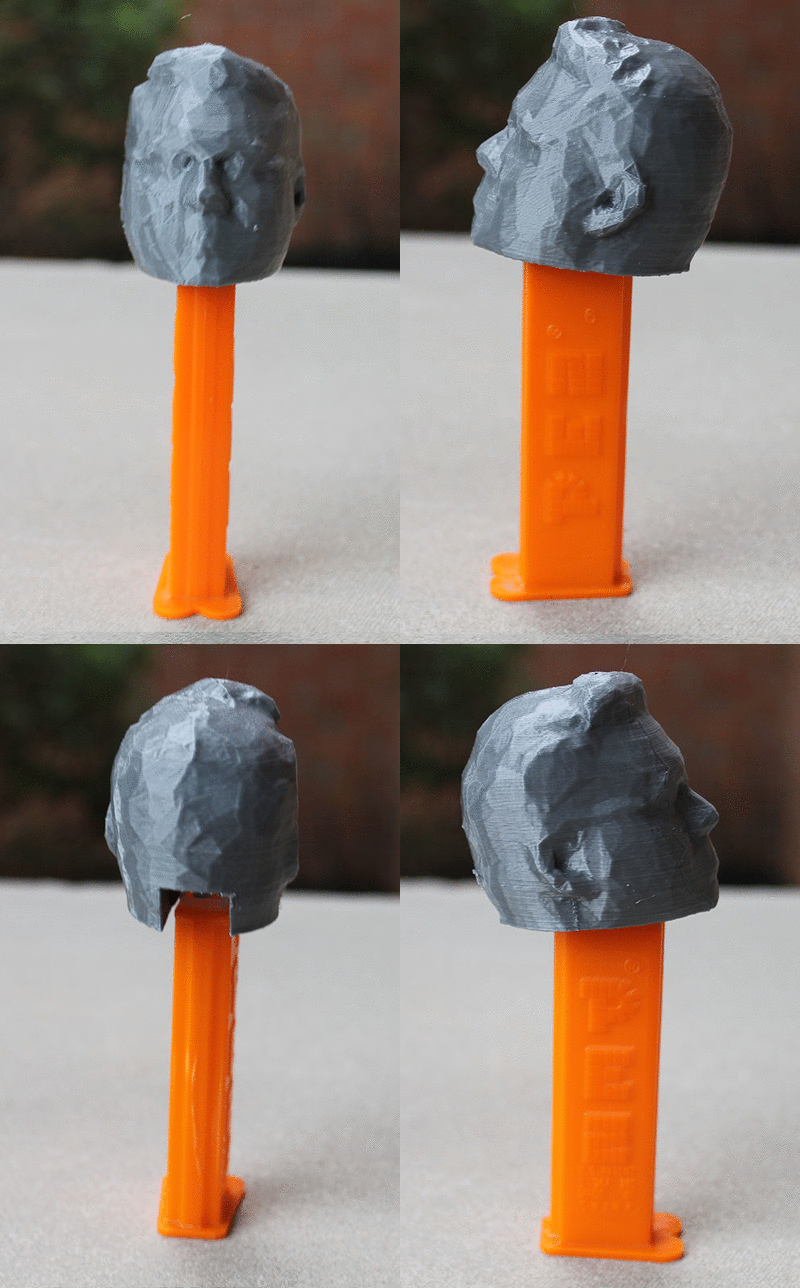
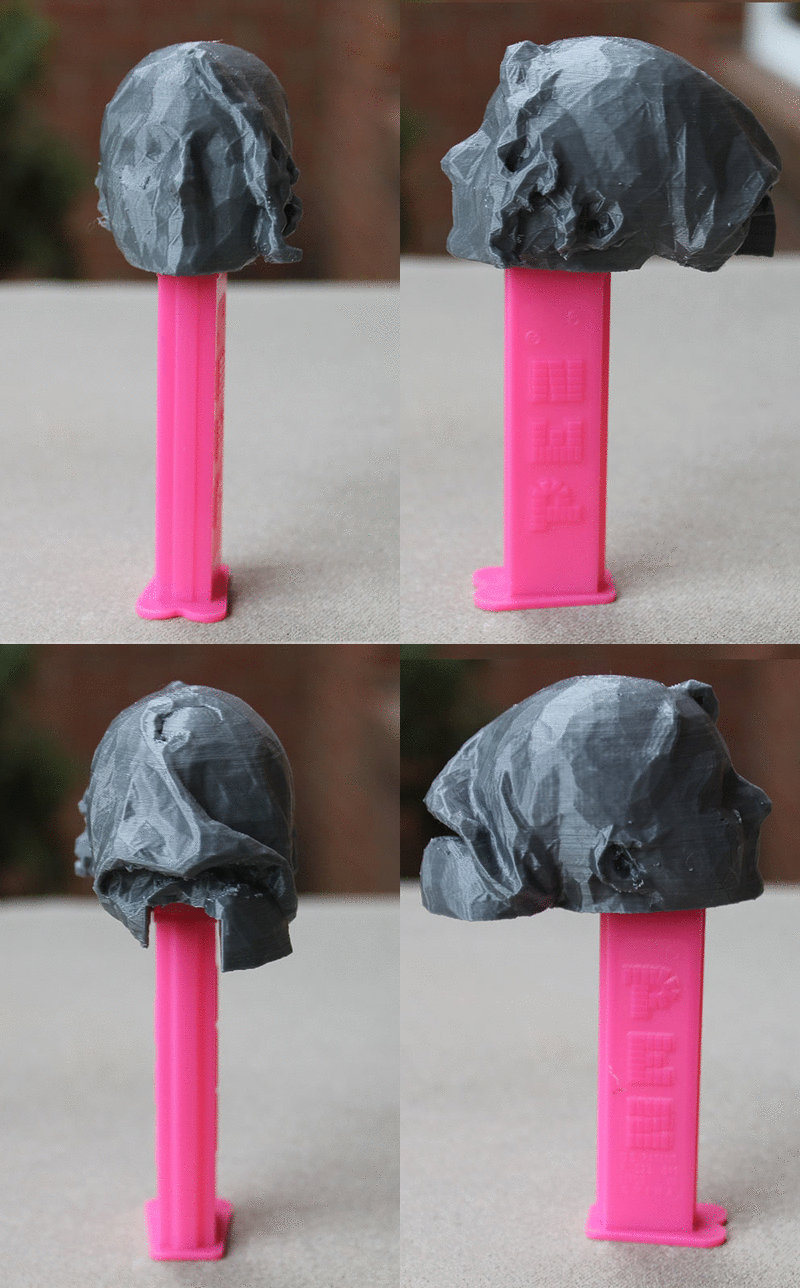
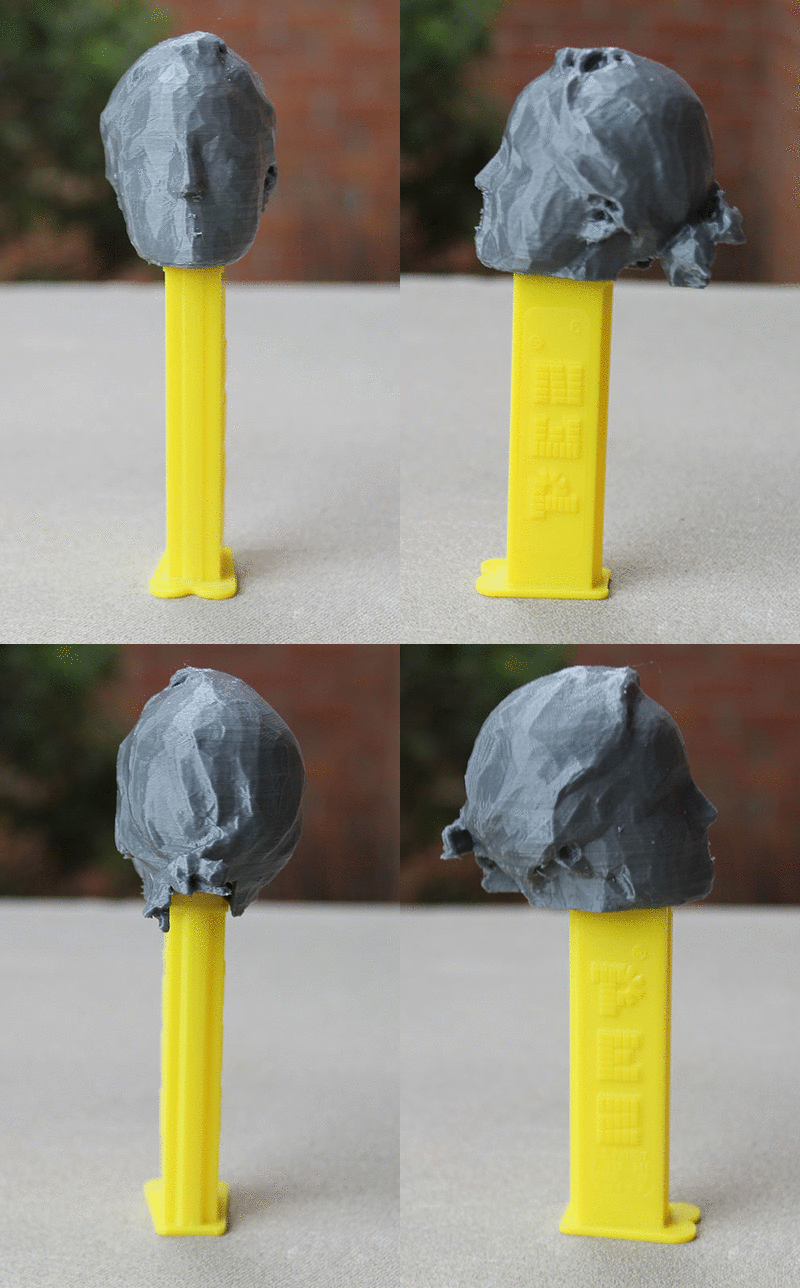
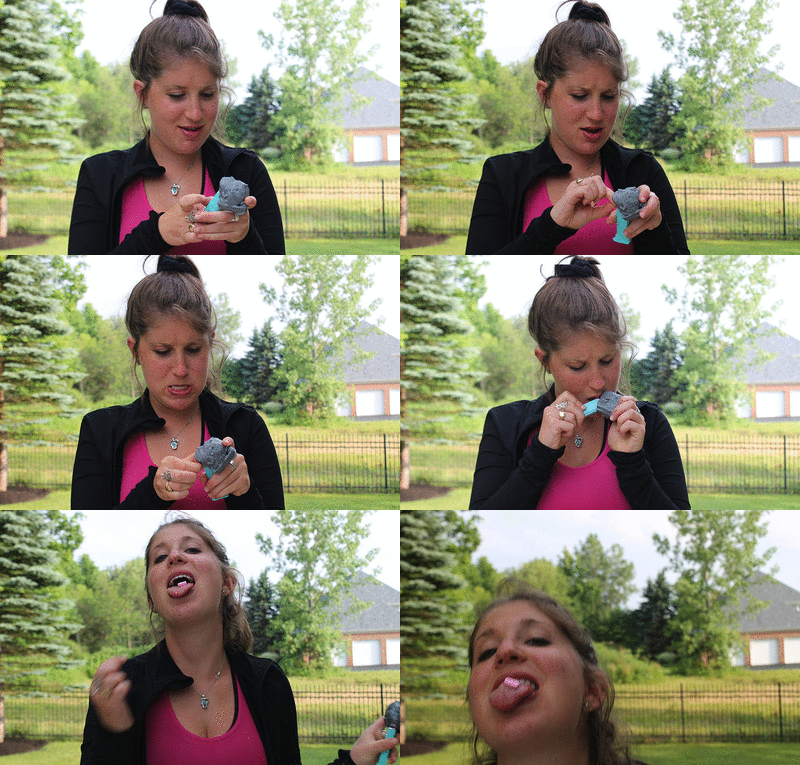
In case you haven't been getting your daily dose of nostalgia lately, I present to you Personalized 3D Printed PEZ Dispensers!
We all remember PEZ. As a child of the 90's, these candy dispensers were gifted to me quite frequently growing up. While I've always had a bit of a sweet tooth, the PEZ dispenser was always more enjoyable than the candy itself. I loved collecting my favorite cartoon characters and comparing my dispensers with ones belonging to friends.
In my adult (big kid) years, I've been doing a lot of 3D printing and 3D scanning. My previous Instructable, 3D Printed Head Planters was my first exposure with 3D scanning people, and I've since fallen in love with this medium. That is why I decided to once again, 3D scan my friends and this time, create personalized PEZ dispensers with their heads on top!
While the idea for this Instructable was my own(although my Mom will tell you it was hers....) I would like to credit a few 3D printing enthusiasts and professionals who I stumbled upon in my research for this project and have pioneered this idea before me. Send your virtual 'high fives' to Tony Buser for making a large batch of PEZ dispensers back in 2012, and Toronto based design and digital fabrication company Hot Pop Factory for being awesome enough to 3D scan their employees and give them all personalized PEZ dispensers at a holiday party.
Tools, Supplies and Software


To complete this project, you will need access to the following things,
Tools & Supplies
-PEZ Dispensers (I bought mine at Wegmans, but they are a little cheaper online. Get extra incase they break.)
-Jeweler's Screwdriver
-3D Printer (I used a MakerBot Replicator 2)
-Computer
Software
-Rhino or equivalent 3D modeling software (this Instructable will cover editing files in Rhino)
Download Skanect

Skanect is the software used to do all of the 3d scanning for this project. You can download this software here. Skanect is available for both Mac and PC platforms, and they keep an archive of older versions available to download incase your operating system is not up to date.
Do note that there is a paid and free version of Skanect available to download. For the purposes of this project, the free version will work fine.
Get Ready to 3D Scan


Begin by plugging everything in! Connect the power supply chord to your Kinect, and plug the USB into your computer. The power supply chord also needs to be plugged into the wall.
Next, open Skanect. If everything is set up correctly, there should be a green icon in the top right corner of your Skanect window that says 'Freenect Sensor'. If something was set up incoreectly, in place of the green icon you will see a yellow icon and a message that reads 'Structure Sensor Waiting for Uplink...'.
Once you have confirmed that you have your Kinect set up correctly, there are a few settings on the front page that need to be configured. As shown in the picture on the top of this step, the following options should be selected:
| Scene | Body |
| Bounding box | 1 x 1 x 1 meters |
| Aspect ratio | Normal |
| Path | leave as is |
| Config File | None |
Once you have made sure that all of these options are selected, you can press 'Start'.
Scan Your Subject


Choose a place to scan your subject, preferably in a well lit location. Have your subject stand still and face the Kinect sensor. Hold the Kinect sensor at a height so your subject is situated fairly centered in the cube on your screen. Make sure no nearby objects are also appearing in the cube on your screen. If this is the case, either move these items, or find a new location to scan in.
Once your subject is situated how you would like, press record which is the red, square button with a circle in the center in the top left corner of your screen. By default, Skanect will count down from 3 before it starts recording. You will notice that your subject now appears larger on your screen and if everything is working correctly, they are now covered in a field of mostly green with a little bit of red. The Kinect sensor has a built in infrared depth sensor, and the green is showing you the data that is currently being collected.
Now that you are recording, instruct your subject to slowly rotate a full 360 degrees. Make sure you are watching your computer screen while they are rotating so you can confirm that the Kinect is able to record data. Your subject should be covered mostly in green at all times!!! A little bit of red is ok, but if too much starts to appear, tell your subject to slow down. In some instances, Skanect will instruct you to go back to your last pose if it begins to have trouble capturing data. If this happens, it is usually easier to start the scan over again instead of trying to correct the problem.
After your subject has rotated 360 degrees once, slowly move the Kinect sensor up to try to capture data from the top of your subject's head. Since I am fairly short, I usually try to capture about half of the data at first, and then I instruct my subject to rotate 360 degrees once again to get the rest. After you get information on top of the head, move the Kinect sensor down slowly to capture data underneath your subject's chin. Once you have captured all of the data, hit the record button once again to end the scan.
Tip: If you happen to be a short person (like me!) and are trying to scan a tall subject, stand on a chair while scanning them.
Process Your 3D Model


Before exporting your 3D model, you need to do some post processing in Skanect. To begin, select the Process tab at the top of your screen.
First, we have to make sure no stray objects were captured in our scan. If this is the case, under the Geometry tab on the left side of the screen, select Remove Parts. The default setting under this tab is 99%. Use this setting and select Run.
Next, we need to fill the gaps that the scan missed to make the 3D model a solid object. To do this, under the Geometry tab select Fill Holes. Under this tab, select the following options:
| Strategy | Watertight |
| Smoothing | Very Low |
| Limit | No extrapolation limit. |
Once you have these options selected, press Run.
Lastly, we have to minimize the amount of 3D data that is going to be exported. The free version of Skanect will only export 5000 mesh faces, so in order to get the best resolution, we need to delete some of the 3D data that isn't going to be used. To do this, under the Geometry tab select Move & Crop. Under this option, there is a slider bar 3 rows from the top that by default says Ty: 0%. Drag the slider around until the blue plane intersects your model a little lower than the chin. When your are satisfied with the location of this plane, select Crop to Ground to delete data underneath.
Note: If you happen to be working with the paid version of Skanect, you can skip the Move & Crop step.
Export Model

The last step from within Skanect is exporting your 3D model! To do this, go to the Share tab at the top of the screen. Then, under the Local section on the left hand side of your screen, select Export Model. Under this window, select the following options:
| Format | OBJ |
| Colors | Pre-vertex |
| # Faces | Free version limited to 5000 faces |
| Scale | Pick anything! You will have to rescale later anyway! |
| Color Space | sRGB |
Select Export Preview (no PRO license) and save the .OBJ file in your preferred location.
Set Up Your File in Rhino


Now we are going to edit using Rhino. Begin by opening the program. By default a page pops up which either displays recent models or templates. If your window is showing recent models, select Show Templates on the bottom right hand side of the window. You will have several templates to choose from. You can select whichever unit you feel most comfortable working in, but for the scale we are working in, make sure it says 'Small Objects' at the beginning. For my PEZ dispensers I worked in Inches.
Next, import your model. To do so, use the command Import and when prompted, select the file you exported from Skanect.
Next, we have to make sure our 3D model is scaled and oriented appropriately. To scale your object, use the command Scale, and with your curser, drag your mouse until your model is the desired size. For my PEZ dispensers, I scaled my heads to be a little larger than a standard PEZ dispenser and they measured to be approximately 2" across.
Finally, orient your object so it is square with the X, Y and Z axis. You can do this by using the Rotate command and viewing your object in all 4 viewports to see if it is aligned correctly.
Trim the Bottom of Your Model


Next, we need to remove part of our 3D model beneath the chin. To do this, look at your 3D model from one of the side viewports and using the Rotate command, rotate your head how you would like. I have found that rotating the head so it is tilted slightly upwards looks nice on a finished PEZ dispenser and provides more surface area to cut the mechanics out in the next step.
Once your model is rotated, using the Line command, draw a line where you wish to trim below. Use the command MeshTrim, and when prompted to 'select cutting object', select the line you drew and when prompted to 'select object to trim' select your 3D model by clicking on it anywhere under your line.
Trimming the bottom of your 3D model will turn it from a solid into a surface. To turn the 3D model back into a solid, we need to fill in all of the holes created using the MeshTrim command. To do this, follow the following path:
Mesh > Mesh Repair Tools > Fill Hole
This command will prompt you to 'select mesh edge on hole boundary'. Choose a hole that needs to be filled, and select the edge of this hole and it should fill this. Repeat this command until all of the holes at the bottom of your 3D model are filled.
Tip #1: It will be extremely tempting to use "Fill All Holes" instead of "Fill Hole". Avoid doing this, because it confuses Rhino. When filling multiple holes in a mesh on the same plane, Rhino has trouble recognizing which edge is the boundary of certain holes and you are more likely to get errors.
Tip #2: Sometimes it is difficult to see if you have filled all of the holes at the bottom of your 3D model. To confirm that you have, you can analyze the model by following this path:
Analyze > Edge Tools > Show Edges
You will be prompted to 'show surfaces, polysurfaces or meshes for edge display'. Select your 3D model, and it will show any naked edges in purple. If no purple appears, there are no holes.
Cut Out the Mechanics


The last bit of 3D modeling we need to do is to add the mechanics so that our head can be a fully functional candy dispensing machine!!!!!!
Begin by downloading the file at the end of this step titled PEZ_boolean.obj. Once you have downloaded this file, use the command Import within Rhino to add the file to your current document.
Using all four viewports, drag the shape you just imported so that it intersects your 3D model where the mechanics need to be cut out. The taller part of your model should be inside of the head, making sure that it is far away from the front so that the top corners don't poke out at all. The shorter side of the shape should poke out of the back of your 3D model. Make sure that the shape is situated fairly center on your head as well. For alignment on the bottom, move the shape down so that it is just slightly sticking out at the bottom. If the shape is completely flush with the bottom, Rhino might get confused therefore the shape will not get cut out correctly.
Once you are satisfied with the location of your shape, use the command MeshBooleanDifference. When prompted to 'select first set of meshes, surfaces or polysurfaces', select the 3D model of your head. When prompted to 'select second set of meshes, surfaces or polysurfaces', select the shape you imported.
If everything was done correctly, you should be done editing you PEZ head in Rhino! At this point you can go to:
File > Export Selected
With your model selected, save your PEZ head as a .STL file in a location of your choosing.
Downloads
Print Your PEZ Head!


Print your 3D model with raft and supports. I used PLA for my prints, but ABS should work fine as well. Make sure you use extra outside layers when you print. The notch that is designed to push the candy through has a tendency to break off when removing support material if extra outside layers are not used. I good rule of thumb is to double the amount of outside layers you typically use when printing for example, I used 4 layers when I typically only use 2.
To break off the support material, flush cutters work really well. It is a little bit difficult to remove support material from the hole in the bottom of the head, but flush cutters allow you to cut plastic that is usually very hard to reach.
Decapitate! (Remove PEZ Head From Dispenser)


Before you can add your 3D printed head to your PEZ dispenser, you have to remove the old one!
With a jewelry screwdriver, try to pop one side of the unwanted PEZ head out of the hole that is keeping it locked in place. Try to be extremely careful as you do this because it is very easy to break the plastic notches off that are needed to hold your PEZ head in place. Try keeping your screwdriver as flush to the PEZ dispenser as possible, and push a little until you feel it come loose.
Once you have popped one side out of place, it should be pretty easy to remove the entire PEZ head.
Attach 3D Printed Head


The head should be fairly easy to pop onto your PEZ dispenser. Make sure that the two notches on your PEZ dispenser are aligned with the 'ramps' on the inside of your 3D printed head. Slide the notches up the ramp until the reach the holes and VIOLA! Everything should be in place!
