Planting Shrubs in Autumn

It appears as though using the mobile app has rotated my pictures, so please bear with me during my first Instructable.
Decide on the Project
We've chosen for this portion to be a hedgerow. After perusing the slim-pickins still unpurchased at the store, we chose Hedge Cotoneaster in one gallon pots and got a screaming deal of 75% off the original price. We bought the last 7 plants. Provided the plants thrive once Spring arrives, cuttings can be made and the hedgerow can be extended to completion; or so is the expectation.
Existing Landscape


Location, Location, Location

Prep Work


Gettin the Dig On


Determine the depth that will be required; this is actually pre-determined by the root ball itself in that the top of the root ball needs to be flush with the ground. The base of the plant should always be at that level. Making the plant too tall in the ground will create issues with run-off, the plant will be stressed and not grow correctly. Planting too low will also stress the base of the plant's trunk/stem and can actually cause rot. It is important to note that making the hole a bit deeper, before setting the plant into the hole, can actually aid in plant growth as long as the plant is spaced upwards with loose dirt underneath the root ball and the desired height is still met.
At this point, I usually square up the sides of the hole vertically. My belief is that this forces water to more effectively flow into the plant's new home, versus having to penetrate already-compacted, old soil.
Finding the New Home


Gently wriggle the plant from the container. Sometimes this requires a slight tapping of the sides of the plastic pot, sometimes they just slide right out. Each plant is a bit different so take care not to create undo stress in this step. Find the happy place for the plant within the hole and set it in. If you're trying to keep even spacing, as in this effort, measure [however makes you happy], and set it in the hole. If this is the case, and you've not created cookie cutter holes, the plants will likely be a bit off-center. This is OK, so do not worry about it. If spacing does not matter you can simply make the plant become the finite nucleus of the hole if you so choose. Know that there is enough room for the roots to be happy; of course, if the hole is large enough. Perfection is not required, but you need to be happy with the actual location as this is where the plant will grow.
Note how compact the root ball is. You need to undo this a bit by kneading the root ball to loosen it up. This 'tells' the roots that they are no longer bound by a plastic pot and can spread as much as they are genetically allowed. The root ball should end up looking kind of the same, just looser.
Fill 'er Up


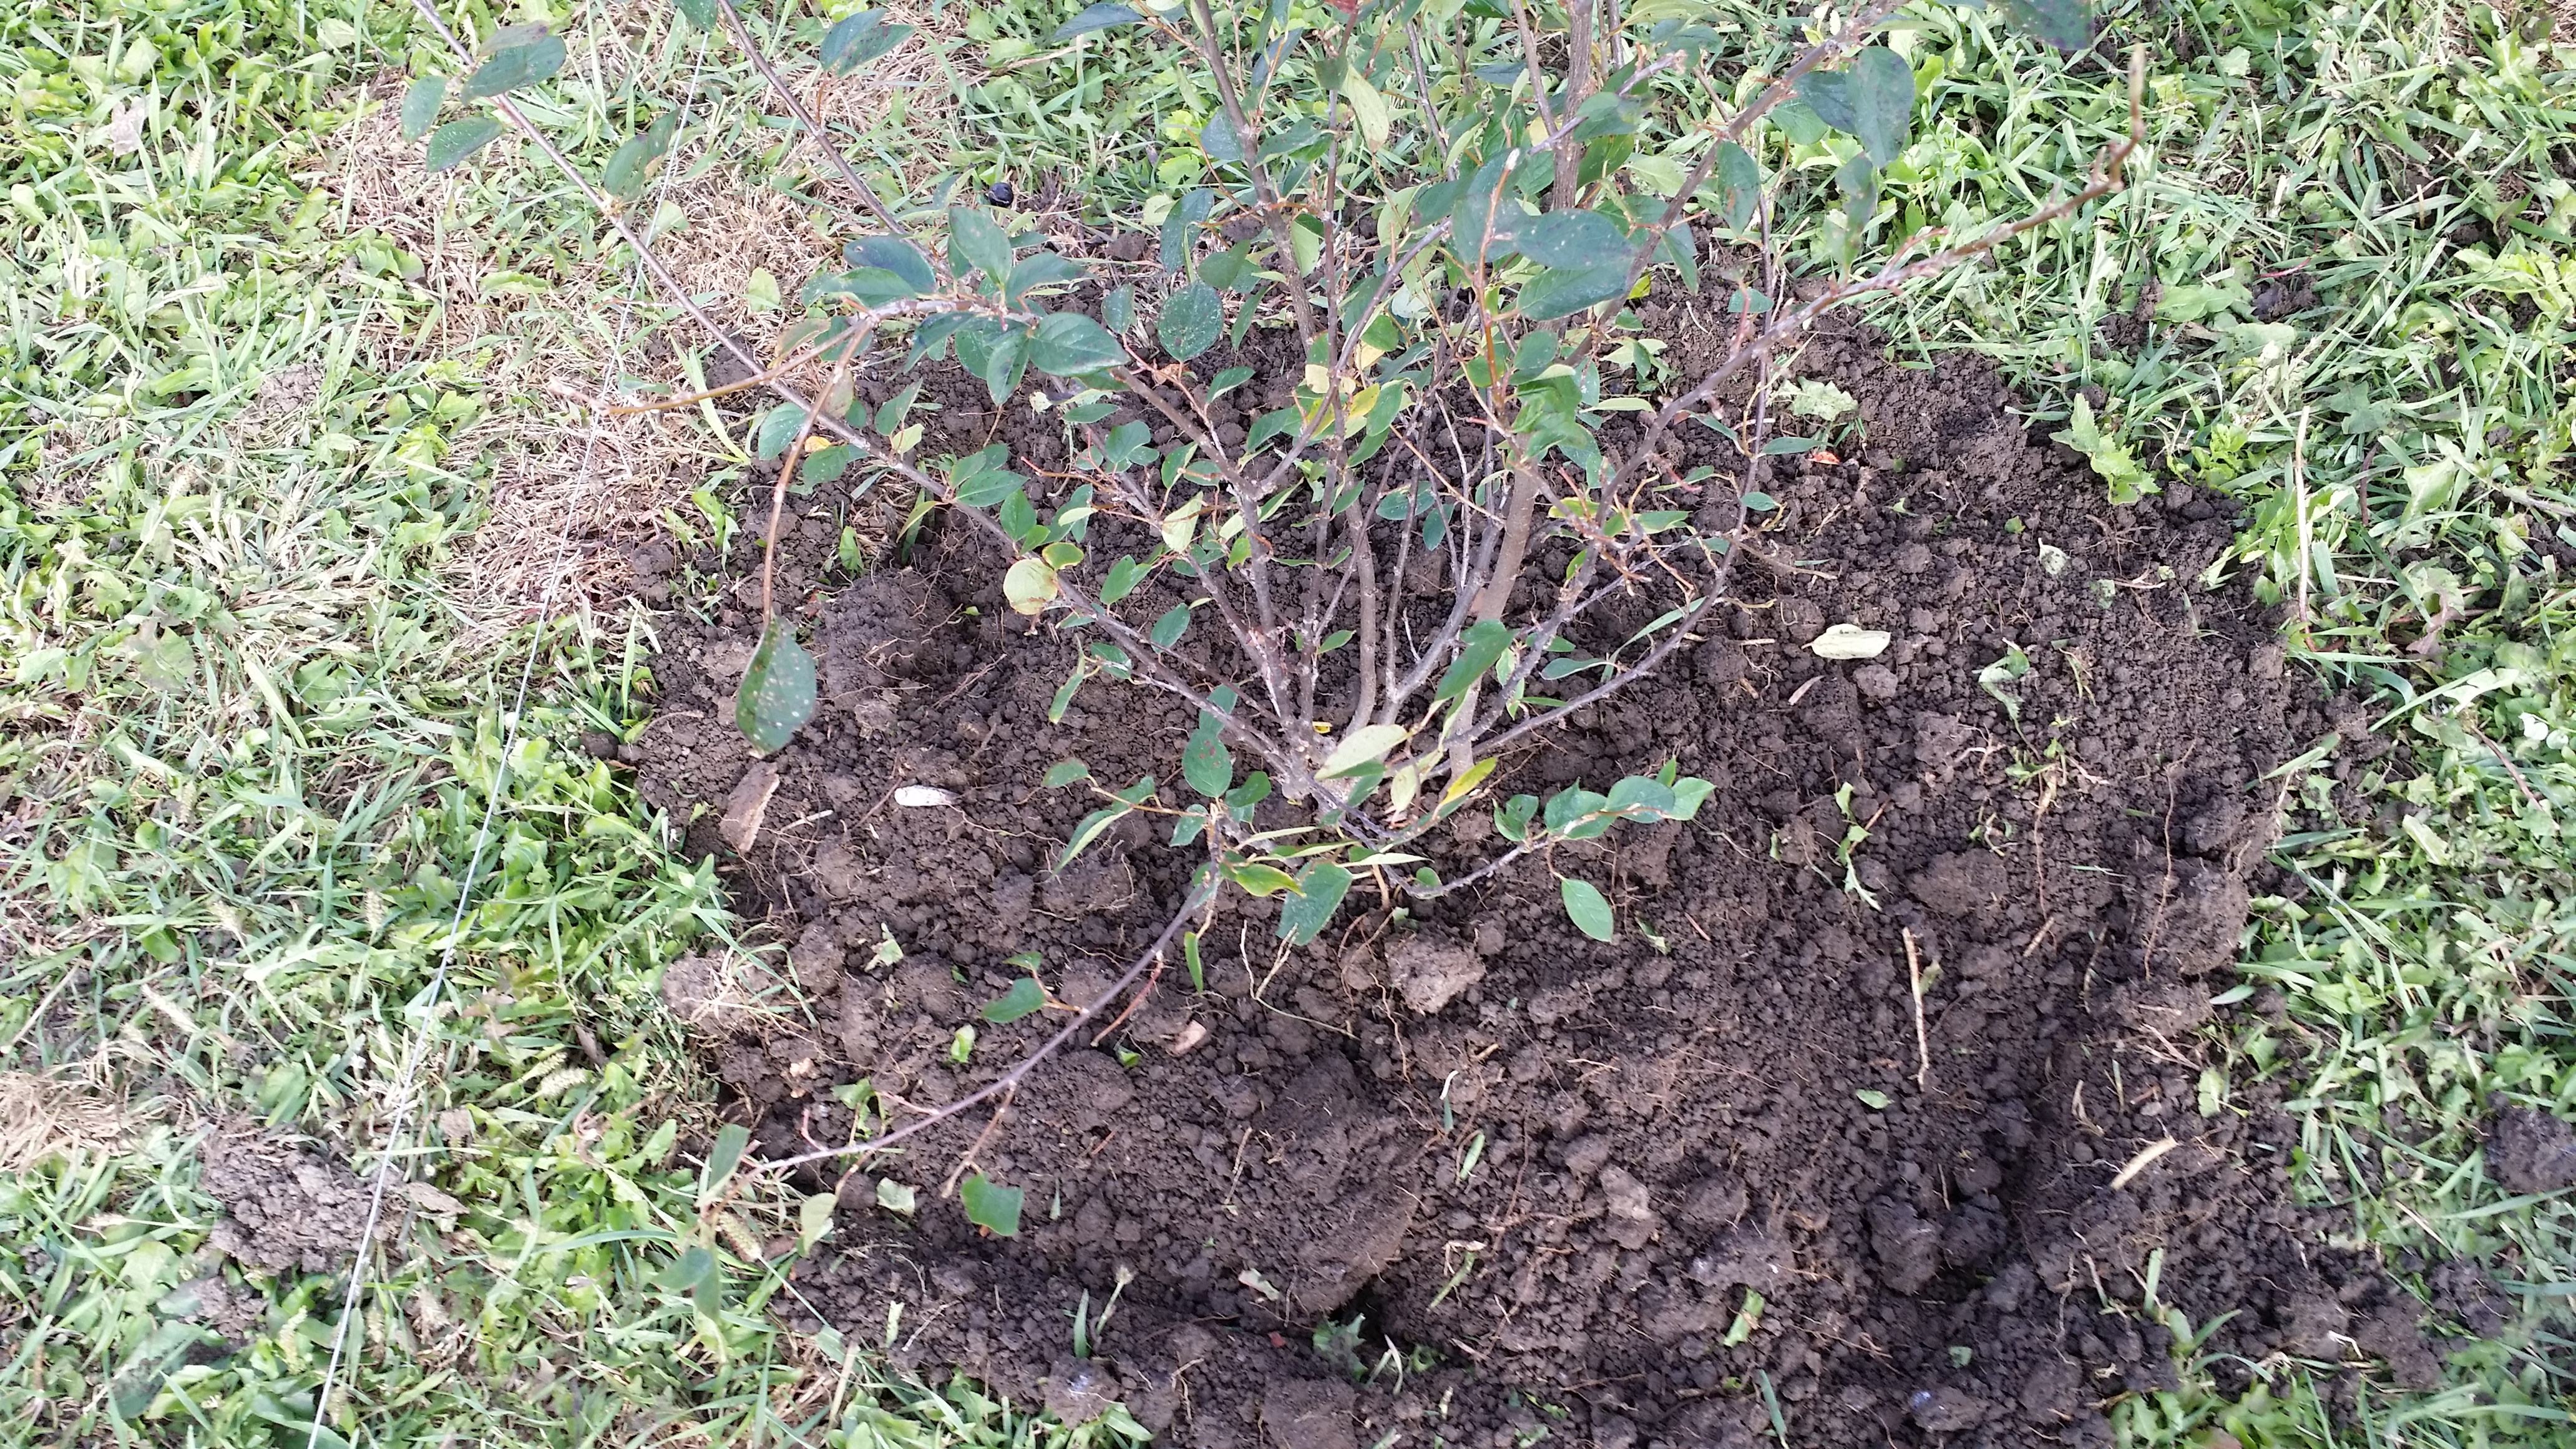
Shovel in the dirt you've set aside and get it about full to the ground level. At this point, I usually vertically tamp the outer perimeter of dirt, kind of like vibrating cement within its molded form. It loosely packs the perimeter dirt in, while still keeping most of the fill loose enough to allow good root growth. When this is complete, overfill the remainder of the hole. This will provide enough dirt to allow for natural soil compaction and to make sure there is enough fill to keep the plant happy for years to come.
Finishing Steps


Using most of the dirt removed in making the hole, fill the remainder of the hole with dirt; creating a mounded feature above the hole. This will allow for a natural compaction over time, yet still provide enough soil to maintain good plant health. Don't be shy here and make sure the fill is about 20ish% above the ground level, when compared to the depth of the hole.
When an adequate amount of fill is achieved, it is now that some hand work needs to occur. Carefully uncover any branches/stems that were inadvertently covered and wipe dirt away from the central base of the plant. It is important here that the full mound is adequate enough to begin natural compaction, as well as keeping the plant in place. This basically means that the mound should be (about 50/50) on the root ball as well as the hole perimeter.
Water the new plant, copiously. In this plant size, we used about 15 gallons to completely saturate the new dirt. Note there will be initial compaction/settling that occurs. This is both OK, and expected to be normal.
As the Autumn leaves fall to the ground, they will be placed onto the root balls for mulch. After Winter, weed barrier will be staked to the ground so these can grow, unchallenged by weeds and grass.
Stand back and admire your work, you've earned it. Crack a beer (or three), and celebrate helping the Earth and humanity while improving your property.
One last comment, I'd like to thank 4WantofaNail for the kindness and inspiration to me to create and publish my first Instructable.