Poor Mans GPS


A cheap version of GPS for navigation on a bike..... Well Kinda
The Idea


Firstly I would like to apologise for the images, (and my spelling) my camera is broken, so this is the webcam, lol.
I was on holiday by the seaside, and was looking round some shops; you know the ones which sell all the tourist junk.
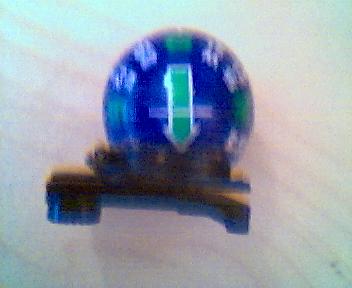
I came across one of the "floating" compasses, if you have never seen one, look at the picture below, I wasn't thinking of an instructable when I was making this so there is only pictures of the finished product- sorry!
Basically it’s a sphere, which is filled with a fluid of some kind; inside the sphere is a hemisphere which is weighted at the bottom, and with compass markings on the top. There is probably a piece of magnetised metal inside too to actually make it point to north!
The idea of these is to be able to point to north no matter which way up the sphere is! they look quite freaky rolling across the table, because it doesn’t look like rolling!!
Right back on topic- I saw this and thought about using it on my bike, as it is able to always point north, unlike normal compass's which will only point north if they are perfectly flat.
Basically this instructable is about making a mount for this. I call it poor mans GPS, because if you have a map holder (a future project) then you can navigate!, lol, more of a gimmick than a necessity.
Onwards!
The Mount


I needed some way to mount the Sphere compass onto my bike. I wanted it to be removable and yet secure, like the normal mounts found for bike lights.
I found one of the bike mounts for a front bike light which my sister has lost. This gave me a mount to put onto the bike, but if I just glued the compass sphere onto that, it would have a very small point of contact, as spheres generally do.
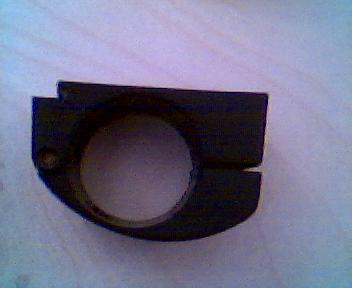
When I was searching through one of the junk packed drawers looking for some ever useful superglue, I came across a bracket for holding kickboards onto the bottom of cupboards; it clips onto the leg of the cupboard once a board is attacked to the clip. One the piece of plastic that fixes to the kickboard was removed, it was a perfect fit.
This is just the right size for the sphere compass to fit in meaning that the clip can be glued to the compass sphere, giving me much more contact area to glue to the light mount, as now the whole of the clip and the bottom of the sphere compass is in contact with the light mount.
The Assembly


I glued the compass sphere to the clip, then the clip to the light mount. , the screw hole for mounting the light mount, is right under where I was originally going to glue the clip. So I had to move the clip forward.
For a total cost of £1.25, the glue, clip, and light mount, where lying around the house, I think this was a worthwhile project.
Now I need to make a map holder for a map!!
Thank you for reading my first Instructable!
For a total cost of £1.25, the glue, clip, and light mount, where lying around the house, I think this was a worthwhile project.
Now I need to make a map holder for a map!!
Thank you for reading my first Instructable!