Quetzalcoatl 3D Design

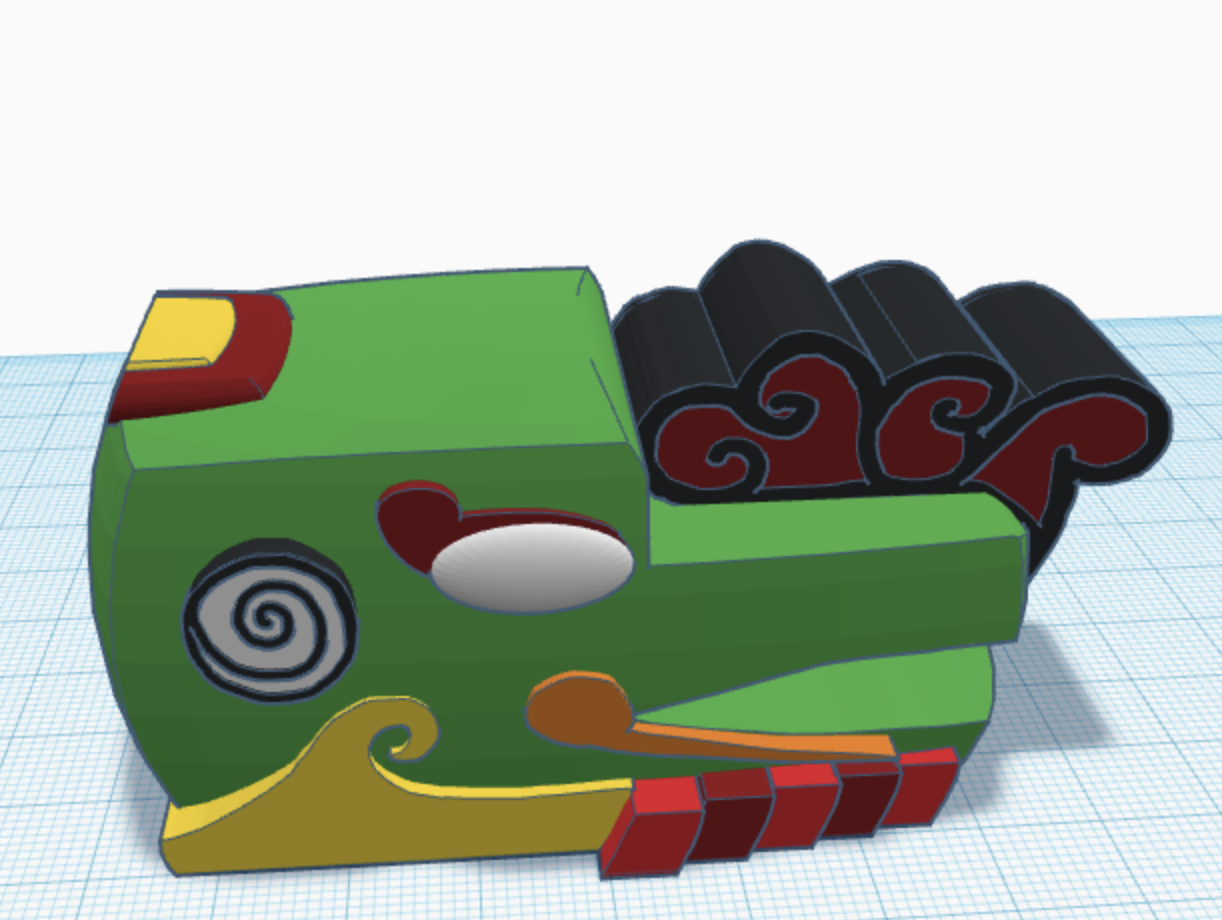


This design was made to fulfill a Design assessment which was based on doing a 3D deign of a cultural artifact of various cultures, this was ordered form the Kanagawa University and they were going to be distributed around schools in Japan.
Supplies


I used Tinkercad which is a platform safe for students to perform 3D Designs. I also used Google Docs to organize myself and documents that I may need ion the future. I also used different resources from the internet to help me guide myself to a successful product.
Create the Head Shape


I got the green square from the design starters section, I then dragged it on my Workplace, I then changed it to the measurements that I needed. Then I got my transparent square from the Basic Shapes, I changed the dimensions of the shape, and made sure that I put it where I wanted it to be hollow. I then elected both shapes by dragging my mouse on them, and finally I went to the merge section, and merged both shapes, this helped me a lot to have a head shape.
Nose and Eyes


To make the nose you need to use Scribble, which is a shape, then you make the shape in the first picture. After doing that you duplicated it, and on the copy you hollow it, only leaving the exterior, this is because that will be the border, then you give a shape to the border. Then you join them and change the colors, the border being black. You change the placement and put it in the nose. For the eyes you get the oval shape, make it white and with the Scribble shape you make the eyelashes.
Mouth and Chin

To make the moth shape you use the scribble shape, make the shape as a curved triangle, and the make it hollow. Do the same thing you did to make the head. After making the mouth you make the chin. Using the Scribble tool again you make the wave-like chin shape, change the color and add it on the chin. Then make an inclined square on the Scribble tool, after that you change the colors and duplicate them. You will do this twice on both sides of the head. And to add the details to the mouth you will do the blue thing on the image. Its a curved shape that will be made on Scribble and it will be added to the mouth.
Ears, Head and Feathers


You will make the ears the same way you made the nose, by making a circle in the Scribble tool, then duplicate it, hollow it and then make the spiral. Change the colors and unite them. After that get a border of a circle on the basic shapes or on the design started section and put it around the ear. For the top of the head you just make a large and small squares, and unite them. After this you make feather-like shape on the Scribble tool, change the position and duplicate them. Then unite them to the head and change the colors.
Body


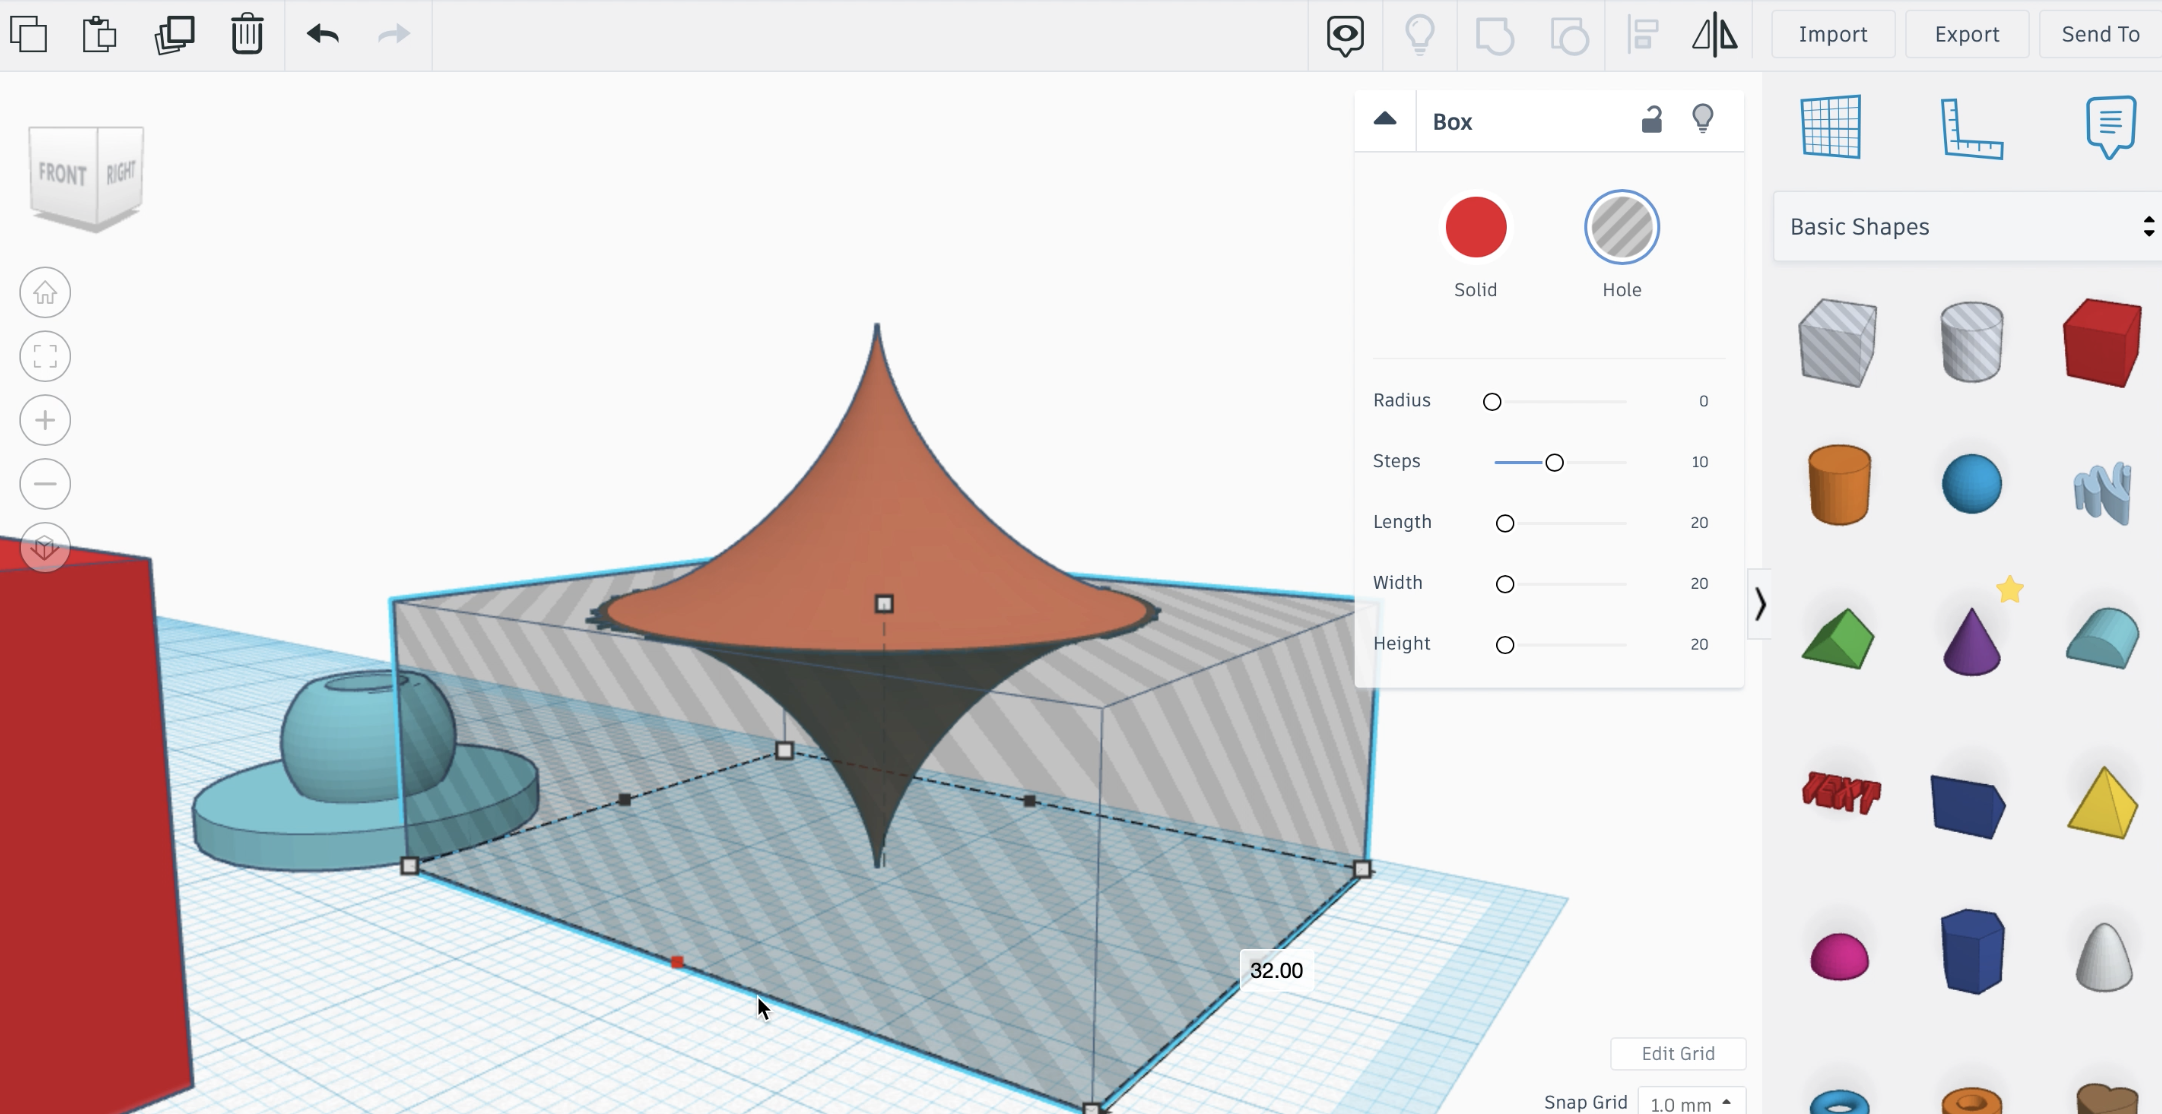


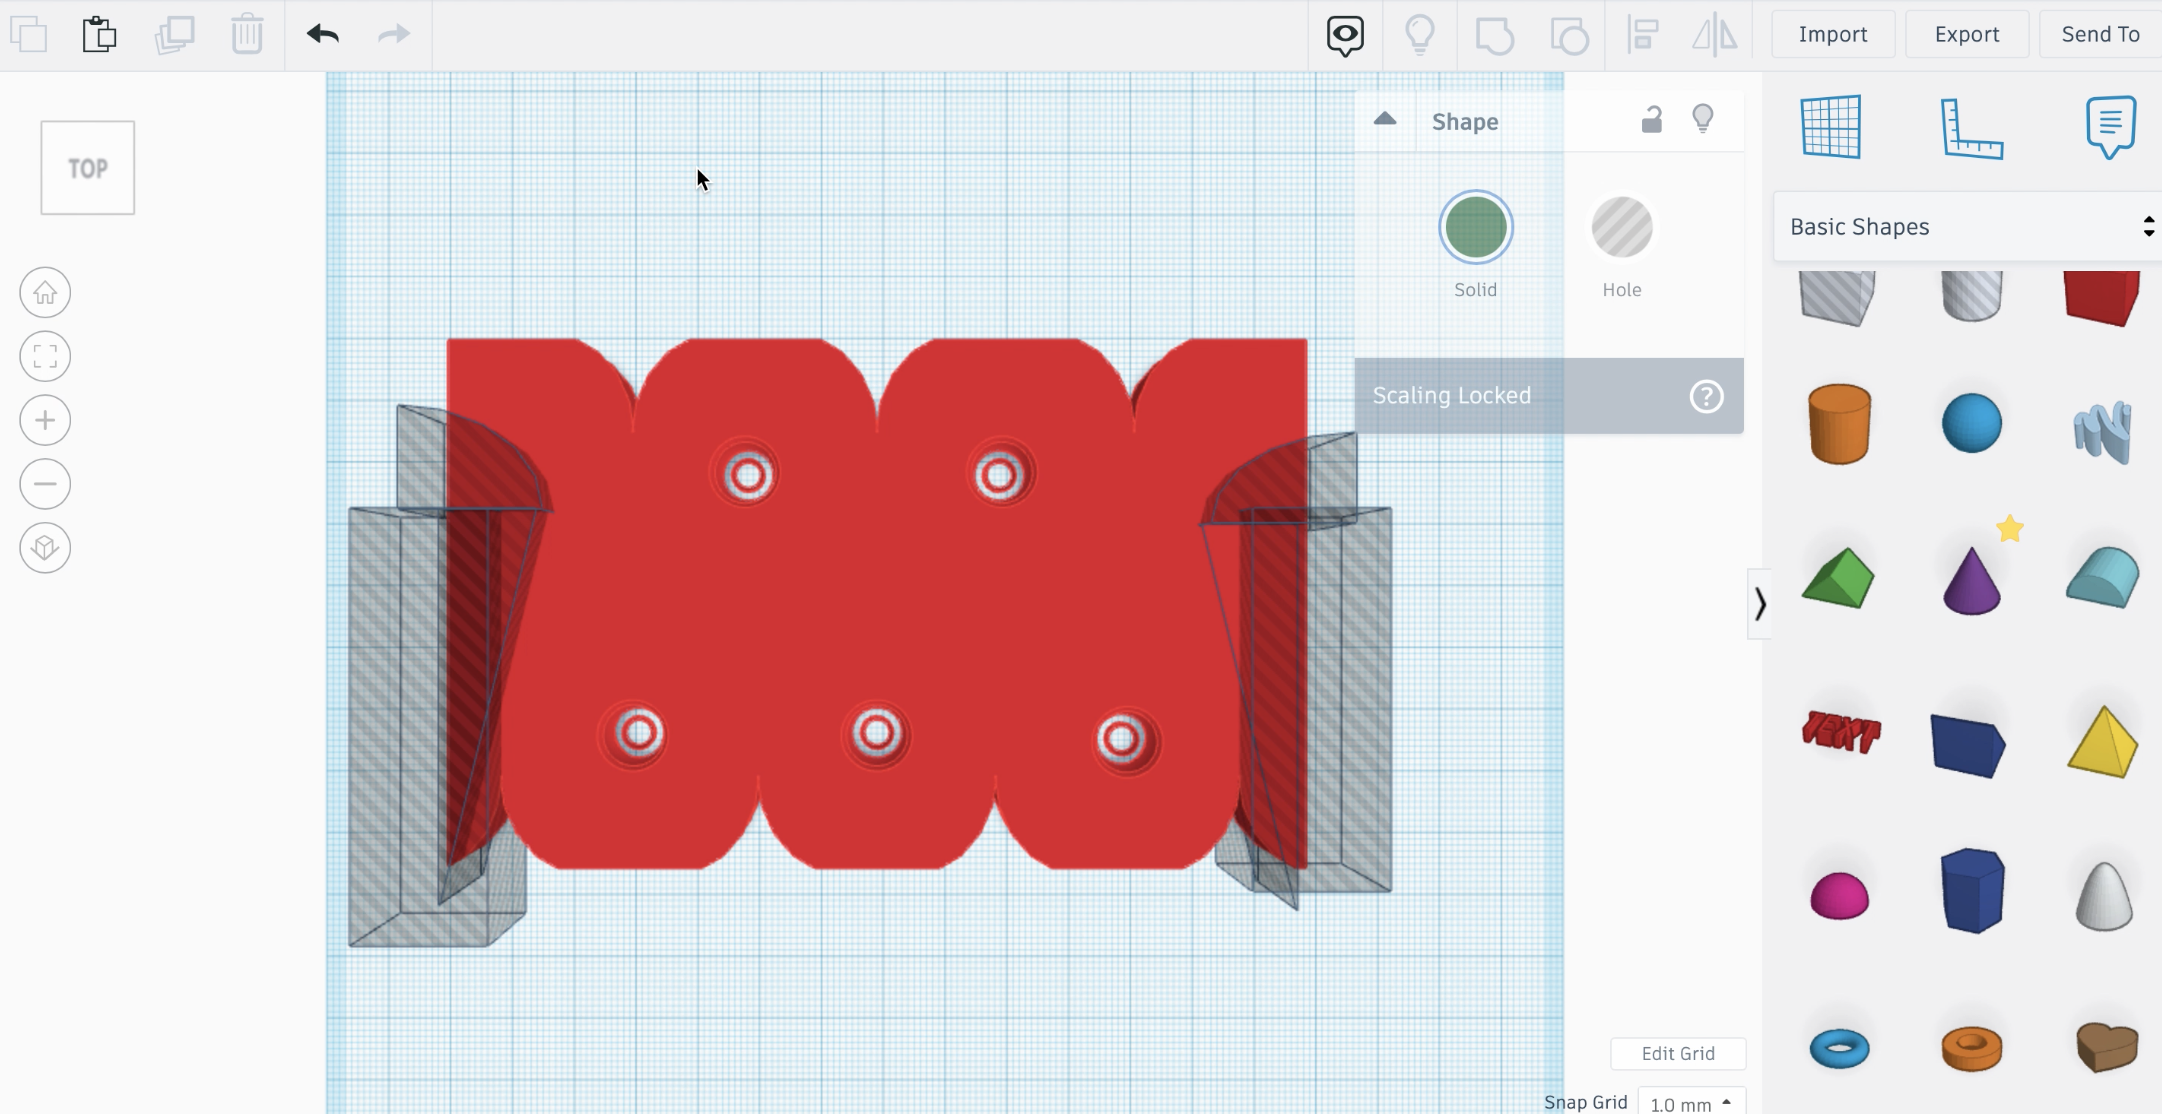
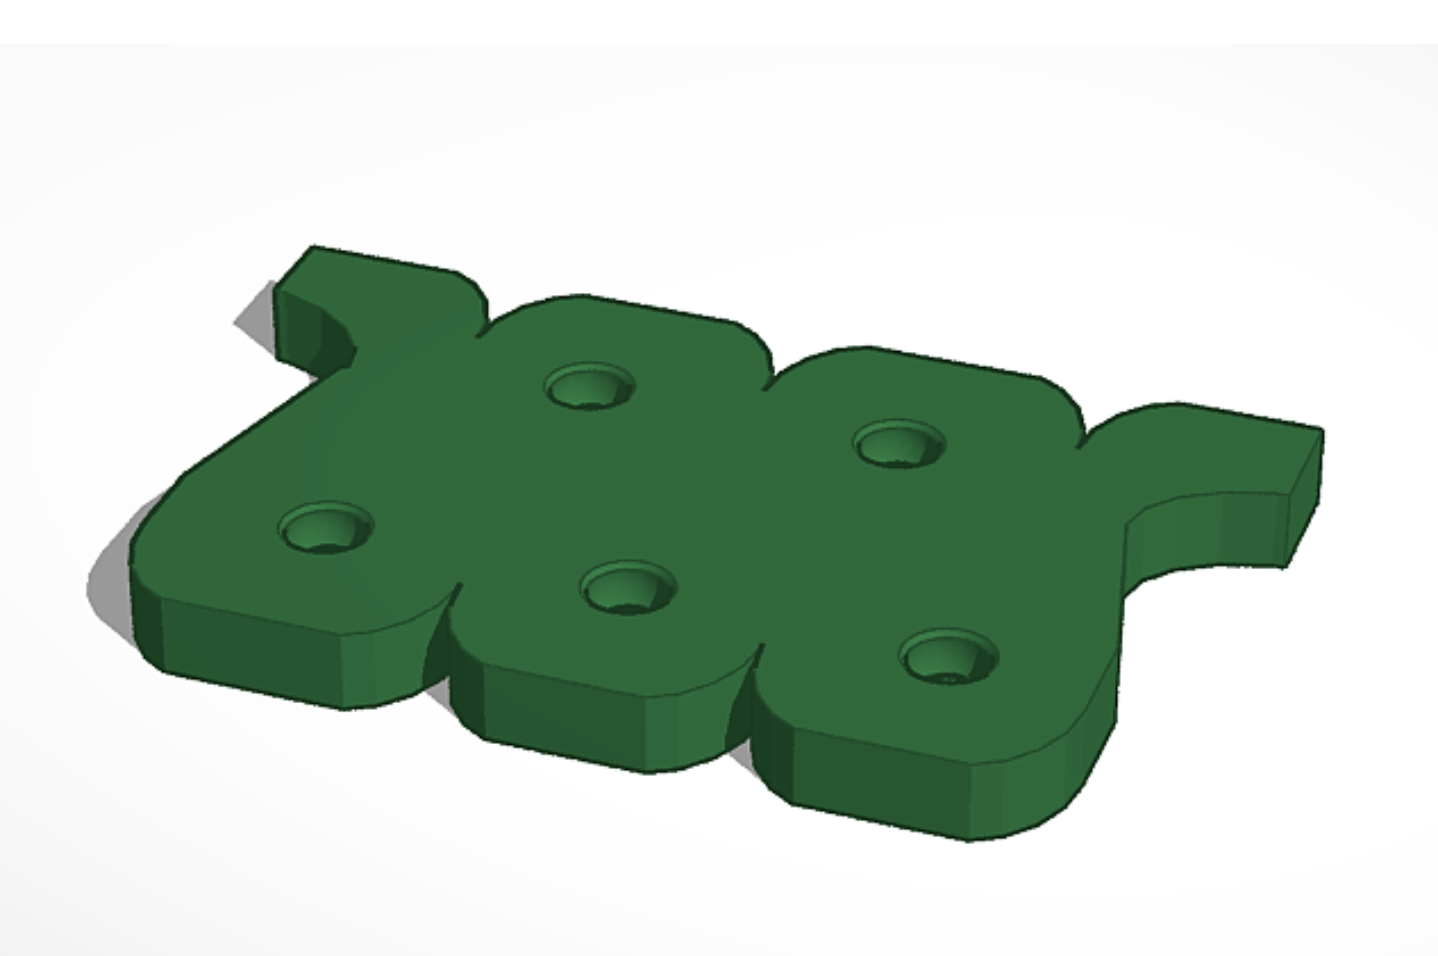
Put a square on the workplace, and make it as the image. Then get the blue shape and get the orange one, after that you cut the half using the hollow shape tool. Merge them and duplicate them, making one shape, that shape duplicate it 5 times and put it as shown in the picture. Then get two circles, hollow them and get a square, merge them together and get the outline. Cut it in half, duplicate it and put it as shown in the picture. The hollow all of them and merge them. Then make a hollow rectangle, put it as said, and then merge them. Then get the two green shapes shown, reposition it in both sides and hollow them, then merge them. Finally change the color and you will have the final shape.