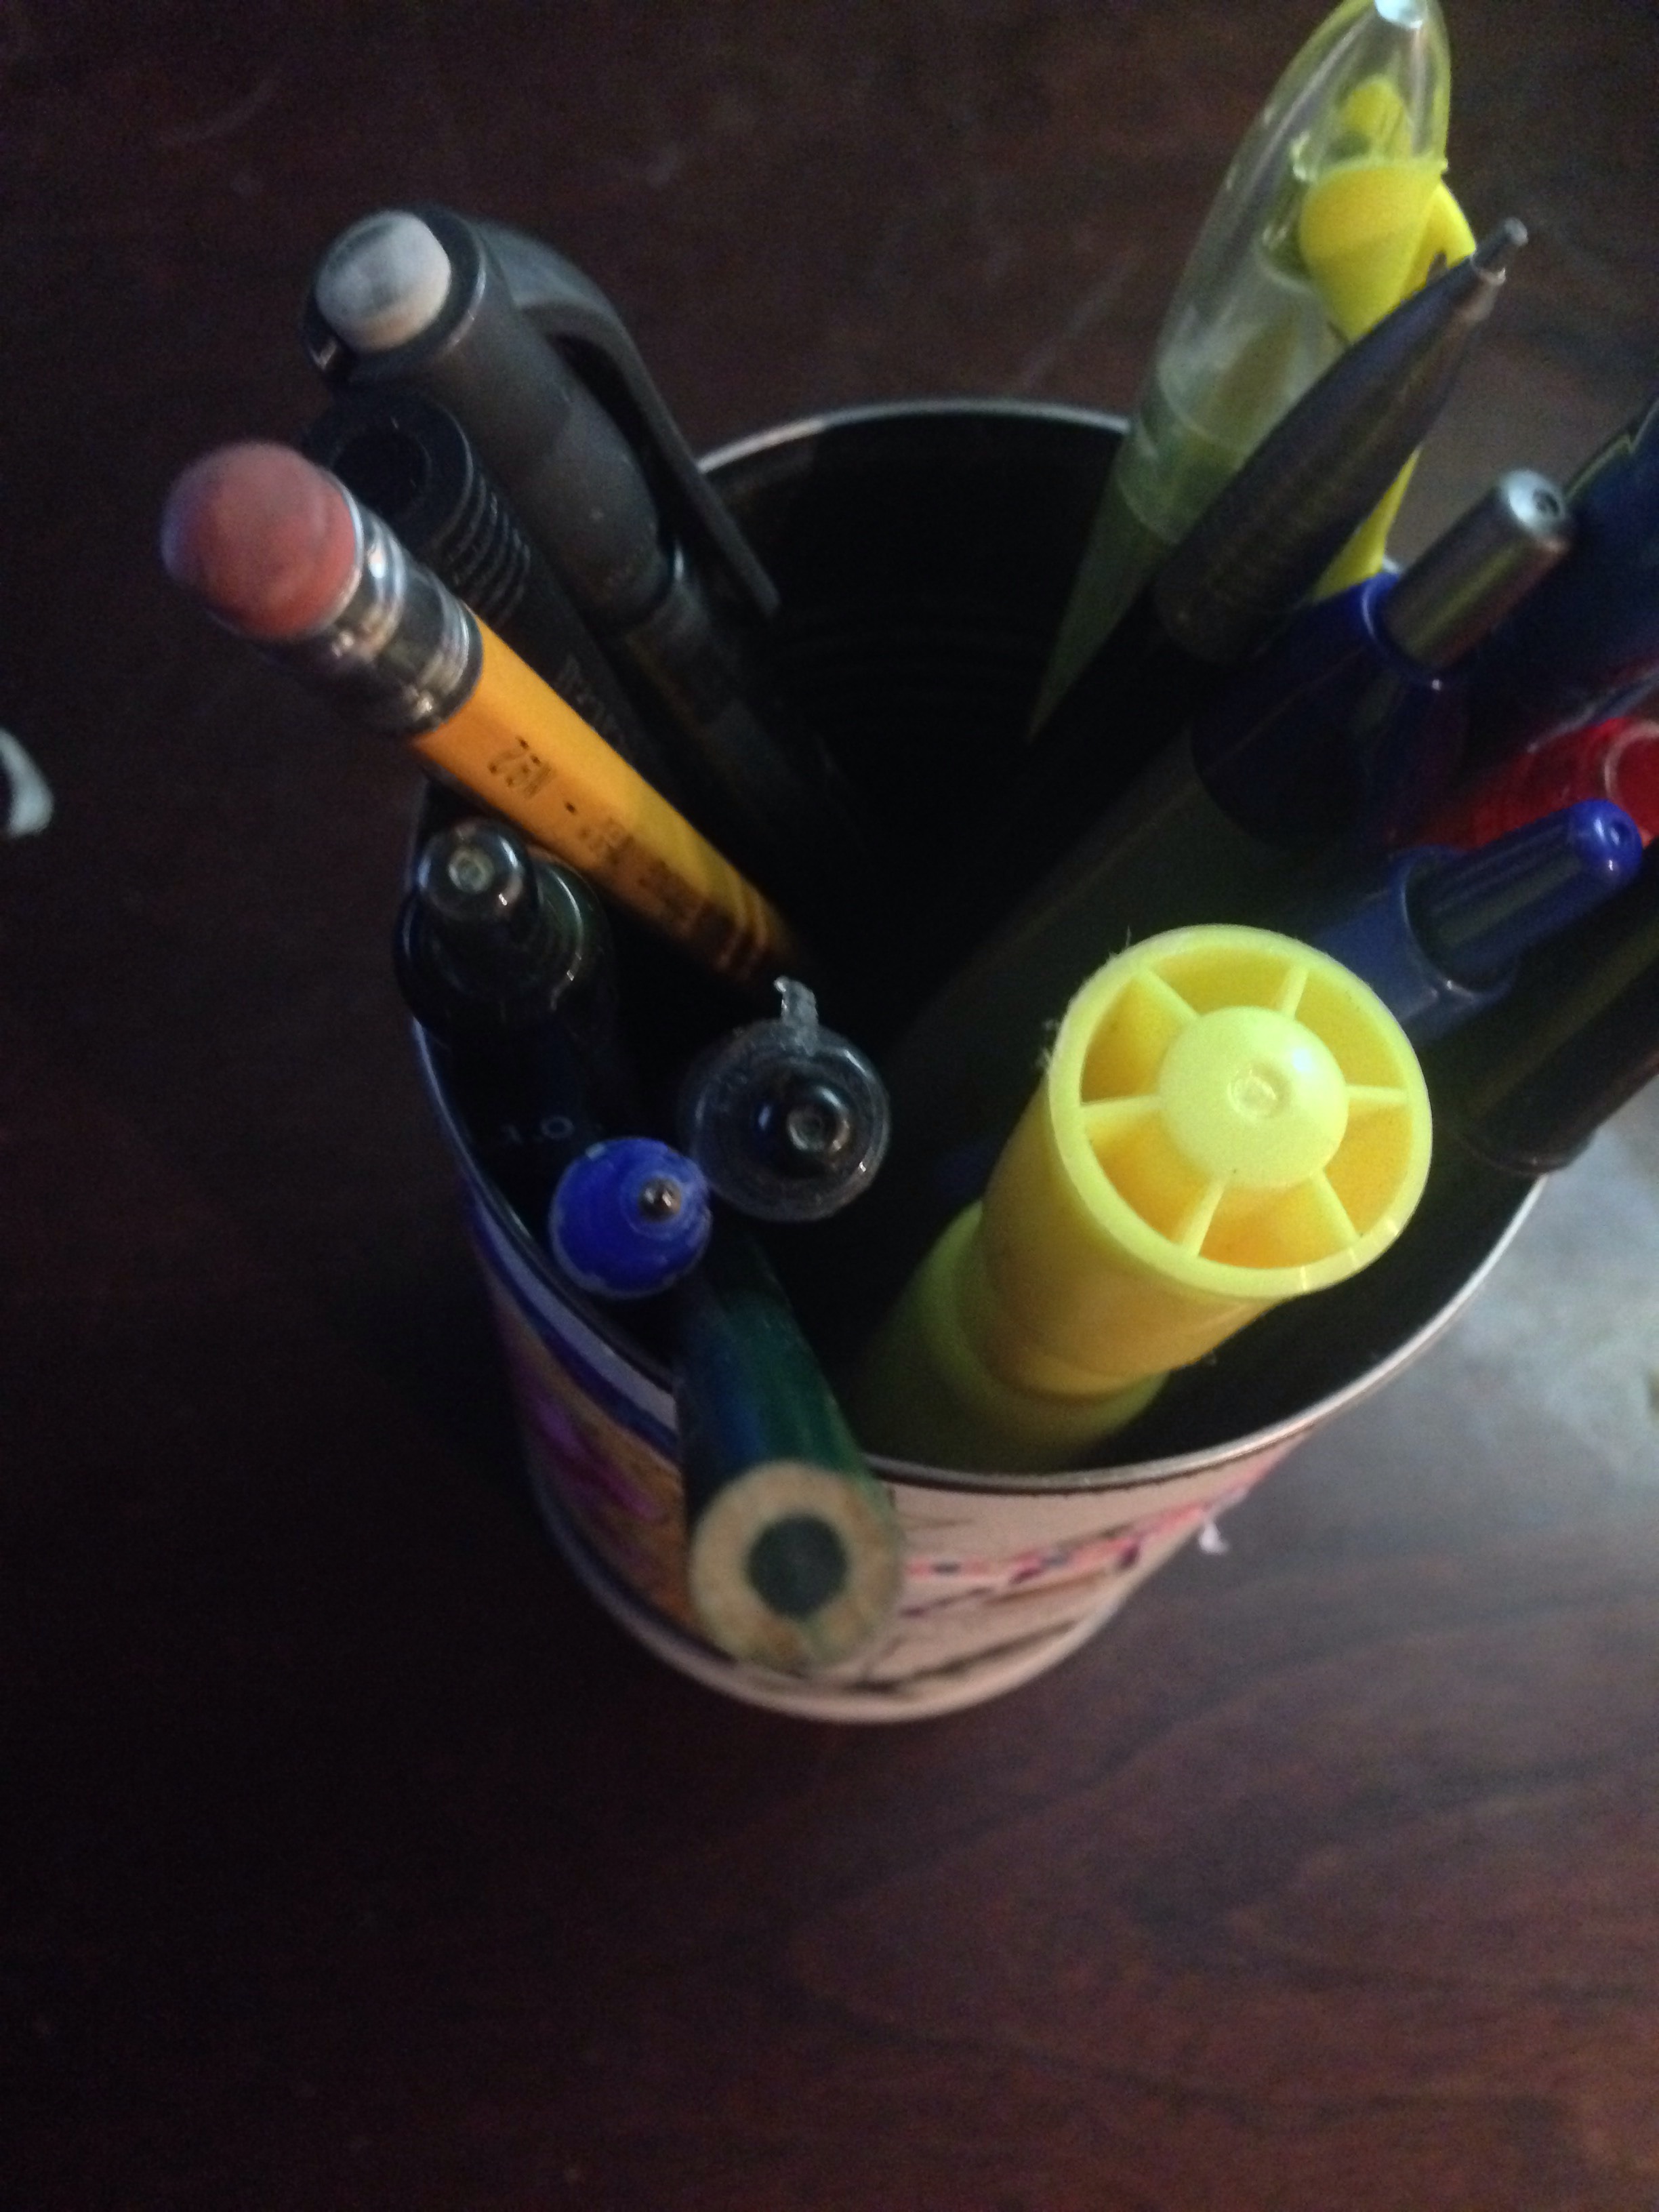
Re-Use Your Empty Cans to Make a Pen/Pencil Organizer or a Piggy Bank!
by Crafty_Val in Craft > Art
143 Views, 0 Favorites, 0 Comments
Re-Use Your Empty Cans to Make a Pen/Pencil Organizer or a Piggy Bank!


Re-use your empty food cans into a great, and heart-warming DIY gift. Use it to organize your pens and pencils, and design it any way you want. This is also great to make with kids to make a personal gift. This only takes up a few supplies that anyone can find at home. This will only take about 10-15 minutes to make (depending on what design you make). Please give feedback and ask any question you have. I love feedback!
Also, sorry for the difference in the can in the steps and the can in this intro. When I created this can, I forgot to take pictures in between my steps so I created a new one (I made sure I didn't forget to take pictures). I was also in a rush because I was eager to work on another project, so I didn't want to use too much time for this second organizer. But I hope you guys get the gist of the steps. Please ask any questions if something is unclear. Thank you so much!
Materials

- an empty food can
- paper
- art materials (pencil, colored pencils, stencils, crayons, markers, etc)
- glue
- scissors
Getting Things Prepped


In this step, you just want to get your materials prepared. Clean out your food can, and tear off the label. You can also add perfume if the food smell is still lingering in the can and you don't like the smell.
Take your paper, and cut it so that the paper can wrap around the can completely. Cut the paper so it fits the surface area of the can.
*Note* Sorry in the future because when I cut mine, things weren't perfect. But it's always alright to make mistakes, because at the end it still looks fine.
Decorating!

Take your cut out piece of paper and make designs on it. You can do any design, such as sports, or names, or pets, etc.This is a great gift for anyone, so your children can also decorate it too.
*Note* Again, sorry guys for my "amazing" artistic skills. I was in a rush, but seriously, take your time on this. My previous one that I made (the picture is in the intro), took me (and my children) quite some time to work on it. If you color it and make it look all nice and pretty, people will love the effort and time you took to make something for them.
One Last Step!


Once you're done decorating, glue the paper onto the can. Make sure to not have any air bubbles!
*Note* I would glue the back of the paper and then put it on the can. If you put the glue on the can first and then put the paper on, things will get messy and not work out well. It'll look really nice at the end, and if you have a can that has a cap on the top, you could also cut a slit on the top and make a piggy bank!
You're Done!

You're done! Now you have a cute organizer for your pens, pencils, highlighter, etc. Please comment and ask questions if you need to.
*Note* Okay, I know this picture is not cute at all, but the one in the intro was my original one that I made (and it was more heartfelt too). Please read my intro if you don't understand what I'm saying right now. But in summary, for my first can organizer (the pictures in the intro), I forgot to take pictures in between my steps, so I decided to make a new one so I can share it on Instructables. There's a little bit more to it, but you can read the Intro if you want. Thank you guys so much!