Repairing the Trash Can Stand With a Hot Stapler
by Kisho Derrek in Workshop > Repair
1129 Views, 6 Favorites, 0 Comments
Repairing the Trash Can Stand With a Hot Stapler

Today I will show you what a nice tool a hot staple is. I know that many heard about it, but mostly cannot imagine how useful it can be in plastic repair cases.
Supplies


The patient: a stand for the trash buckets, one of the legs is broken.
The tool: some cheap hot stapler with a case and several staples types.
Working Principle


First of all let's talk about the hot stapler and how it works.
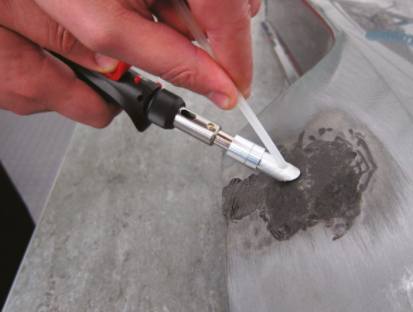
The principle is pretty simple. Inside the tool there is a transformer which converts high voltage electricity into low-voltage high current electricity. The stapler have two copper holders where you put the staple (or "welding rods"). The staples made from iron which have much higher resistance than copper holders, so the electrical flow causes the staples to heat up and not the copper holders. The hot staple melts and sinks into the plastic like a hot knife into butter.
So that's all need, the stapler and the staples. I found one for near $35 on local market with a few boxes of the staples.
Btw, because of simple construction of the device, it can be DIY from old microwave transformer, thick copper wires and pair of copper tubes. And the staples can be made from wire or even paper clips. But that's another story.
Practice


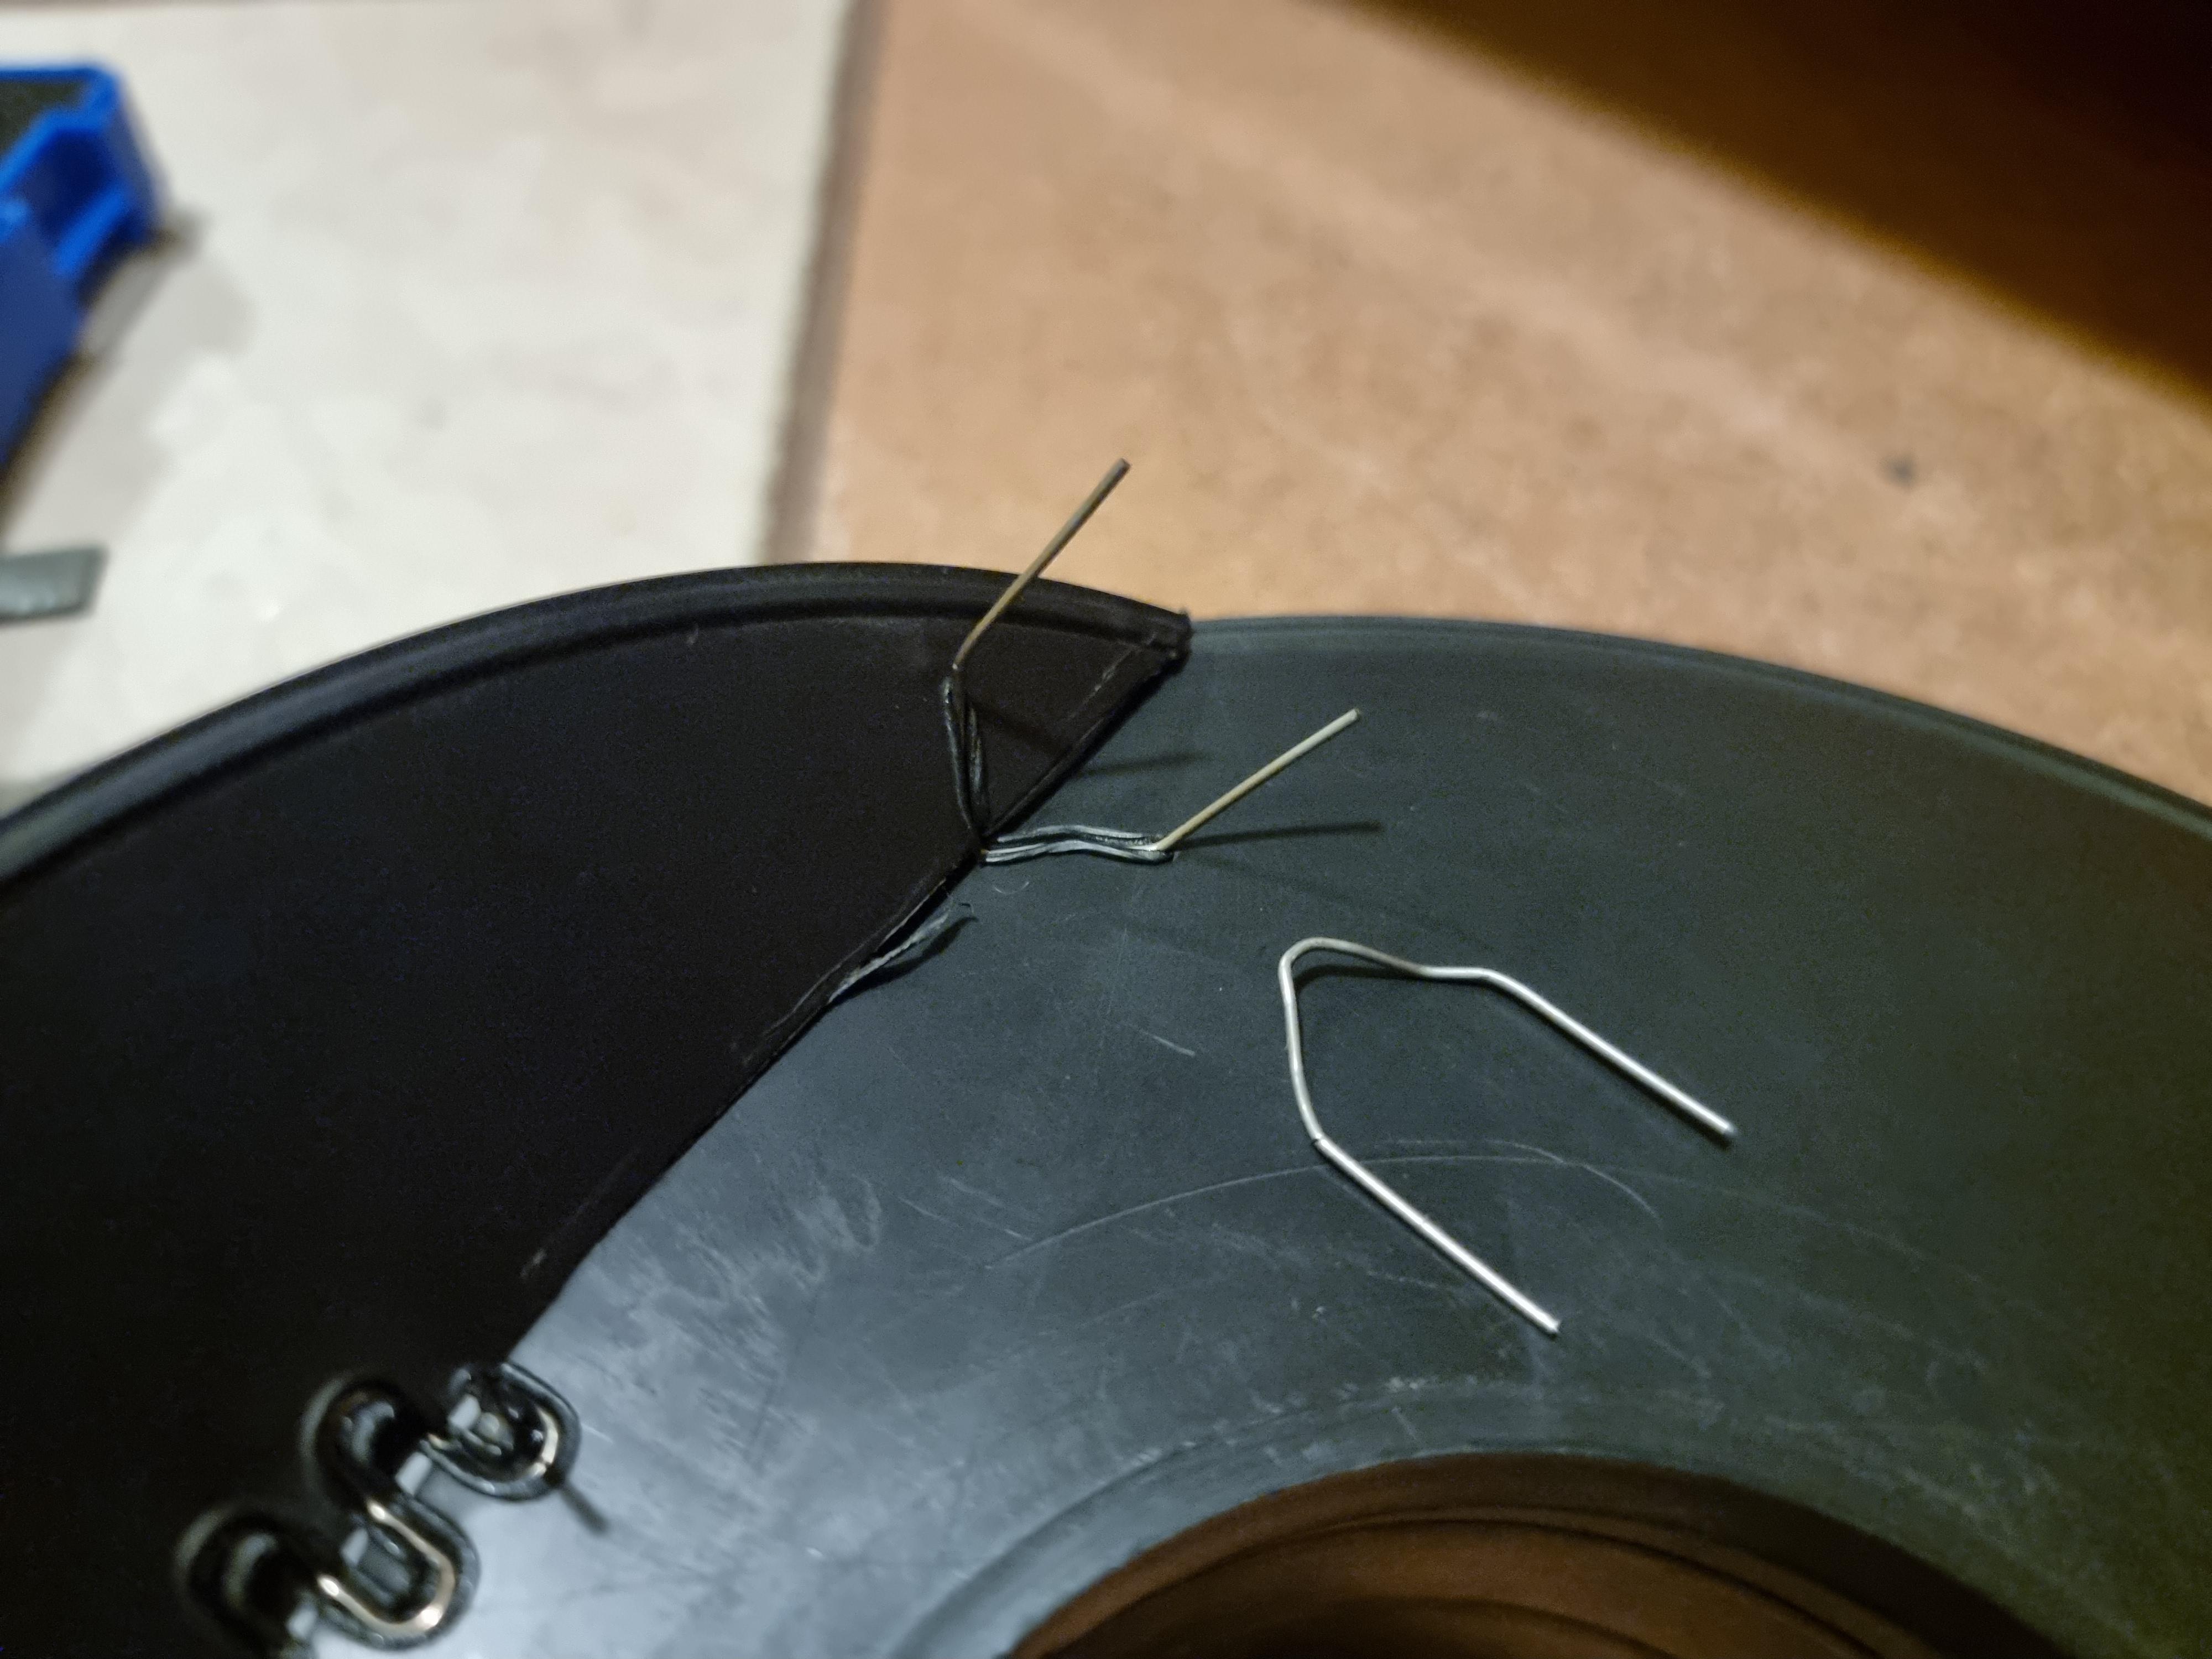
Let's get some practice with the hot stapler on some useless old plastic spool and attach flat broken piece back. To use the stapler you need to put staple into the holes of the copper holders and when you press a button on the tool it begin to heat the staple. This process is really fast, maybe five seconds until red glow.


So I put the staple, pressed the button and after several seconds dip the staple into broken pieces. Now release the button and wait until plastic cool down and become hard again. After this you can remove the stapler and break (or cut) staple ends. That's it.


As for the connections to the corners - there are some "angled" staples to use, but it may also bend the staple to desired angle.


The final result is amazingly strong, even with only a few staples used. According to the repair videos online you may also use an iron and some plastic filler (iron plastic welding kit) or glue to join the seam. But it my case it was unnecessary.
Repair

So back to repair. First of all I glued the leg with a "super glue" (cyanoacrylate) to simplify next repair as both parts are connected now.


Next I bent two staples to fit the angle on the side as they will receive most of the load and melted them in with a hot stapler.


More smaller staples added to the top and from the inside to increase leg integrity in the connection points.

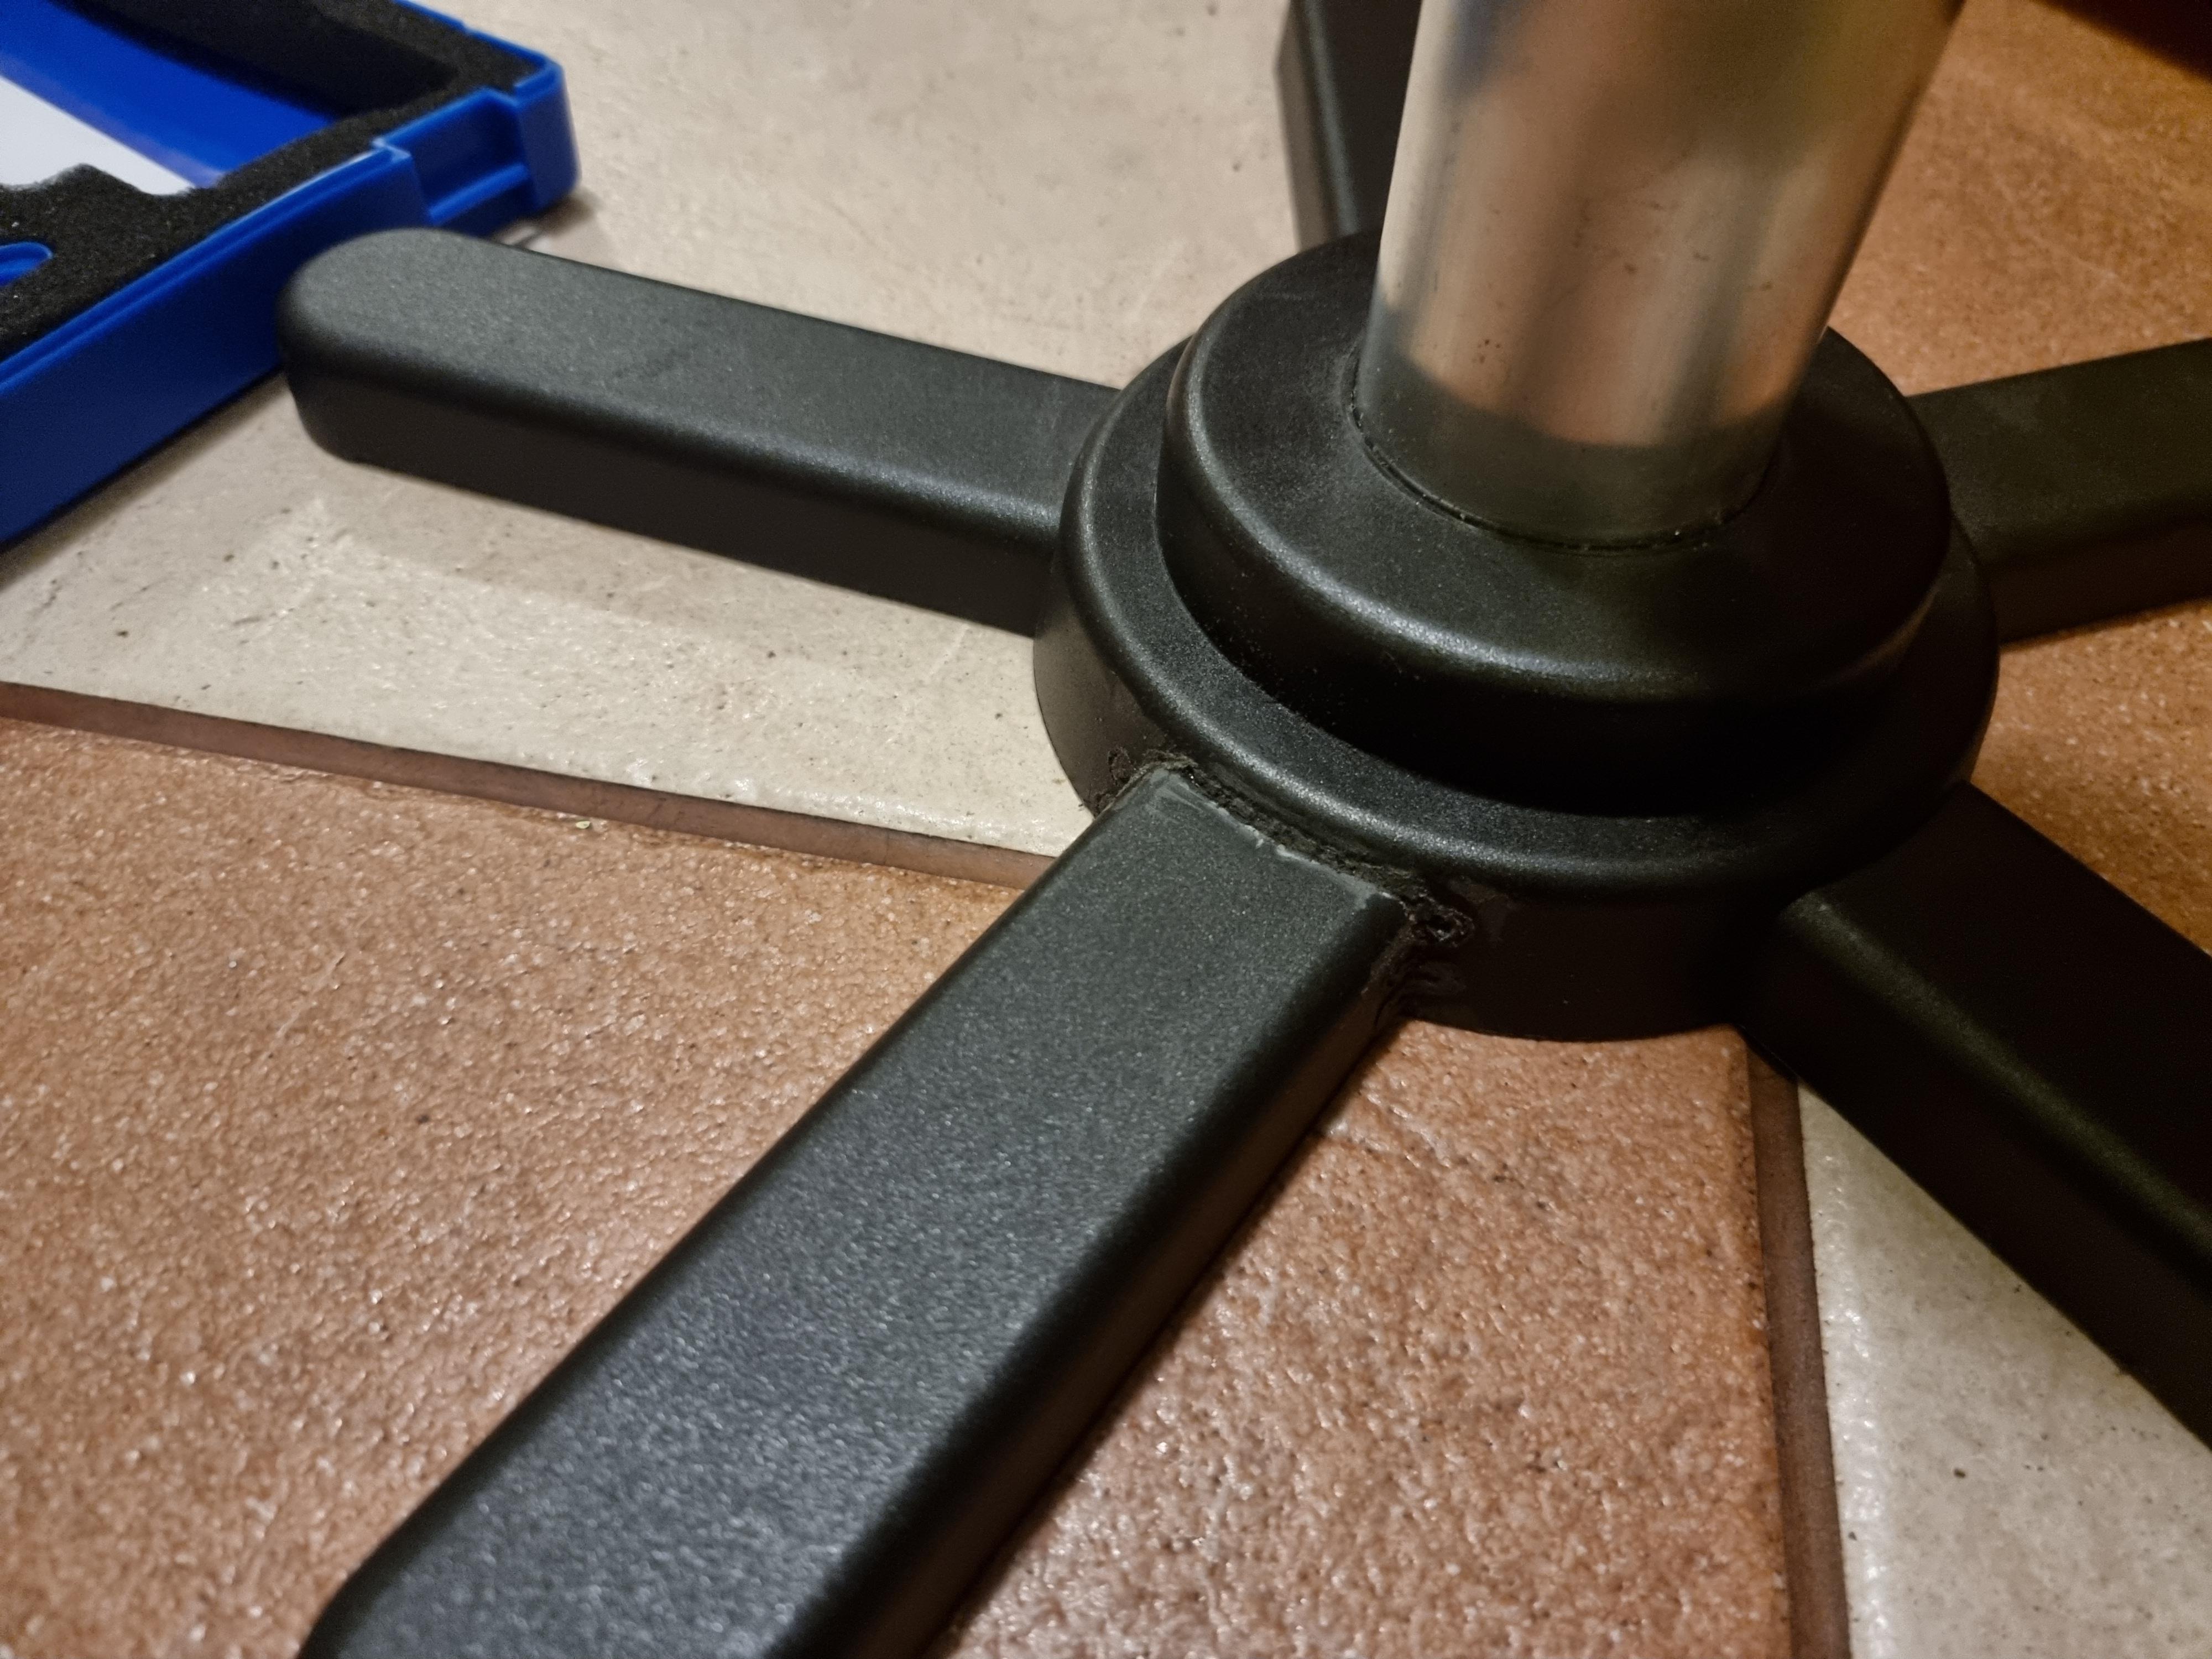
Staples legs removed and the melted plastic in the connection places sanded a bit to have a smooth surface.


And the last thing - a few touches of black permanent marker to make surface color black in the sanded areas.
Yeah, it is not "ideal" repair with perfect finish, but it was done fast and easy. And more important that the connection is strong and should not break again.