Router Table

Make a cheap router table that is easily stored.
Surface

Use MDF and chalk board for the surface.
Base Plate


Purchase or make a router base plate. Place it on the work surface and screw wood around its perimeter. Rout out the inside of the wood perimeter.
Fence


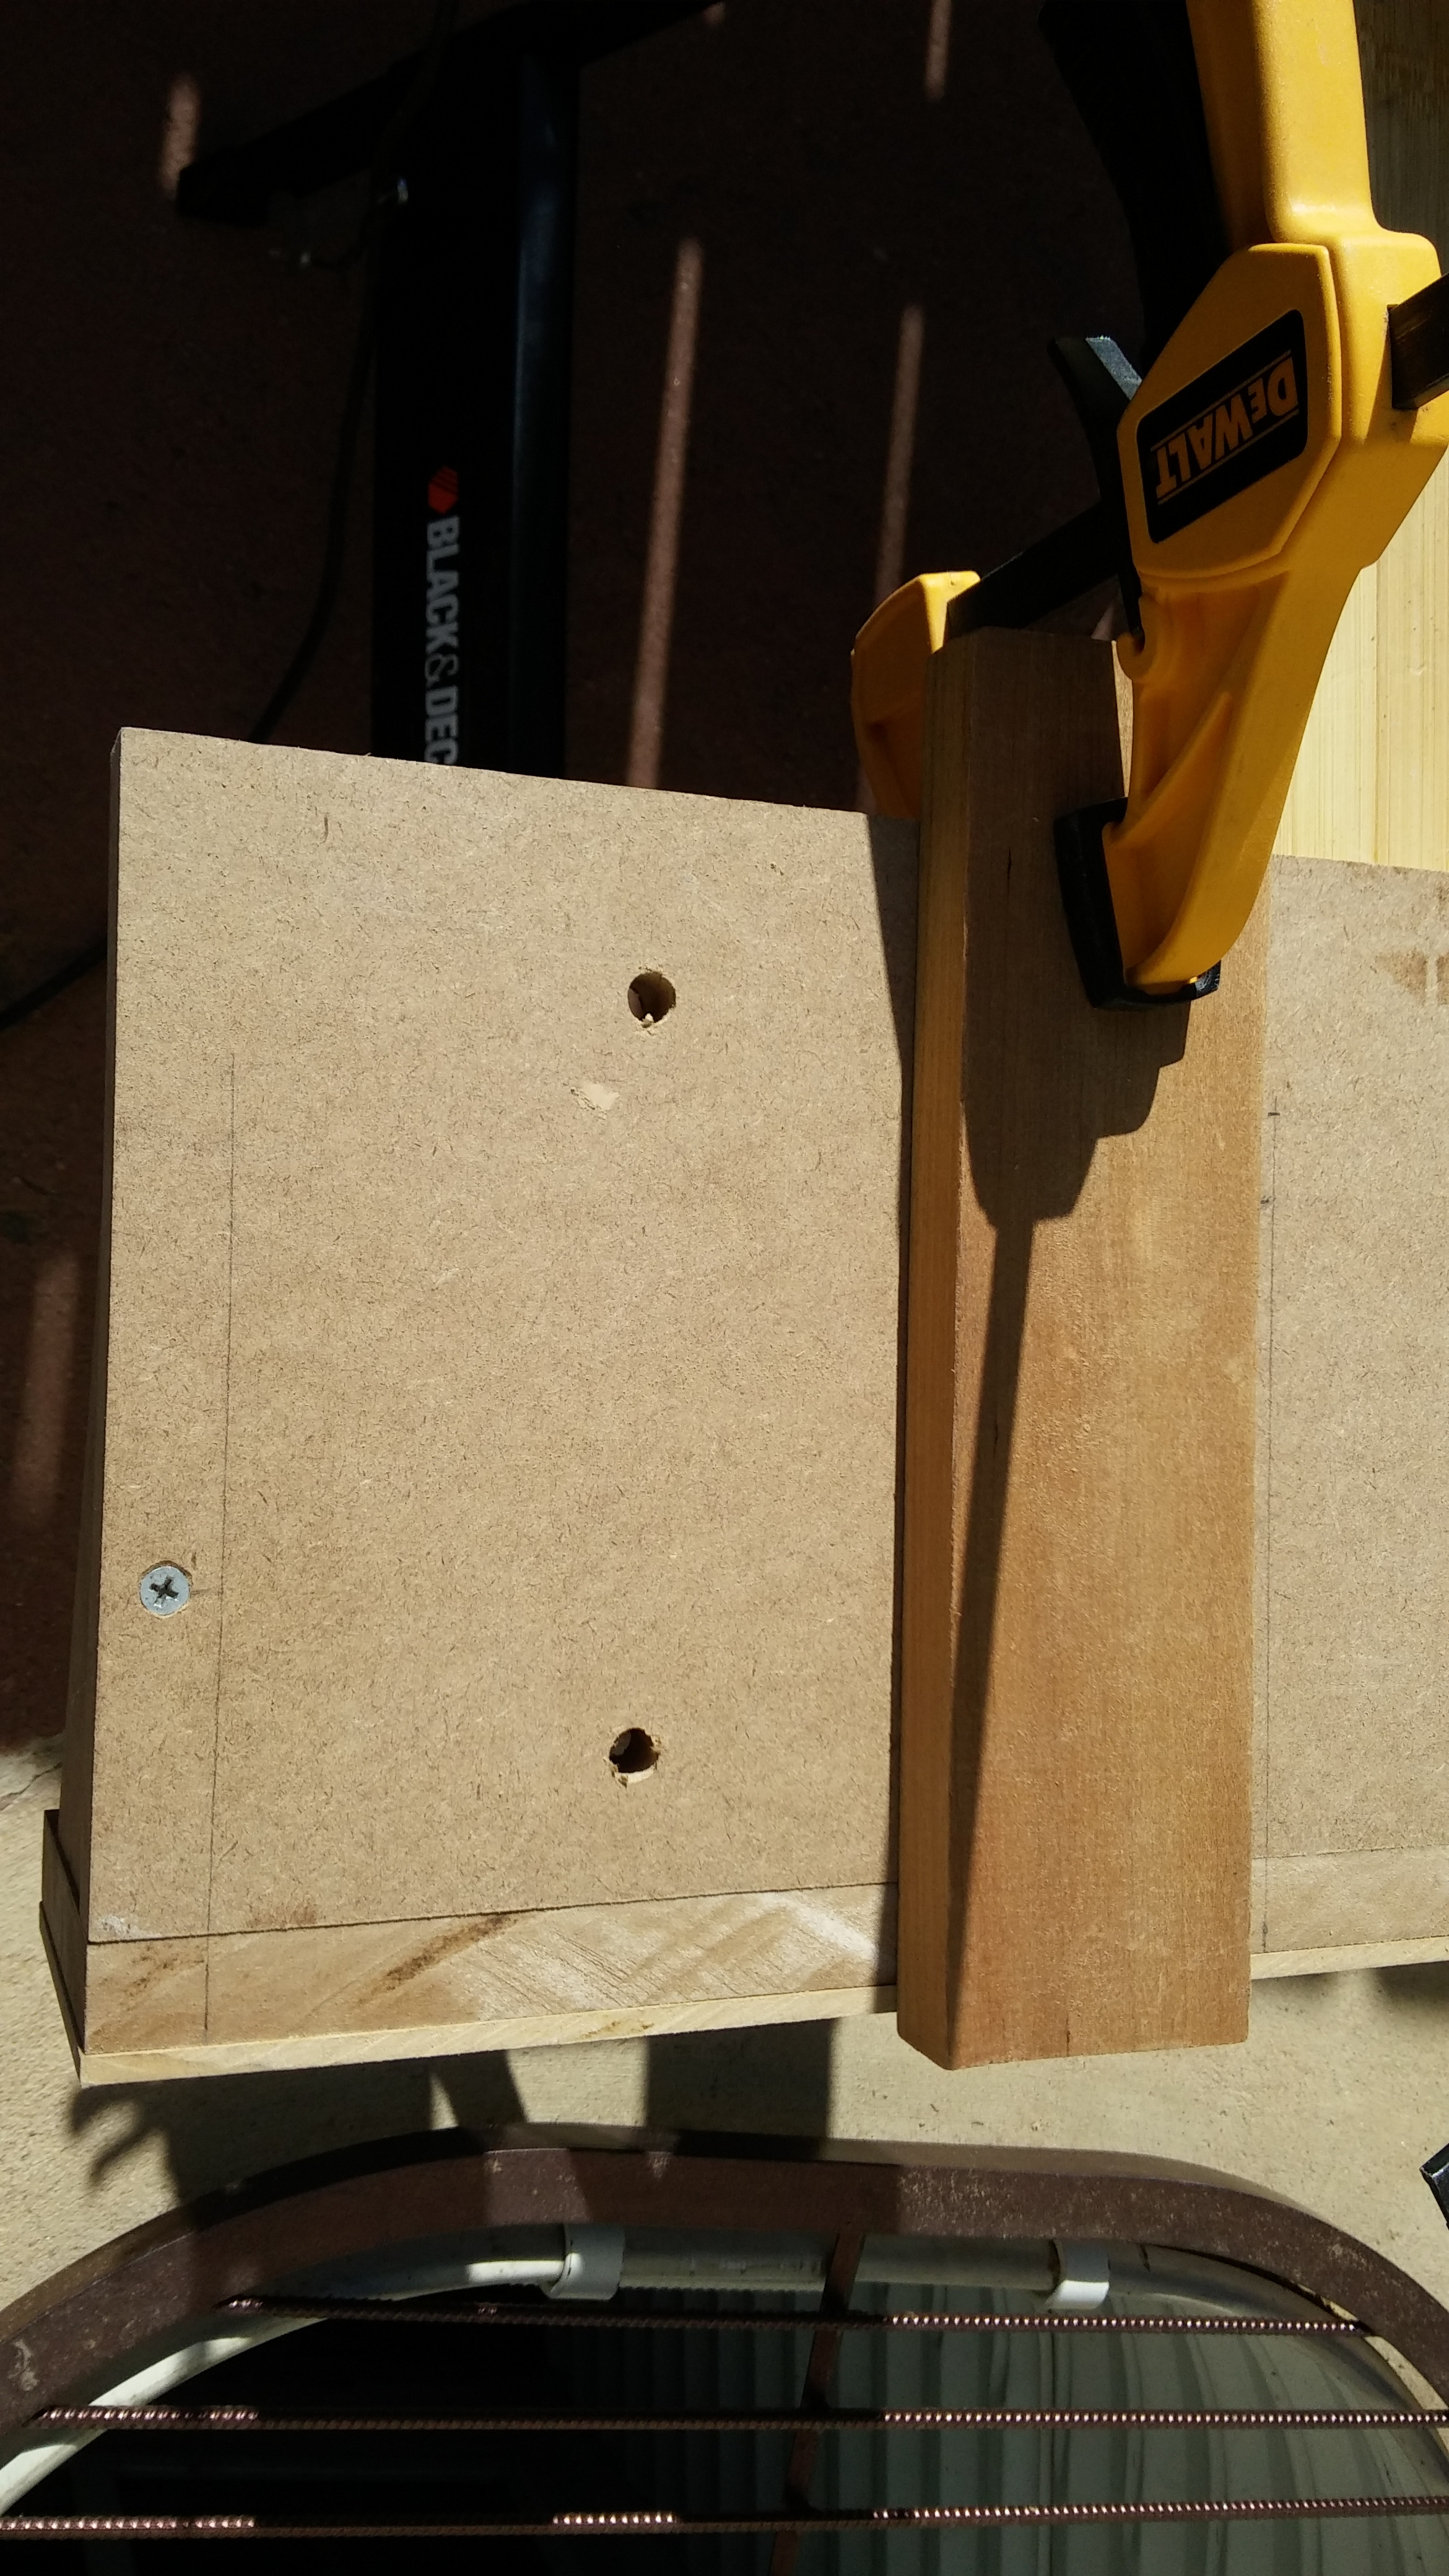
Cut MDF and chalk board for the fence. Build a supporting structure so that it slides over the work surface.
Hole


Cut a clearance hole into the fence.
Vacuum


Drill the fence to accommodate a vacuum. Build a wood holder that the vacuum can snap into.
Glue Fence


Cut the chalk board material and glue it to the fence face.
Support


Build a support structure under the MDF with 2x3s. This will also help keep the surface flat with time.
Plate Support


Cut and fasten base plate supports into the hole in the working surface. Add adjustment screws to fine tune the hight of the plate. You could also skip this step and only rout out the edge of the base plate hole to partial depth. I felt better with hard wood over MDF holding the fine tune screws.
Level Surface


Test the base plate and adjust the screws for a perfectly flush surface.
Glue Surface


Glue the chalk board material to the working surface.
Fence Tracks


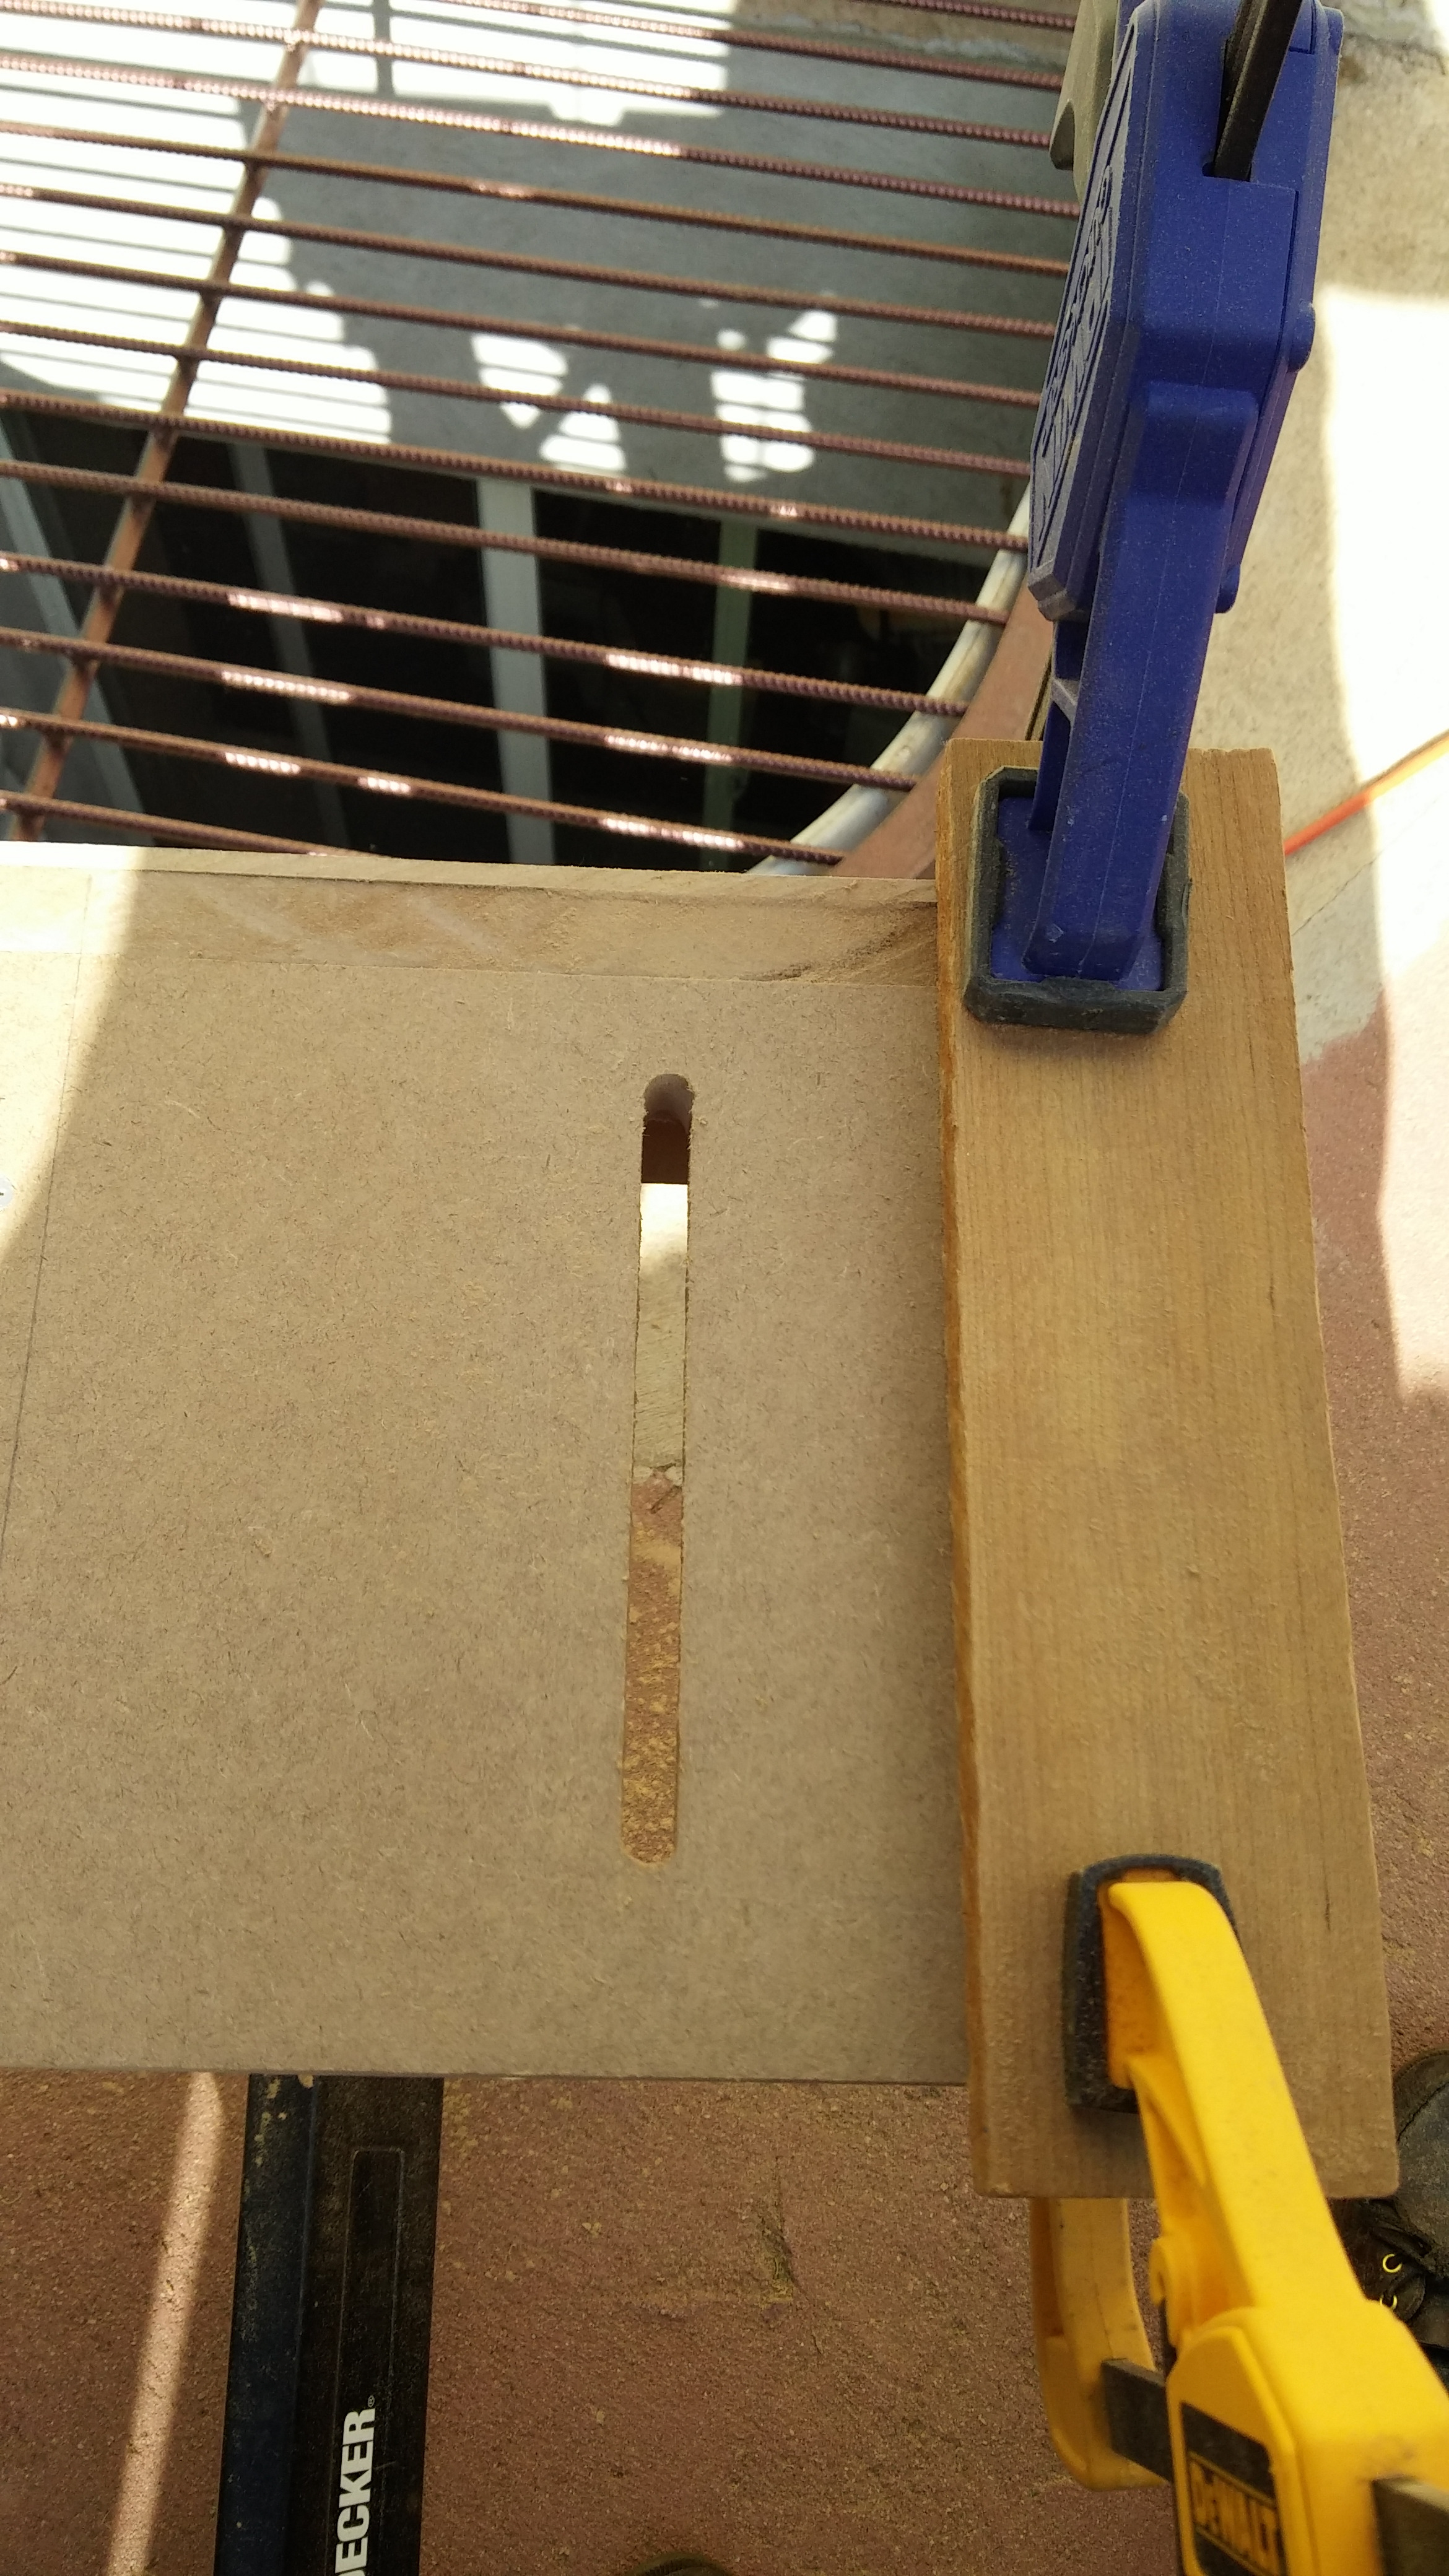
Rout tracks into the fence base.
Hardware


Drill holes into the works surface to accommodate hardware. Run bolts up through the holes and into the fence tracks. Tighten with wingnuts.
Drill Base Plate


Center the router base plate over the table base plate and mark holes for the attachment screws. Drill and countersink the holes. Attach the router plunger.
Switch


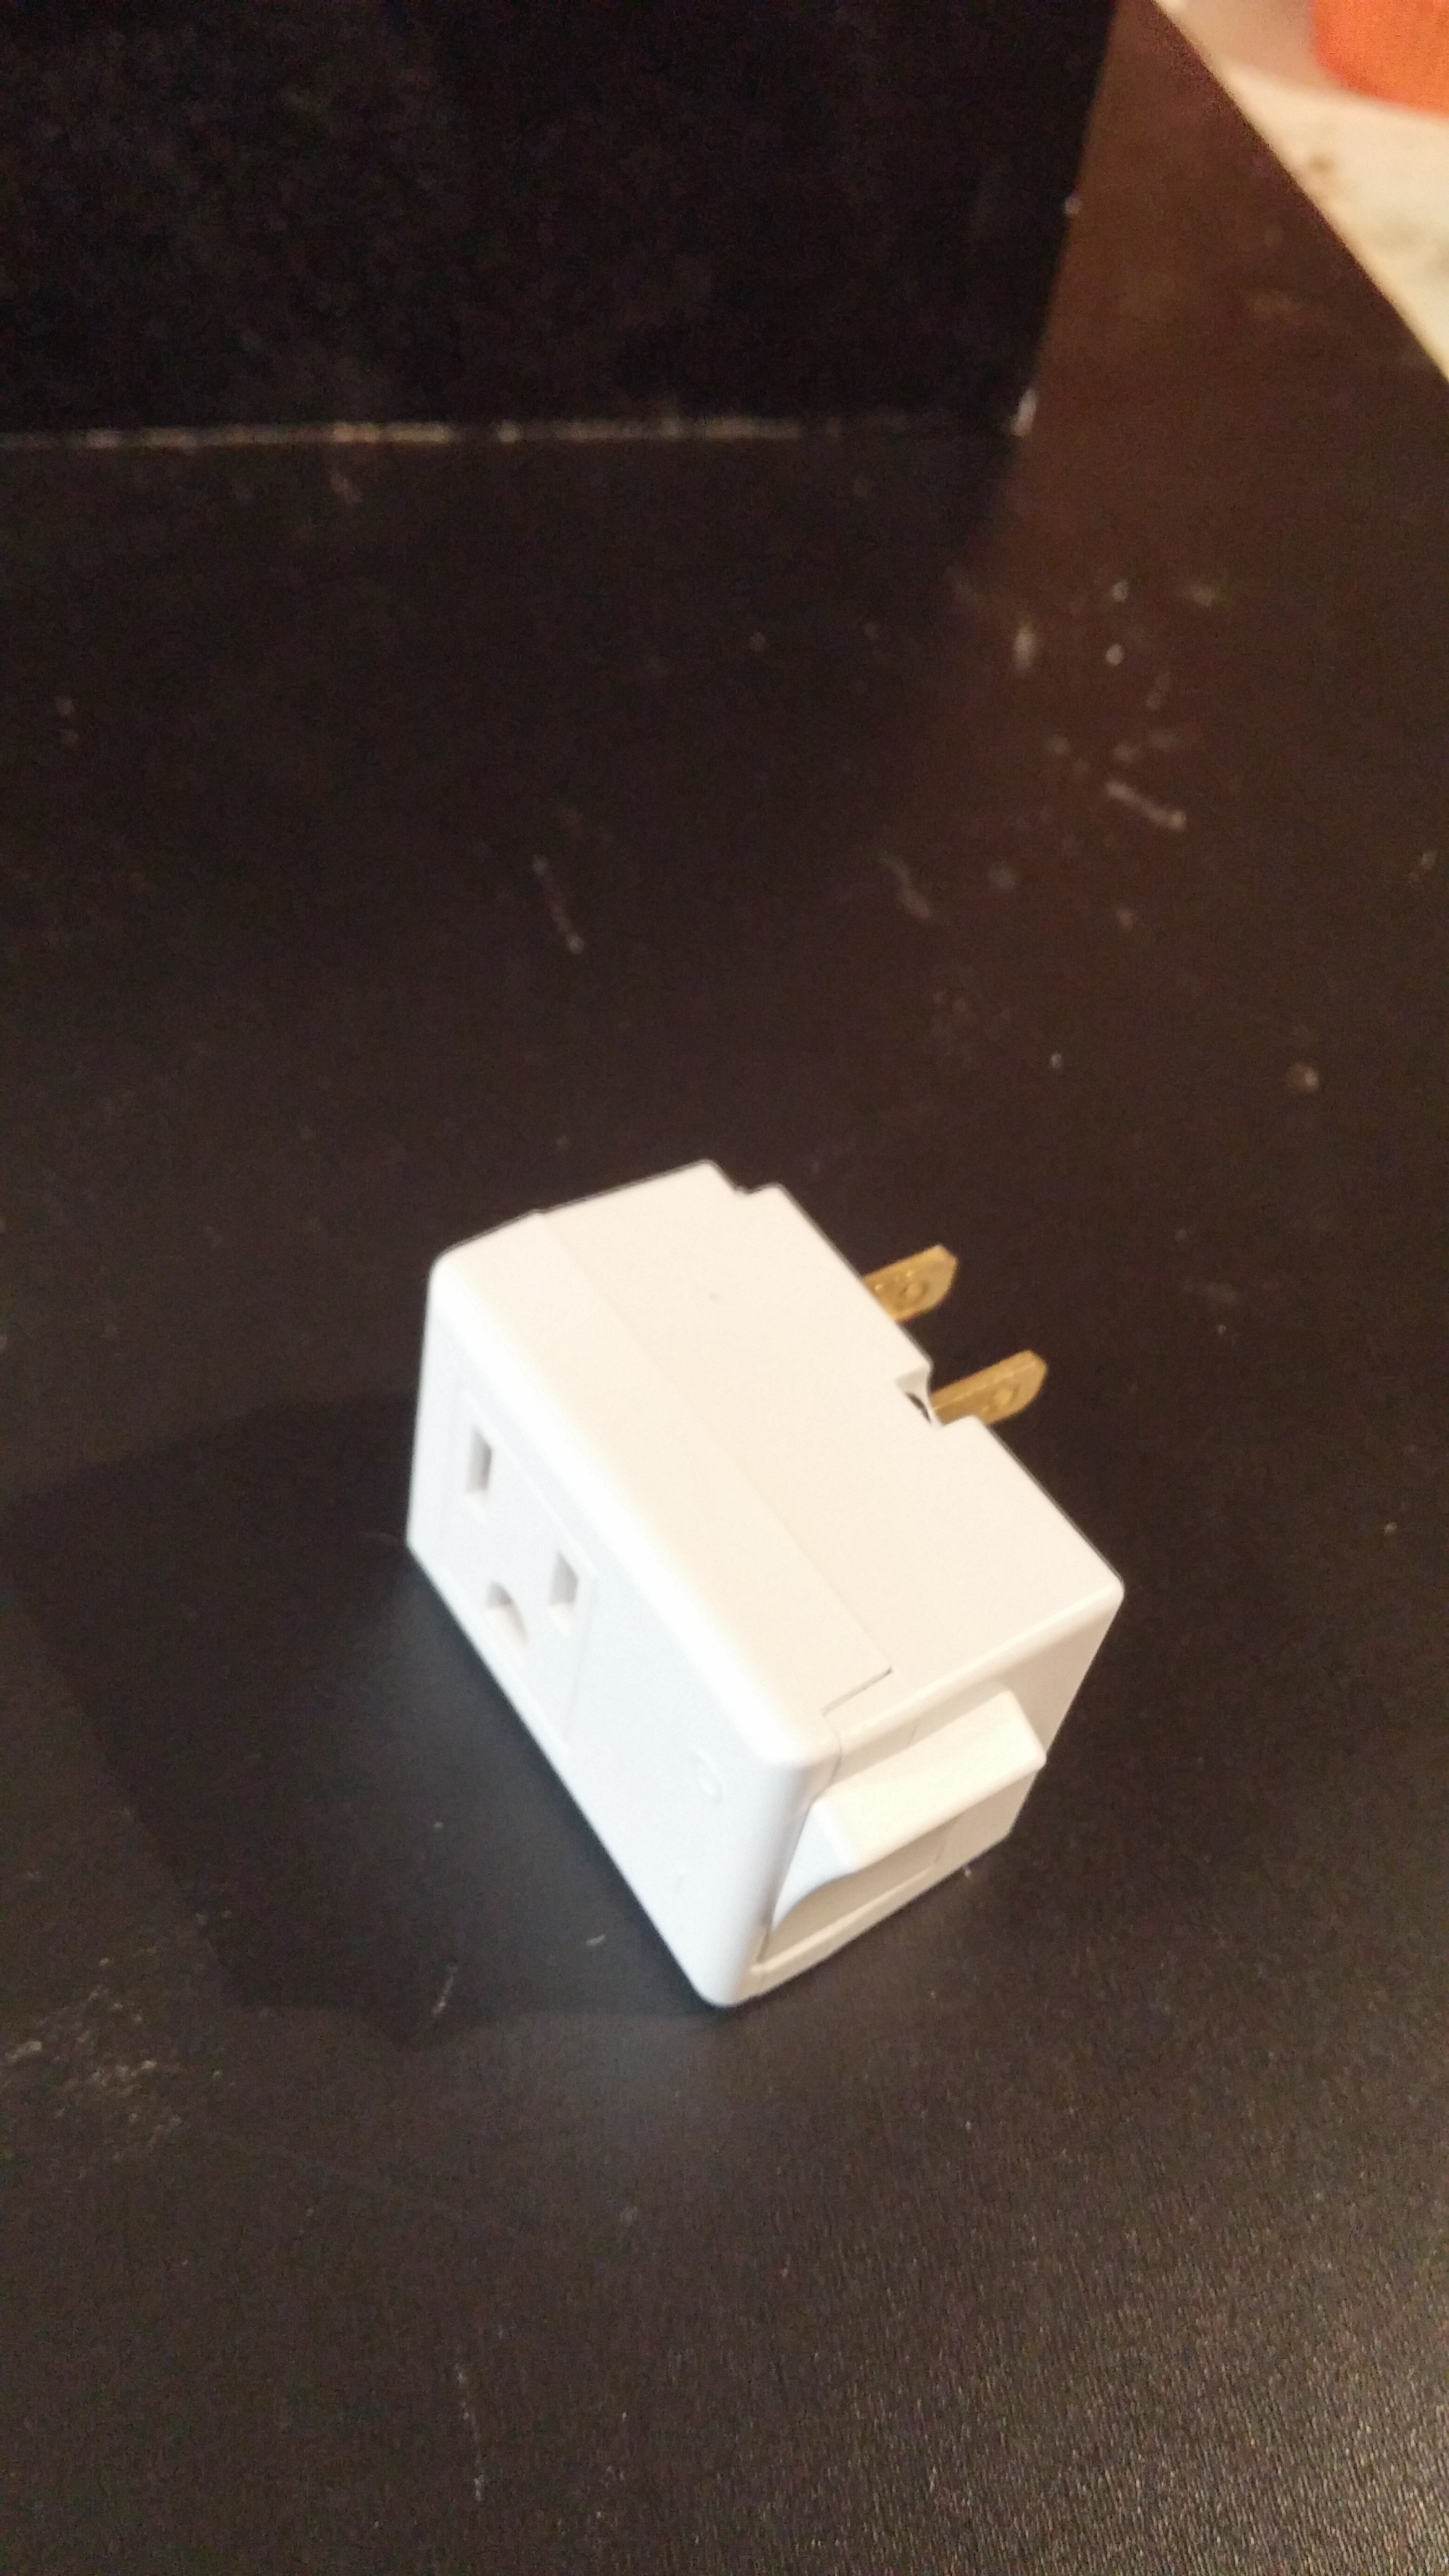
Add an on off switch to the underside of the table.
Complete

Clamp or bolt the table to a working surface. The router table also fits over a portable work bench.