Scare Bear Pillars


Every year for Halloween we decorate the outside of our condo with headstones and skeletons. This year I tried something more original.
We were watching a TV show, where two people were meeting in a dark parking garage. Someone's phone went off and it played the song "Fuzzy, Fuzzy, Cute, Cute". Adorable, but some how terrifying. "We should buy some cheap stuffed animals and make them look gruesome, and put those up!"
While "researching" I found a 3D artist that designs "No Care Bears". Not your typical Care Bears, some of them are modified after horror movie characters. Price was reasonable (cheap), so I went that route instead of the stuffed animals.
Supplies
No Care Bear 3D models (from Cults3D)
3D Printer
Many, many kilograms for 3D filament. (approx 300 grams per bear)
Sand paper
Primer
Paint
Foam insulation Panels
Japanese Pull Saw
Exterior double sided tape
Long straight edge
Speed Square
Modify the 3D Models So the Back Is Flat


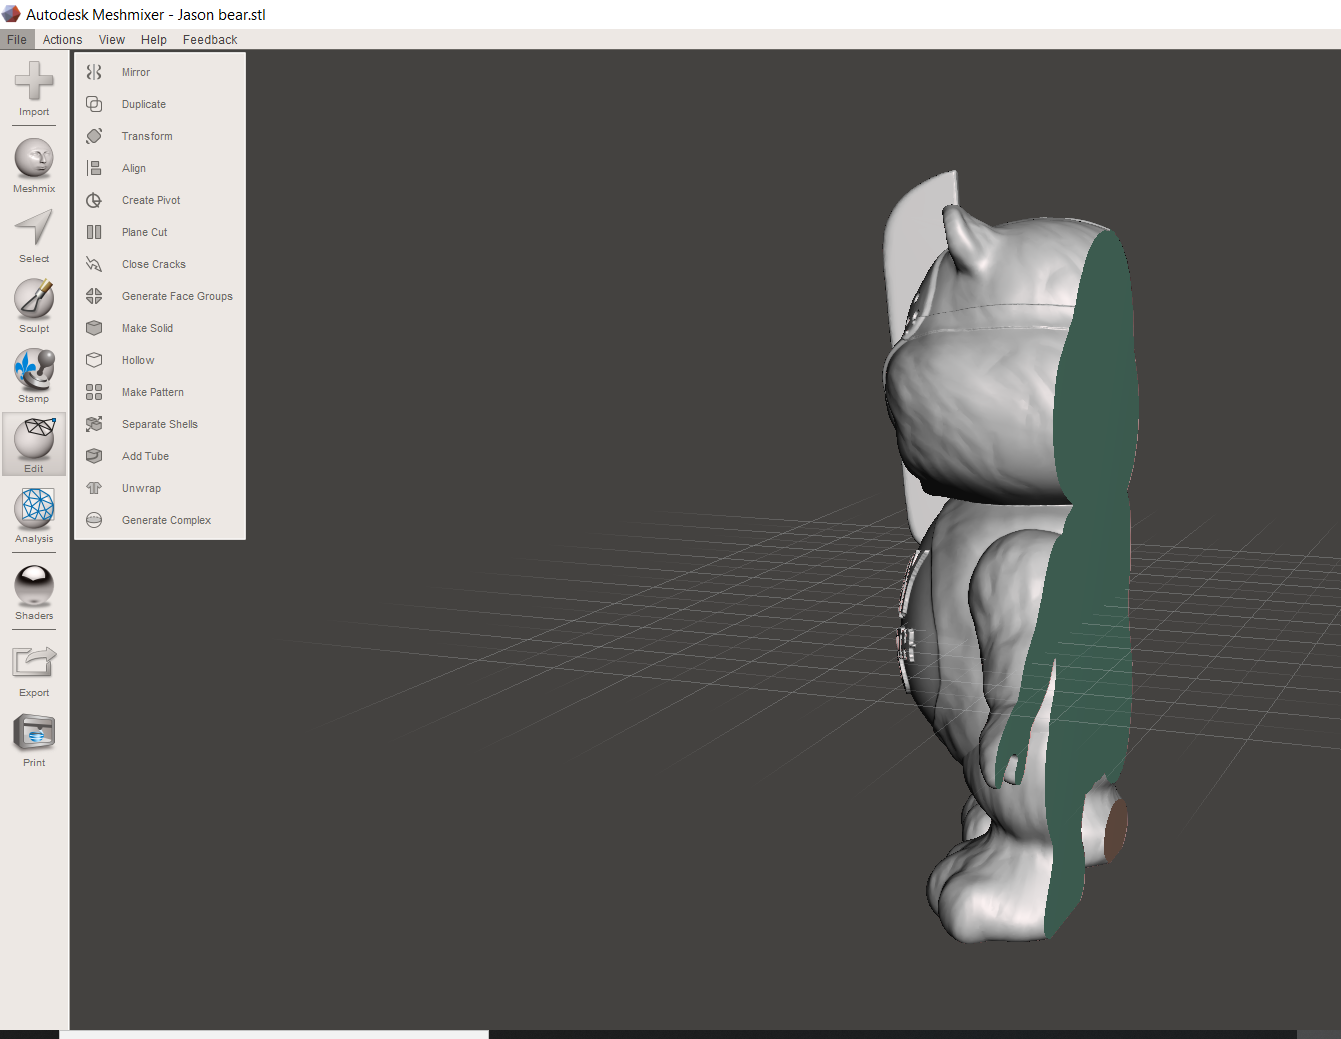
I used MeshMixer (free, but no longer in development) to remove the back half of the bears.
Use the "Plane cut" feature, at about 90 degrees; using your judgement on how much to remove.
3D Print the Bears (with Flat Backs)


I utilized a 0.6mm nozzle and printed with PLA+. I scaled each model up by 300%, so they were close to 12" tall. 5% infill, but with three perimeter walls.
I let the slicing software (Cura) align the flat back to the print bed. Don't do that. It makes for an easy print, but it negatively affects the quality of the print (look at Karen's face... look at it! Now she wants to ask your manager why you would let that happen to her face).
From a distance, quality doesn't matter that much. I went for speed, and printed each in about 12 hours. Higher quality, they would have taken more that a day each.
Sand/primer/sand Again

Use a wood putty (or other substance) to fill in print defects. Sand and prime, and sand (more than I did). Or just call it... its almost Halloween, git r' done.
Paint the Bears


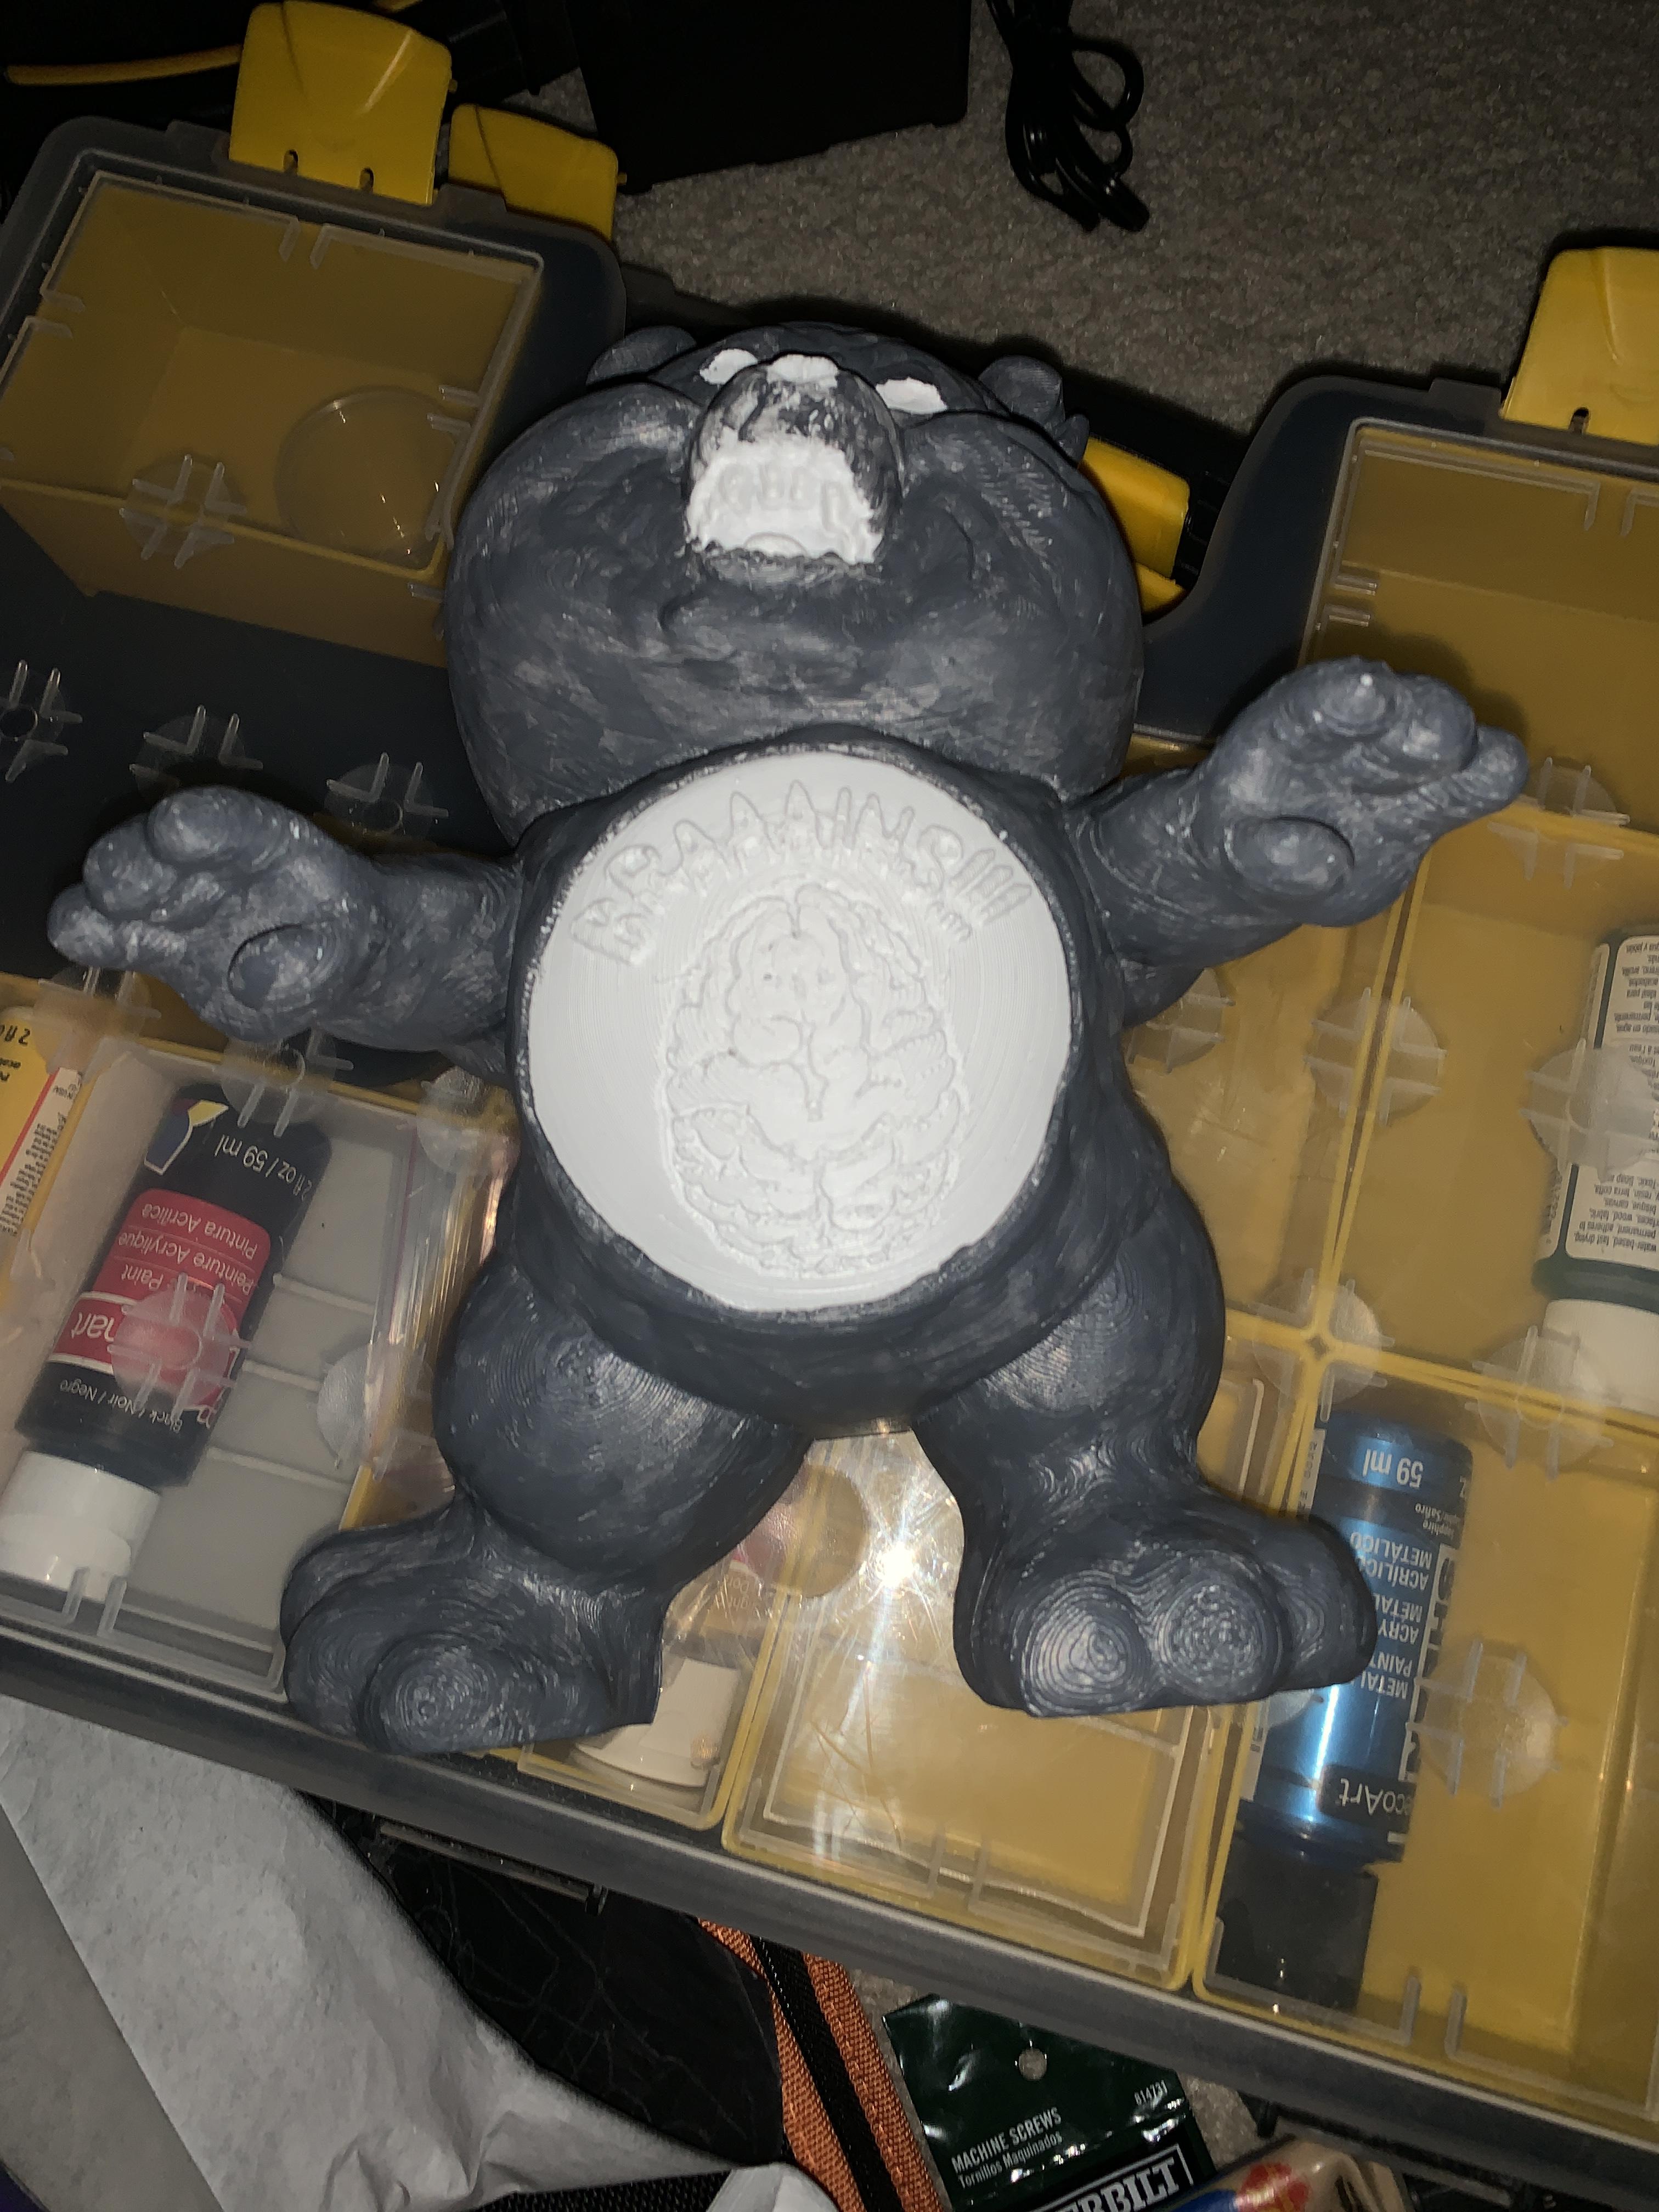
I used acrylic paint to paint the details of each bear. I didn't bother painting the flat back side.
I am seriously considering investing in an air brush and compressor.
Clear Coat
I applied a spray clear cost to the bears, so they would hopefully last through the season. It always seems to rain right after I put up Halloween decorations. Just be aware, some clear coats aren't for outdoor use and some varnishes will cause a yellow tint.
Build the Pillars


I live in a condo with two pillars on either side of my porch. I'm not allowed to modify the structure of the building.
Nobody said anything about building a facade around the structure. I measured the pillars, 8 1/4"x8 1/4". I bought some 1" foam insulation panels (the Corning Purple stuffs makes less of a mess when cutting). I utilized box joints for assembly, so each panel is oversized to 10 1/4"x10 1x4".
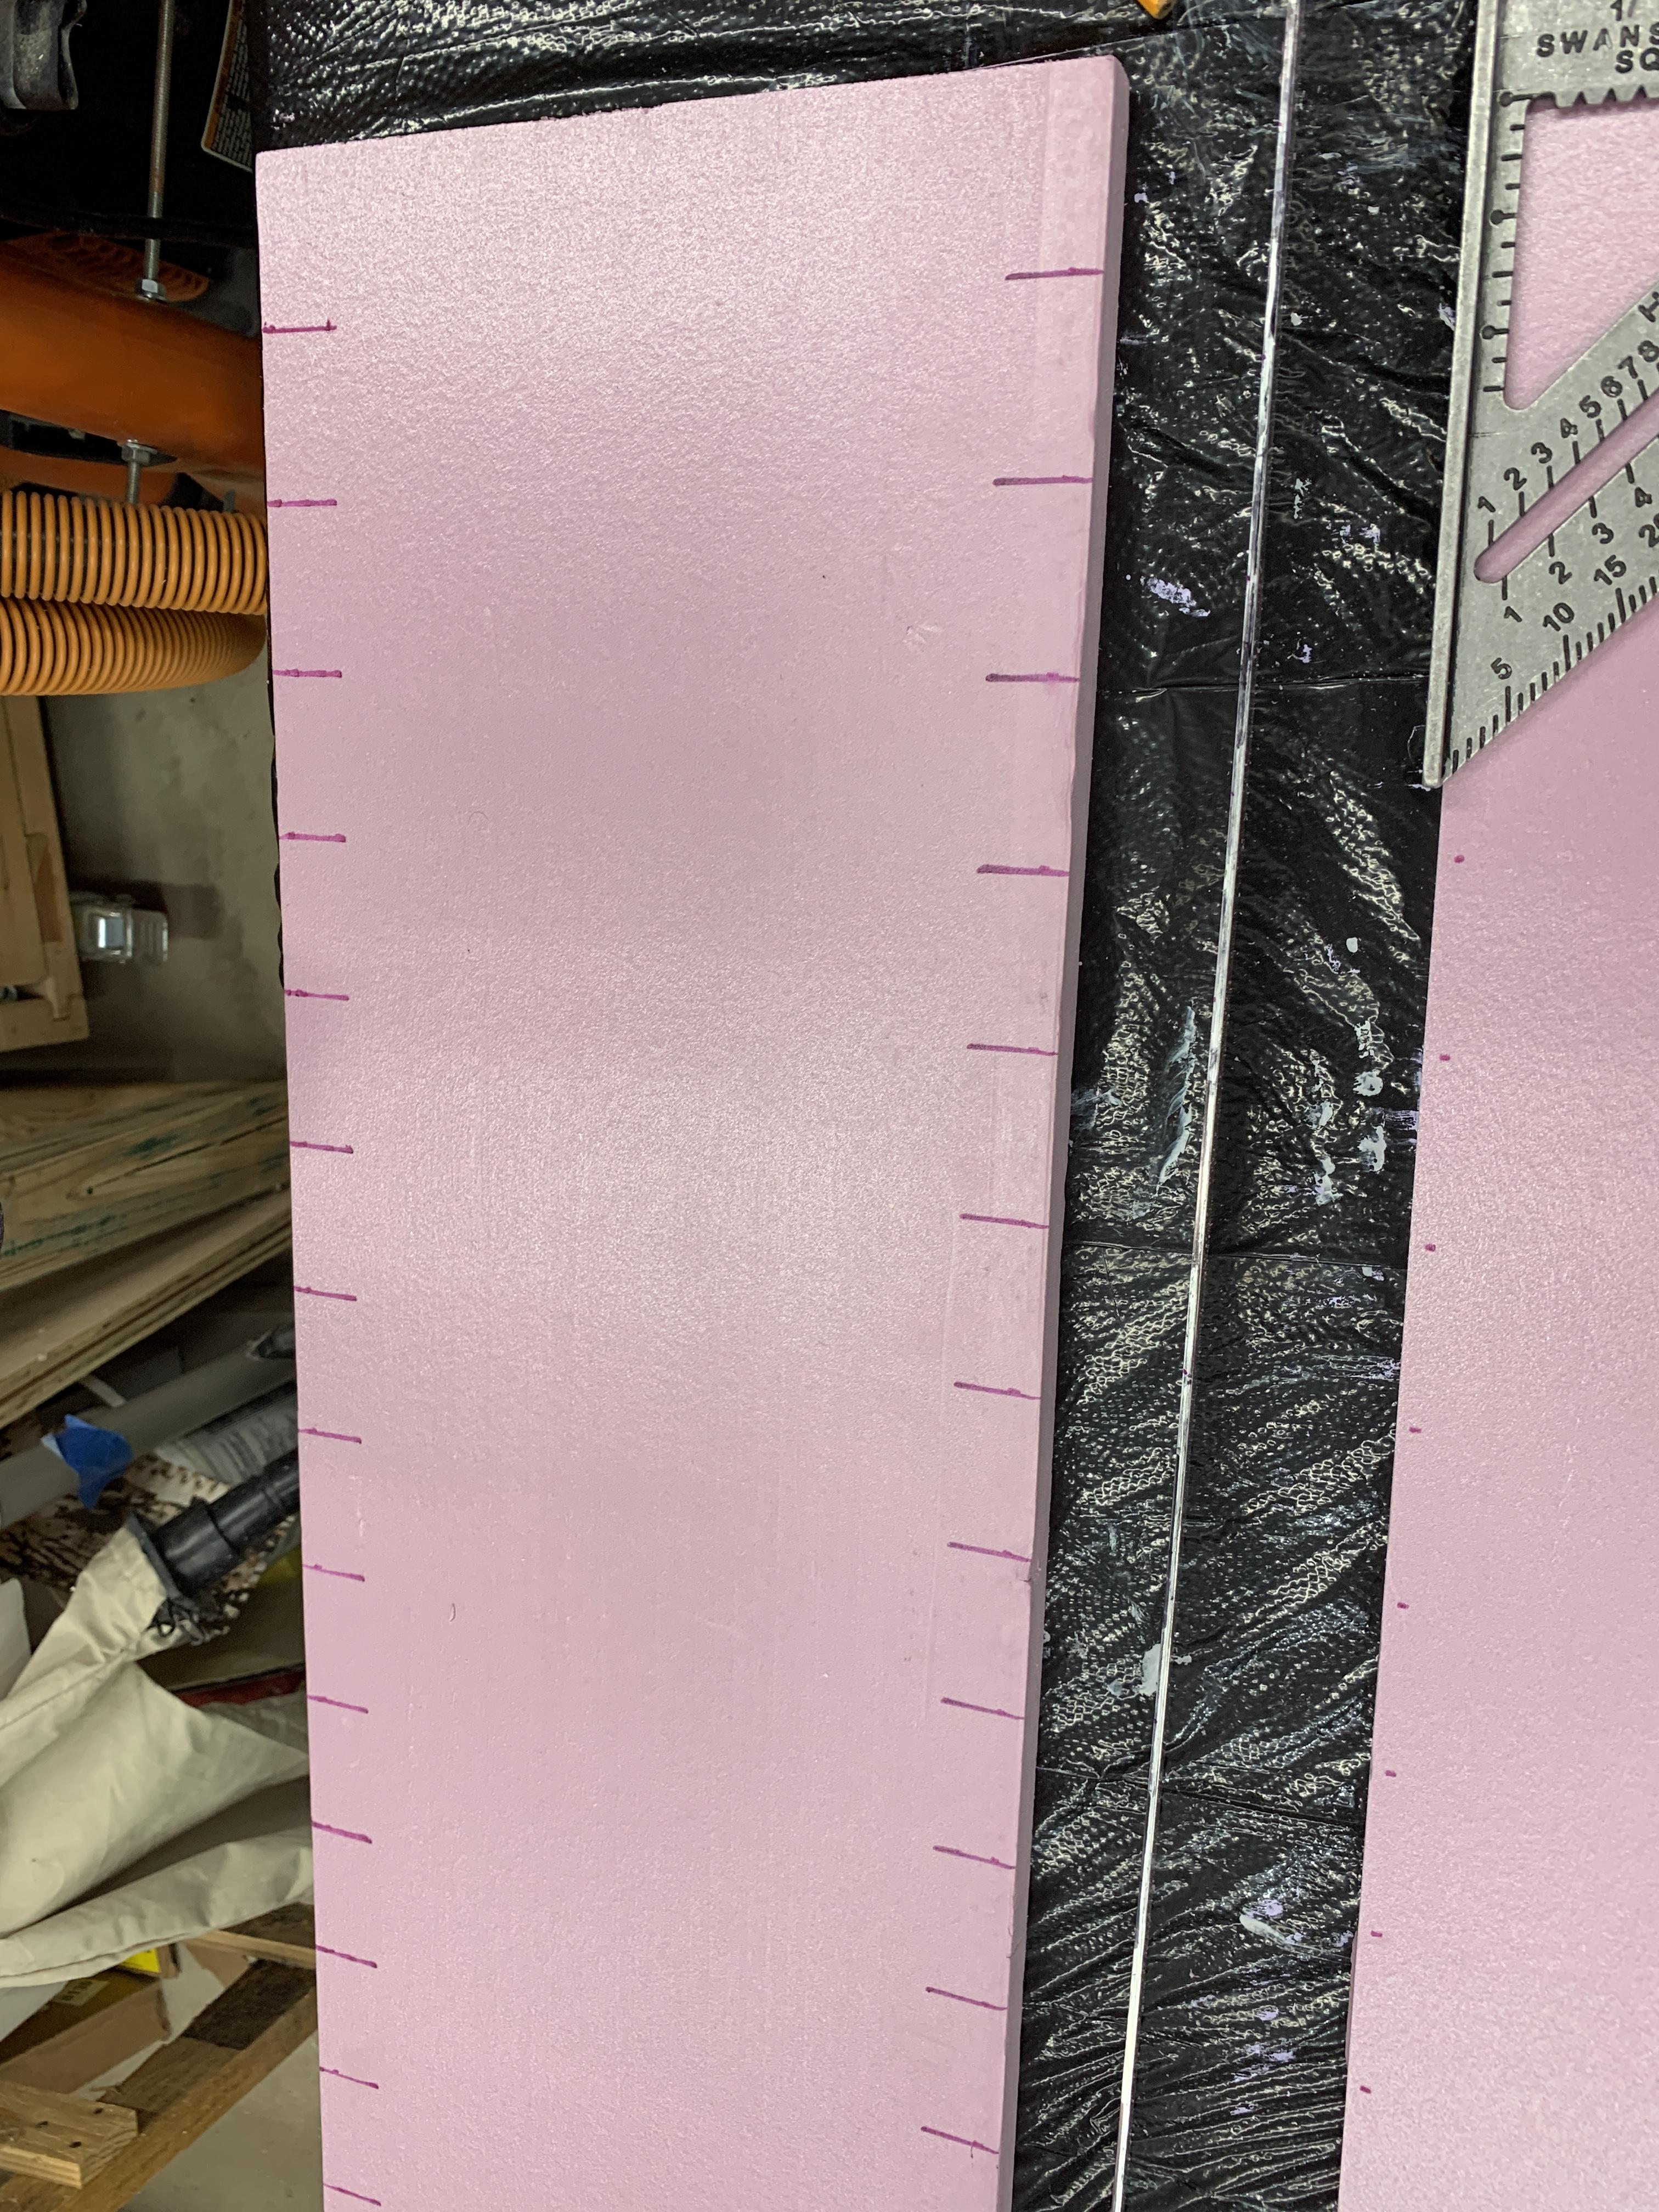
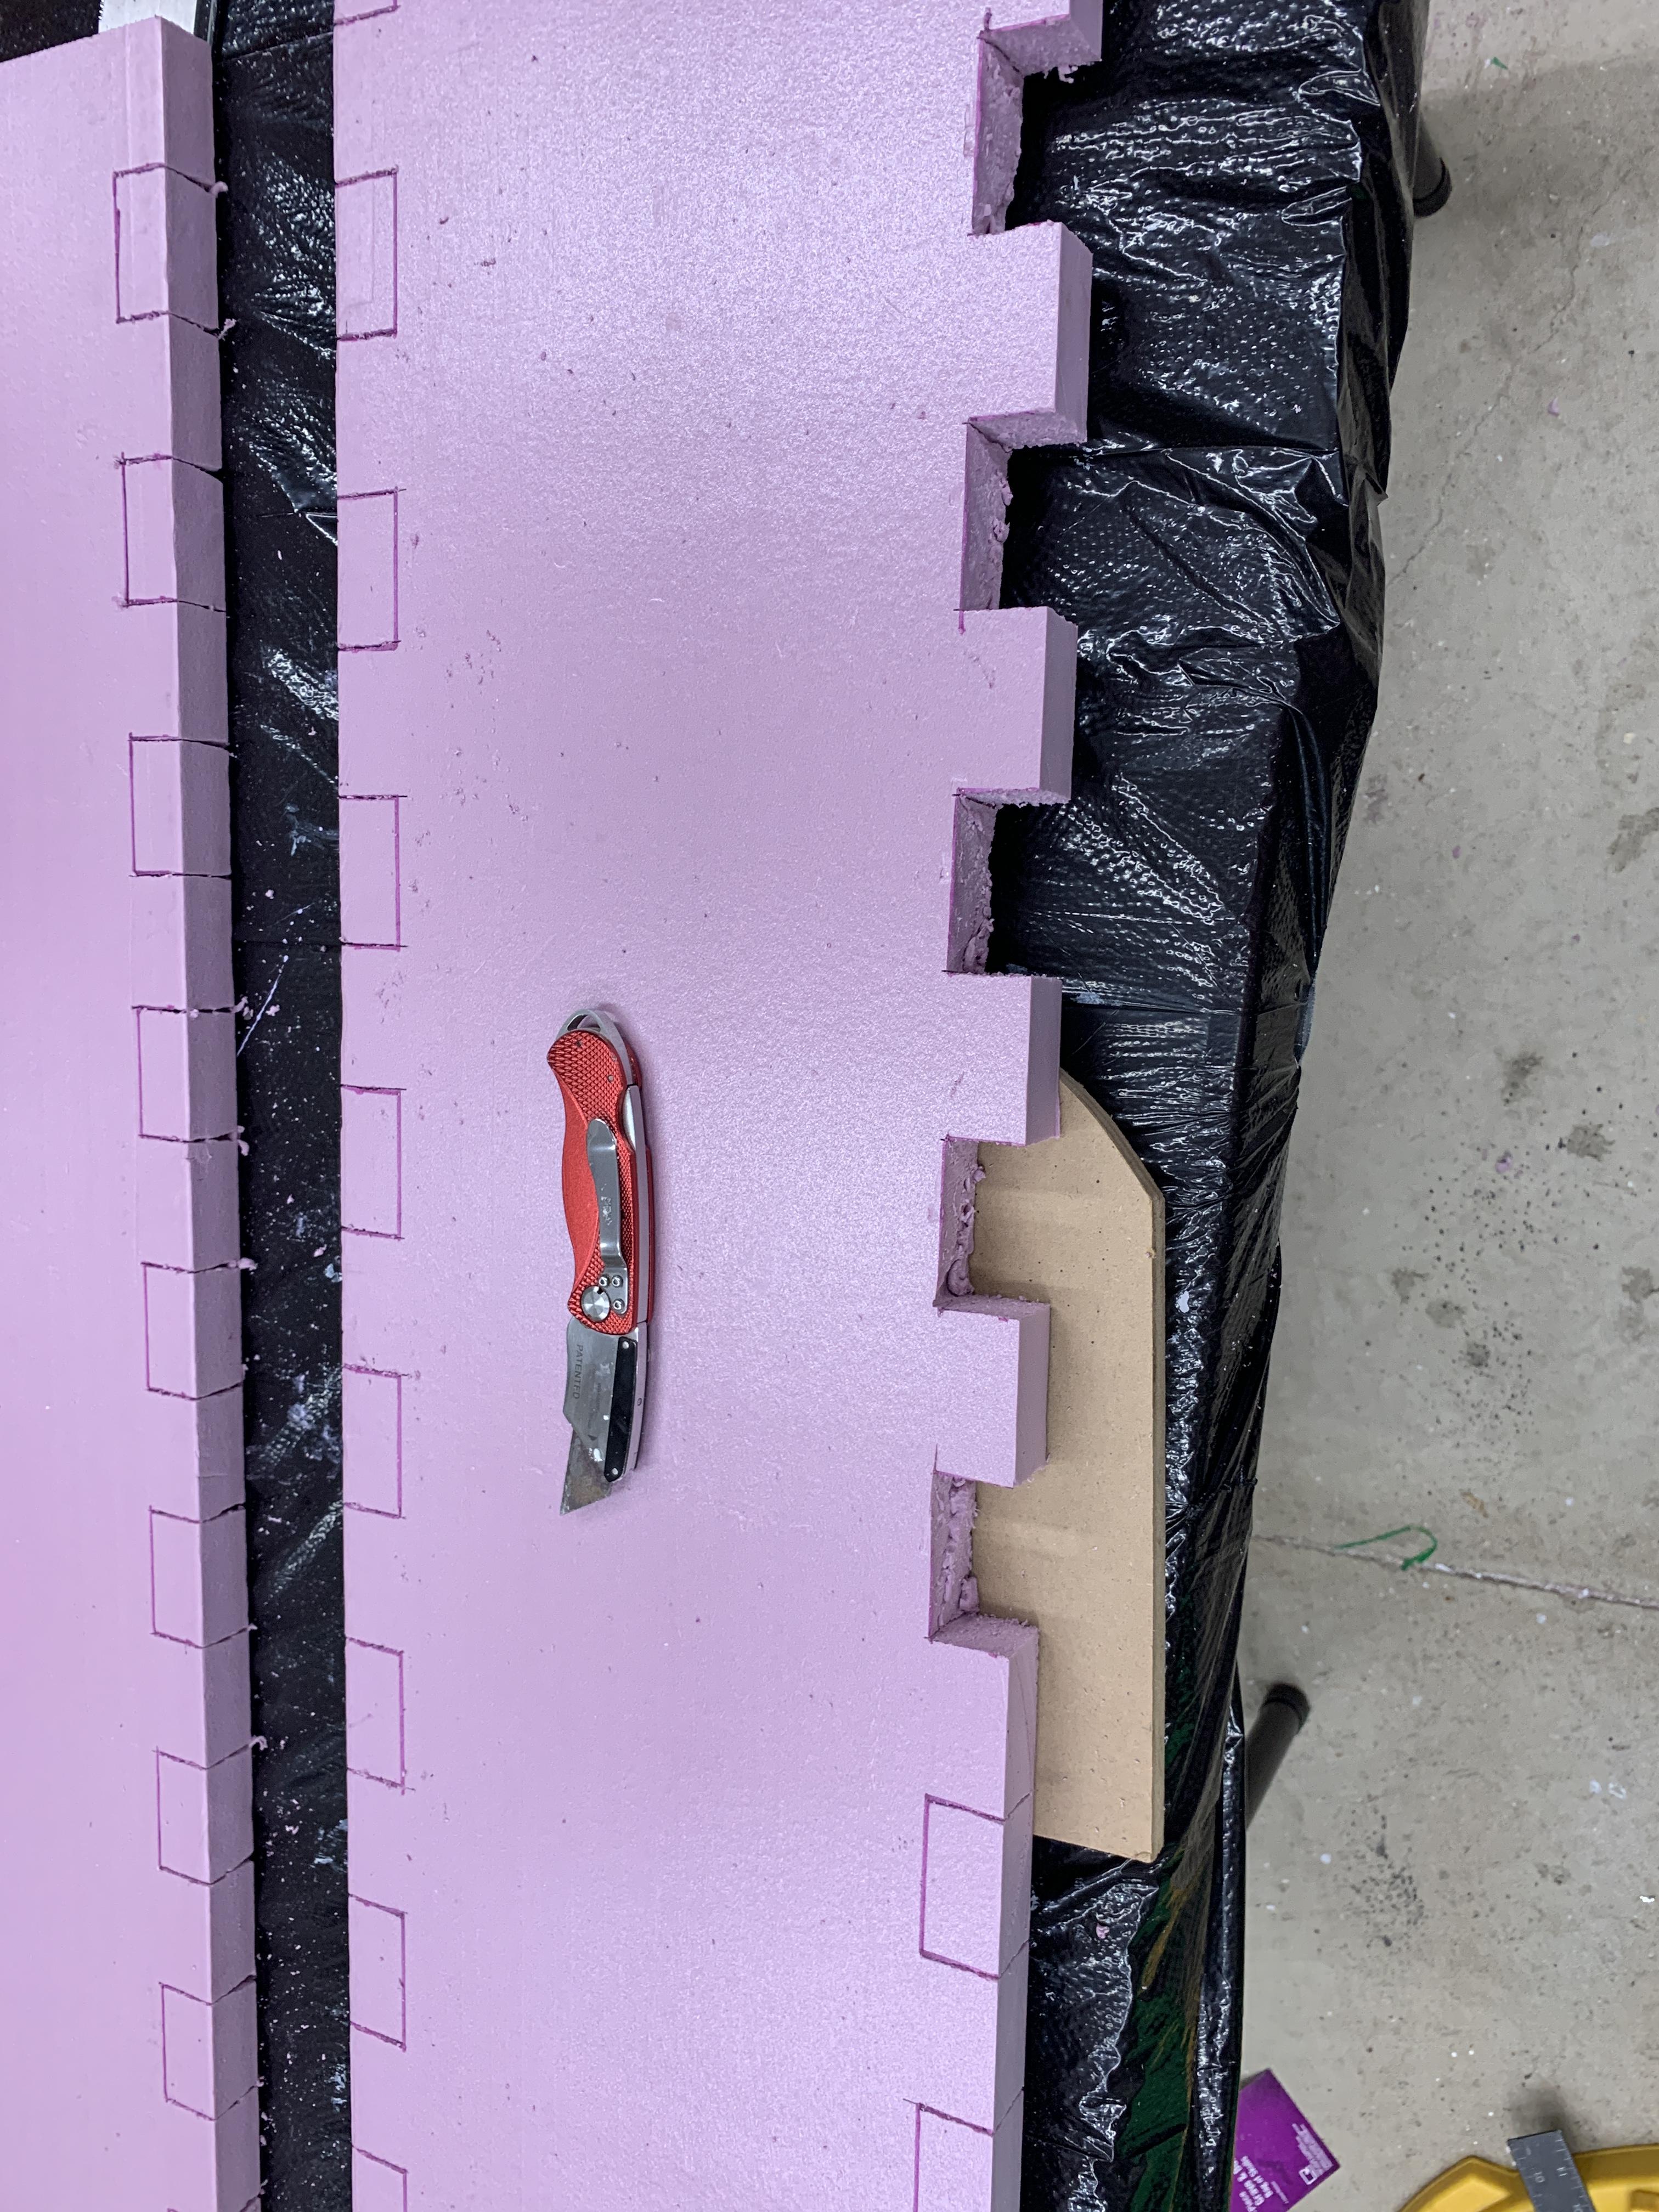
I used a marker and a carpenter square to make off 1" deep (to match the insulation thickness) by 2" long box joints staggered down the length of all panel sides. Using a Japanese pull saw I cut the marked off joints.
Assemble three (of the four sides) together. I used hot glue to hold the panels together better. I left the four side off, for installation later.
Doing a test fit is a good idea.
Paint the Pillars


Prime and paint the outside of all the insulation panels.
To add some realism, I painted black oval (openings) where the bears would be attached (to look like they were coming out).
Add a Sign


For the sign going across, I left some box joints available to connect a long piece of foam board to. I used a stencil I printed from my 2D printer. And transferred with carbon paper by tracing with a pencil. I painted over the carbon tracing. Later I spray painted in red to replaced a few letters (making it look like graffiti). I reinforced the box joints with some hot glue.
Attach the Bears


To attach the bears, I tried spray adhesive and hot glue. Both these methods eventually failed in the rain and heat. Exterior double sided tape, three strips per bear, has been holding up much better.
I used conduit foam insulation (similar to a pool noodle) to add a "step" that the bears appear to be standing on, and hot glued them in place.
I also added some skulls and foam pumpkins to the pillars, both of which I cut in half. I eventually applied spay foam to help keep these attached to the foam panels.
Finished Product - Murder Town


I'm still waiting for the first condo violation warning letter :) I think my complex is laid back enough to not even question what I'm doing.
Bonus Bears


I did two additional bears. One that was sliced so just the top half printed. I drilled holes to insert half of an H frame into. And than stuck it in the ground as a "ground breaker". A zombie digging itself out of the ground.
The other I glued little neodymium magnets to the back of with E6000 glue, and stuck it to my metal front door. Perhaps the scariest of all the bears... The Karen Bear.