Sculpting Original Funny Characters in Polymer Clay
by inmyoblivion in Craft > Clay
2469 Views, 44 Favorites, 0 Comments
Sculpting Original Funny Characters in Polymer Clay

I love sculpting in clay, but sometimes the hardest part is coming up with original ideas. This instructable will show how I came up with the idea, sculpted, and finished this fun character.
Supplies

There's no need for anything fancy or expensive. Everything used can be found in a craft store or around the house. Just remember to think outside of the box. The rolling pin with spacers is a fondant roller I found in the cake decorating section of a craft store.
- Any polymer clay - For this project, I used Super Sculpey, Medium. You could use air-dry clay, but polymer clays are much more durable and you have more time to work with them.
- Aluminum foil
- Some basic tools to shape and smooth the clay although your fingers will do most of the work. The only specialty item I used is a dental tool I found online.
- Rolling pin
- Craft knife
- Cutting mat - Not necessary but it's nice since it will keep your table clean and in one piece.
- Craft or model paint and brushes
- Oven
- And most importantly...an idea!
Coming Up With an Idea

Sometimes it seems one of the hardest things is coming up with original ideas. I always saw people creating so much good work and wondered how they come up with their ideas. Instead of waiting for inspiration, scrolling online, or noodling with clay, I decided to come up with a system to get ideas flowing.
The key for me is to look around and try to see things differently, like putting two ideas together that don't normally fit or looking at things in a little different light.
You never know where inspiration will come from: for this instructable, I found a website describing a bunch of seafood recipes. Instead of thinking of what the dish might actually consist of, I looked at the words in the titles to see if there were any other meanings. "Steamed shrimp?" What's she so mad about? "Soft-shelled crab?" Is he feeling sensitive? "Grilled grouper?" Leave that fish alone! Or maybe, he's got some platinum and diamond dental work.
What struck me most was Iceland’s Hakarl, or pickled shark. An alternative meaning of “pickled” came to mind and I thought a drunk shark was a fun idea.
Since I had only the basic idea of what a shark looked like, I googled shark images to figure out their key components. The thing is not to try to make it look anatomically correct, but to give the impression of a shark. In fact, it's better to be a bit off since this is a caricature. With an idea of how many fins a shark had, I doodled the idea on a whiteboard just so it wouldn't disappear.
Forming the Body


The first step is to create the basic shape of the sculpture. To cut down on the amount of clay needed and to shorten the time needed for the sculpture to bake, I made a basic shape of tightly balled aluminum foil.
Using the fondant roller using the largest spacers I created a skin for the shark. It needed to be thick enough so the foil didn't start to poke through and so I had some clay to work with when attaching parts in later steps.
Then I wrapped the foil with the skin and smoothed out the joints. I didn't try to make it perfect at this point because I knew I'd be handling it and have to fix it later anyway. I just wanted the basic shape as a starting point.
Fins and a Winning Smile


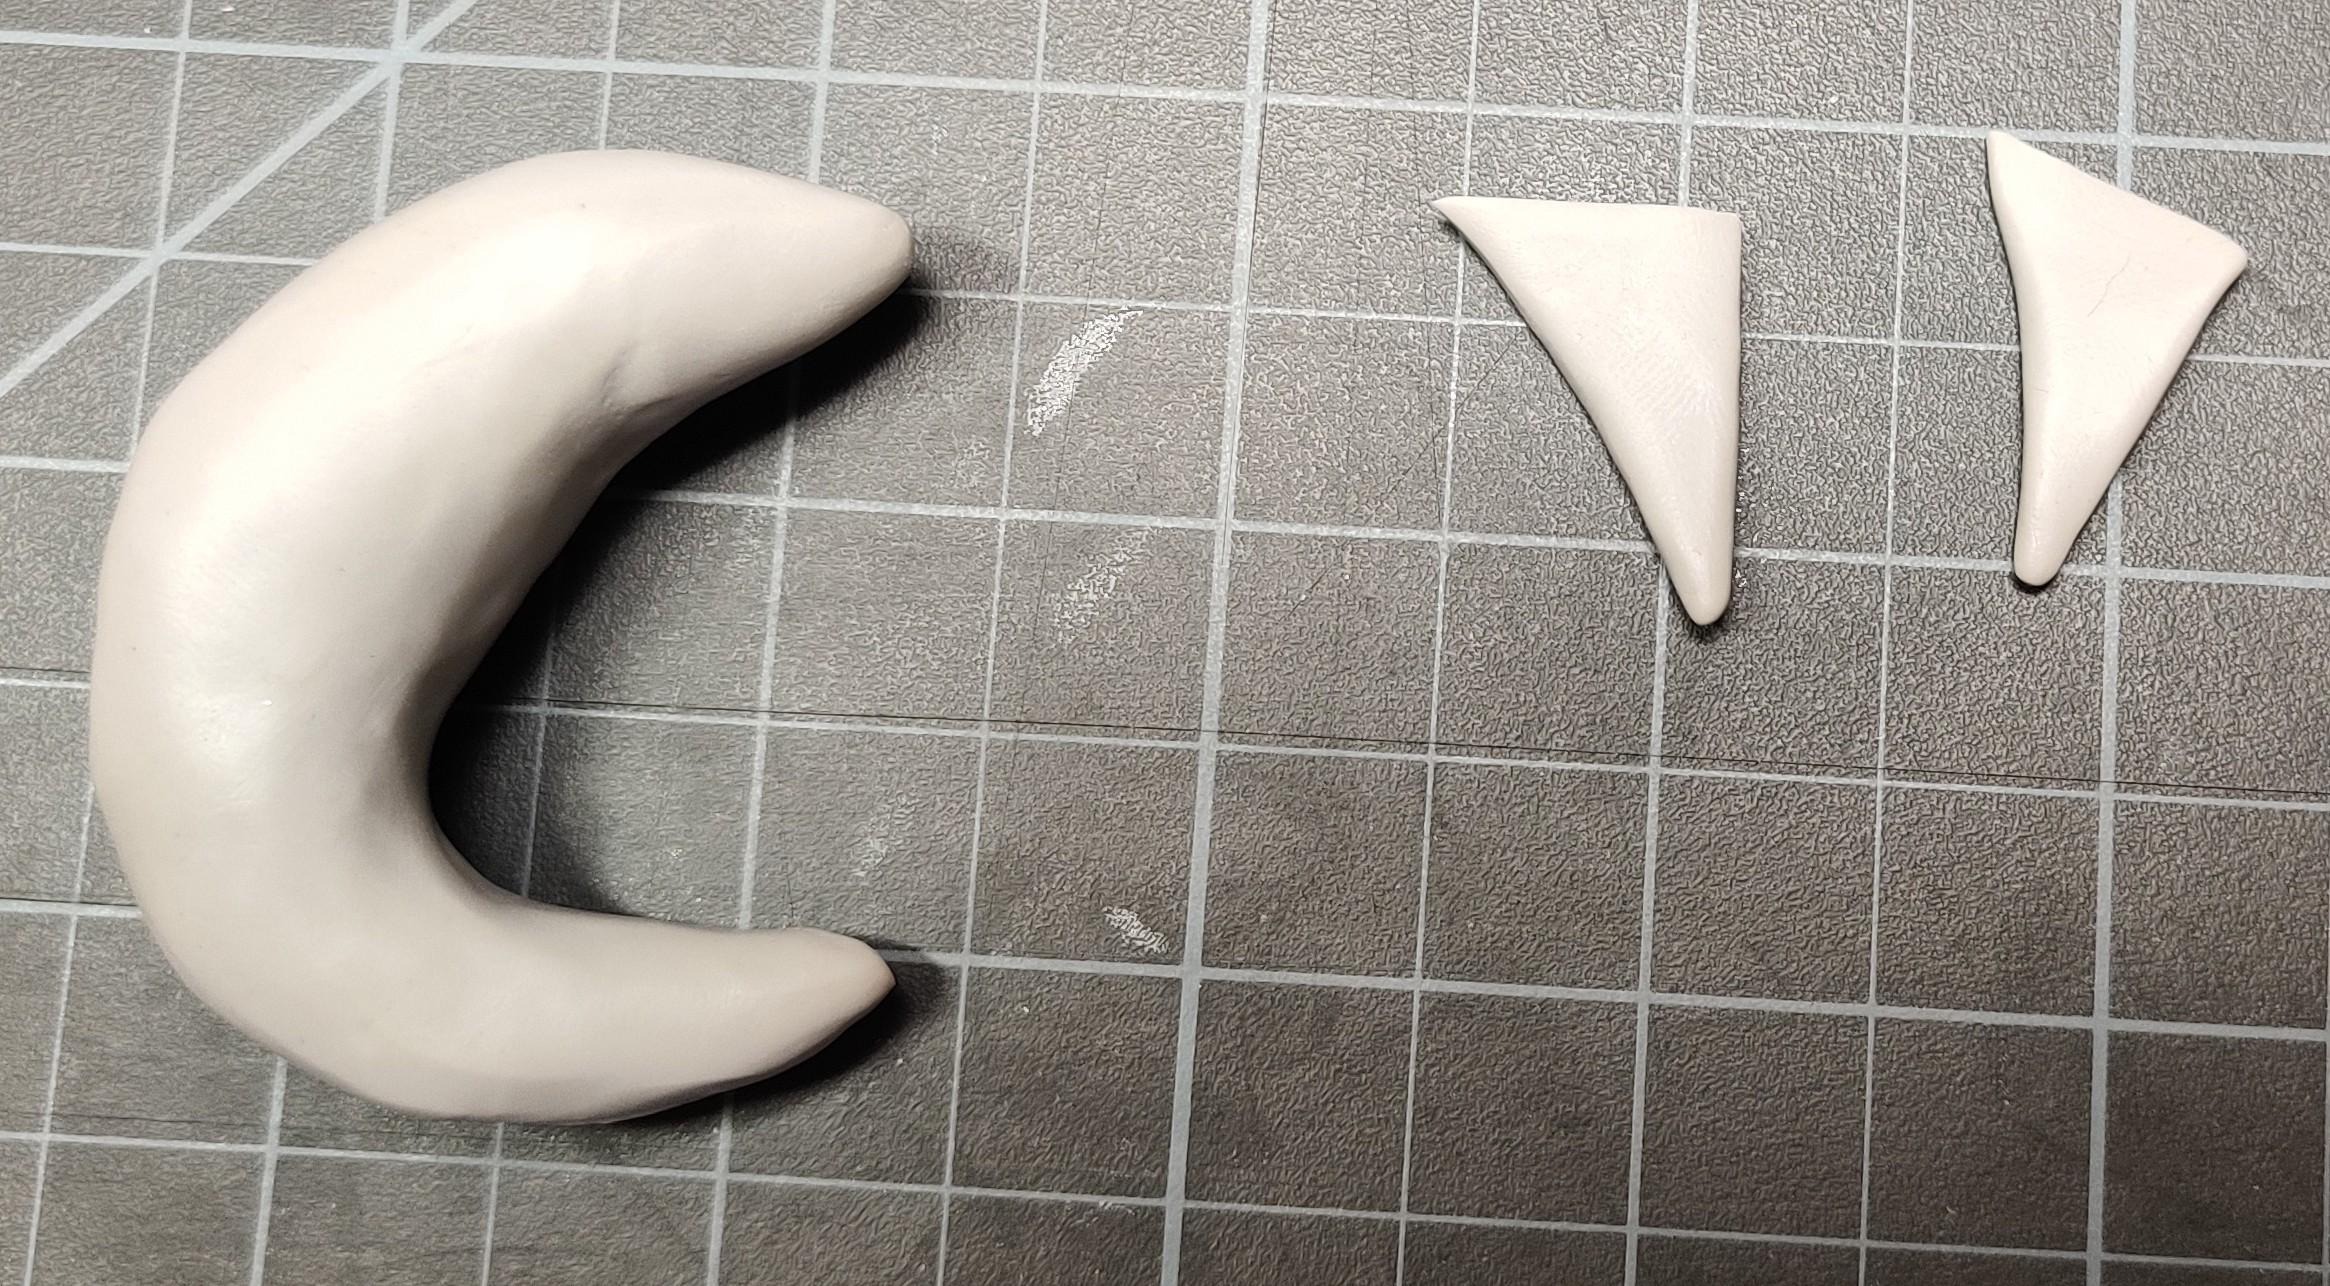
I rolled out another piece of clay and cut out the basic shapes of the fins. I kept the body close by to make sure they were about the size I wanted.
While I still had easy access to my shark's face, I cut a slice all the way across for a mouth. I added dimples to show he's a happy drunk.
To make his tailfin easier to attach, I cut a slit and then fit his tail between the two halves. At that point, I folded and smoothed the two flaps to blend them in with the body.
I pressed in and blended his remaining fins keeping in mind that one of his fins was going to be holding his drink.
Instead of trying to create a realistic, imposing set of shark teeth, I made a basic set of oversized triangular teeth that suited the silliness of the piece.
To attach the teeth, I pulled open the cut I made for his mouth, pressed the teeth in place, and then pushed his jaw up to seal them in position.
With fins and dental work in place, he started to look like a shark.
Adding Eyes, a Base, and a Bottle


The final piece of the shark was his eyes. Again, I wasn't concerned about being anatomically correct, I just wanted him to have googly, silly eyes.
I made eye sockets by pushing a well-worn pencil eraser into his face.
I rolled out several balls for his eyes and pupils, purposely keeping them asymmetrical to show his inebriated state.
To have someplace to stand, I created a base using a trick I saw in an online tutorial years ago. I made a bunch of globs of clay and then pressed them together, smoothing the top with my fingers. It makes a great natural-looking base that serves in a variety of settings.
For his drink, I rolled out two different-sized "clay-worms," cut them to size, and smoothed them together. Pressing into the top with a toothpick while I rolled the bottle gave it a believable lip.
Pressing everything together, gave my pickled shark his near-completed appearance.
A Drinking Buddy and Some Props


Nothing is sadder than a shark drinking alone so I gave him a little drinking buddy. The starfish was just a basic shape with eyes and a smile added. I poked his skin a few times with a stylus when I looked online and saw how textured their surface was. Like on the shark, I wasn't concerned with making it very realistic, just the basics of what makes a starfish look like a starfish. With the eyes and arms (or "rays" as I learned they're called), I purposefully made them asymmetrical to show his condition as well.
To fill out the base, I looked around the house and found some shells that I'd kept from a vacation. Using those as models, I created miniature versions and pressed them into place.
An added benefit of the starfish and shells is that they add stability to the structure, making it less likely the shark will break free of the base.
At this point, the sculpting phase is complete and he's ready to go into the oven. I followed the instructions given for the particular polymer clay I was using.
Time for Paint


Disaster! Not really. I pulled the piece out of the oven and discovered the bottle had dropped from his fin and baked into the base. I could have cut it from the base and glued it in place, but I kind of liked how it showed that a drunk shark doesn't have the best motor skills so I considered it a happy accident and moved on.
For painting, instead of using a primer, I kept it simple and applied a couple of coats of paint. Craft paint is pretty opaque and covers relatively quickly. The color scheme was very basic keeping in line with the cartoonish nature of the piece.
For the eyes, I kept them purposely simple but was sure to include a highlight which brings them to life.
The Finished Piece


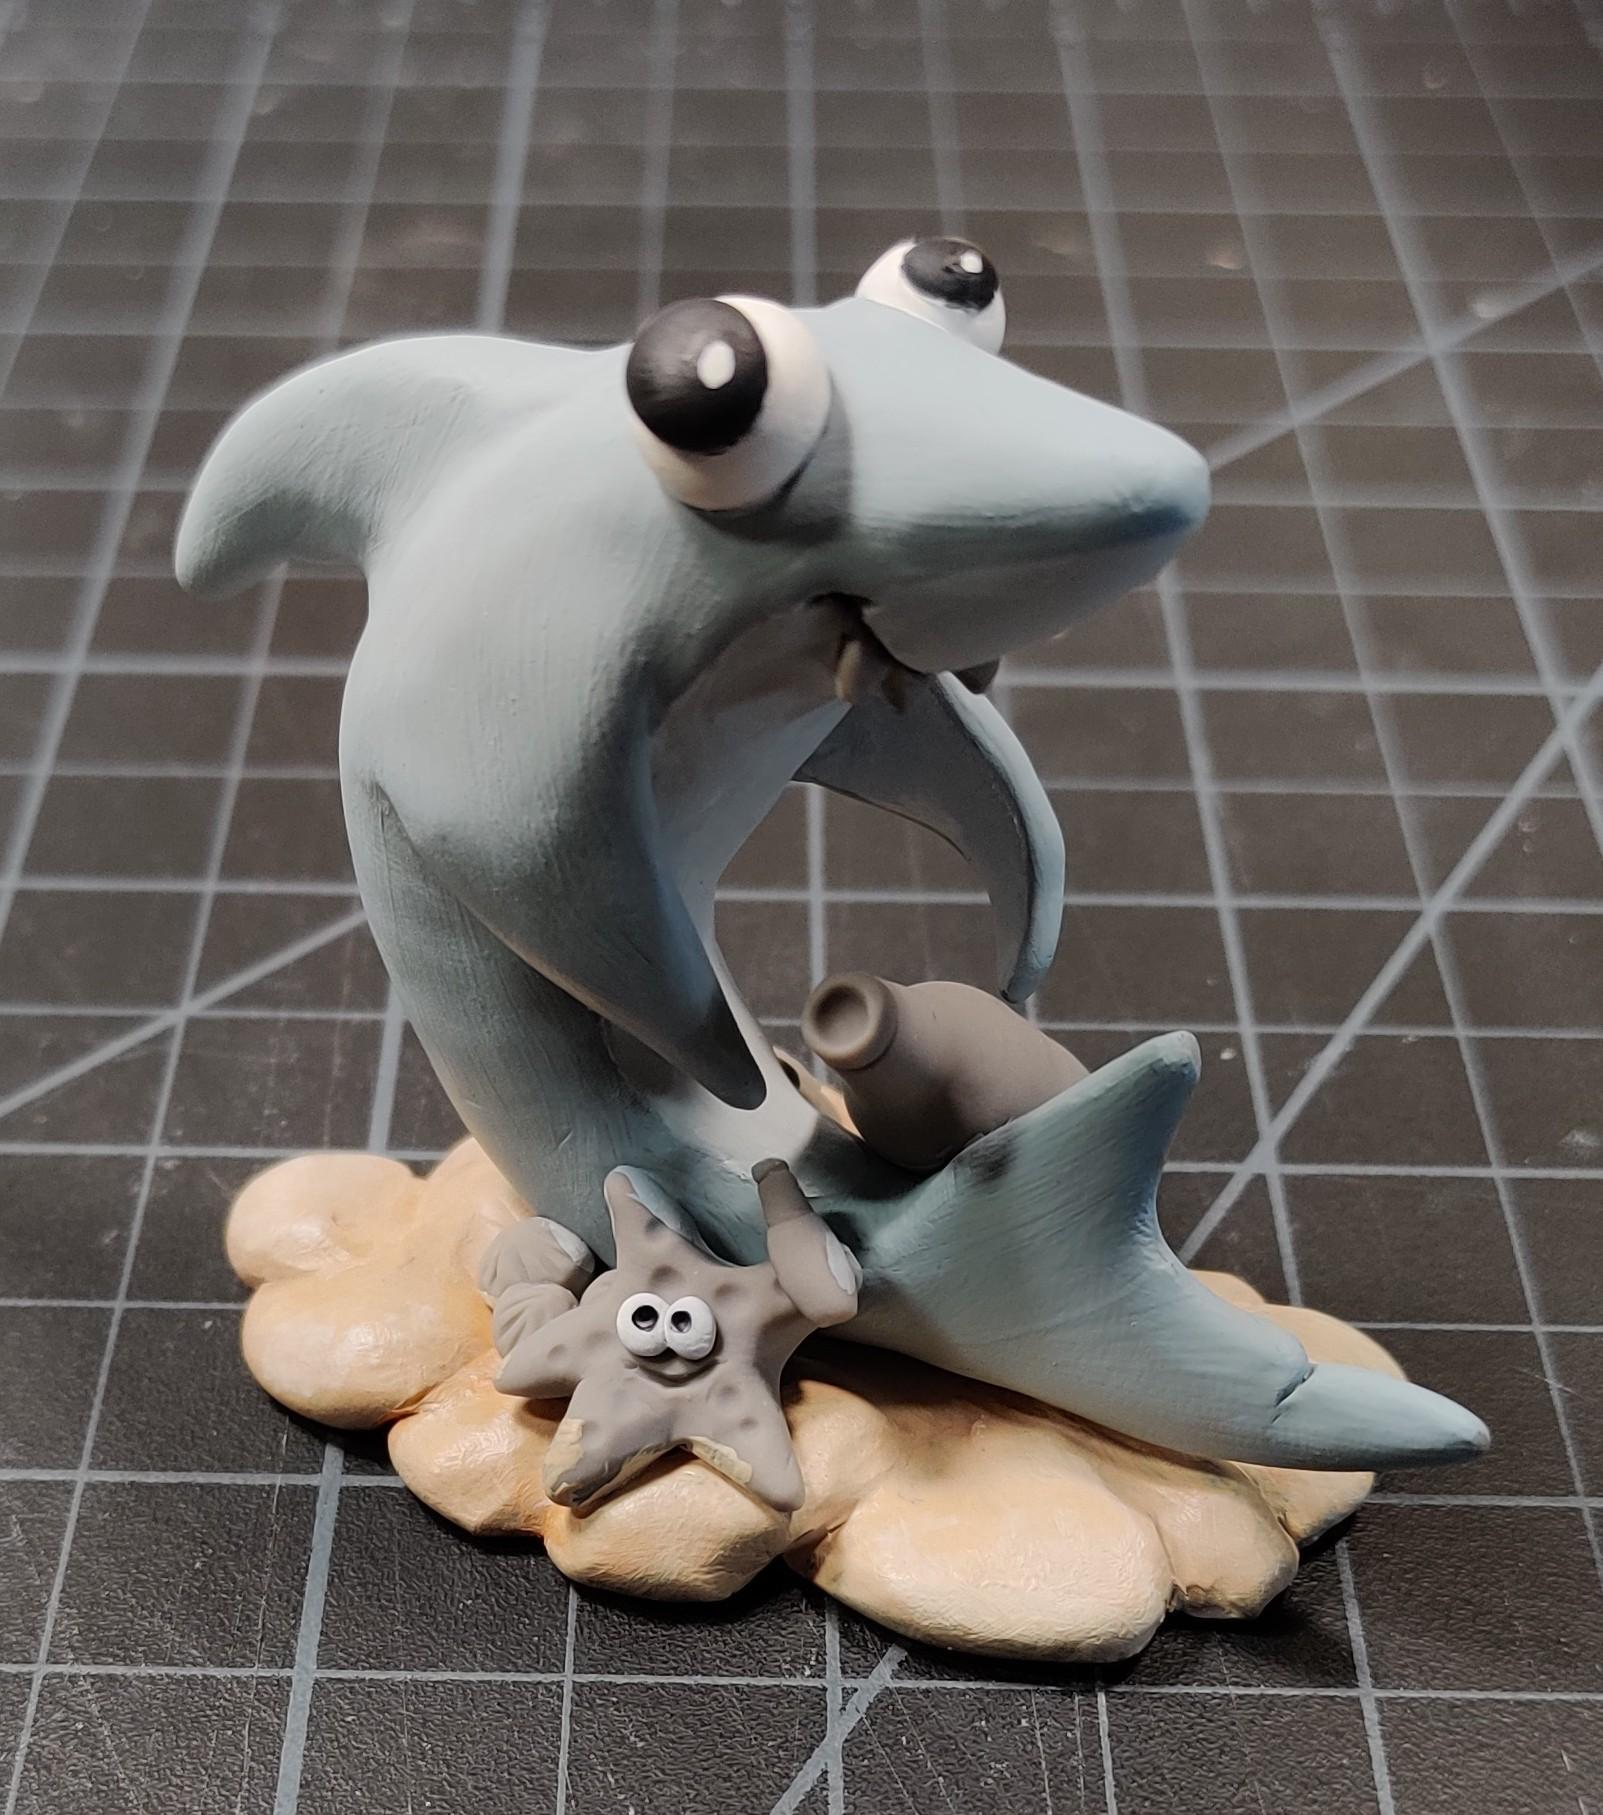
Here's the final version after some final paint touch-ups.
I'm not expecting someone to think "pickled shark" when they see this piece, I just want them to think it's a silly original sculpture.
Thanks for checking it out!