Seaside Serenity - Making an Ocean Diorama Seashell Clock With Epoxy Resin
890 Views, 29 Favorites, 0 Comments
Seaside Serenity - Making an Ocean Diorama Seashell Clock With Epoxy Resin
.png)
Humans have always been fascinated by the ocean. The roaring waves, salty air, and vibrant marine life can transfer us to a more tranquil and peaceful environment. If you enjoy the ocean and want to incorporate a piece of it into your home, making an ocean diorama seashell clock with epoxy resin could be the project for you. We'll walk you through the steps to make a stunning and functional piece of art that depicts the beauty and peace of the seaside in this article. You'll learn how to prepare your seashells and other materials, as well as how to pour and cure the epoxy resin. Now gather your seashells and prepare to enter the realm of ocean-inspired creativity!
Supplies
Materials
- Sea shells (Dust)
- River Sand
- White Sea Sand
- Epoxy resin
- Epoxy color
- Clock machine and dials
- Seashells Silicone mold
- Diorama moss powder
- 2X Hanger hook
Tools
- Drill press
- Masking tape
- Palm Router
Braking and Mixing the Seashells With Resin


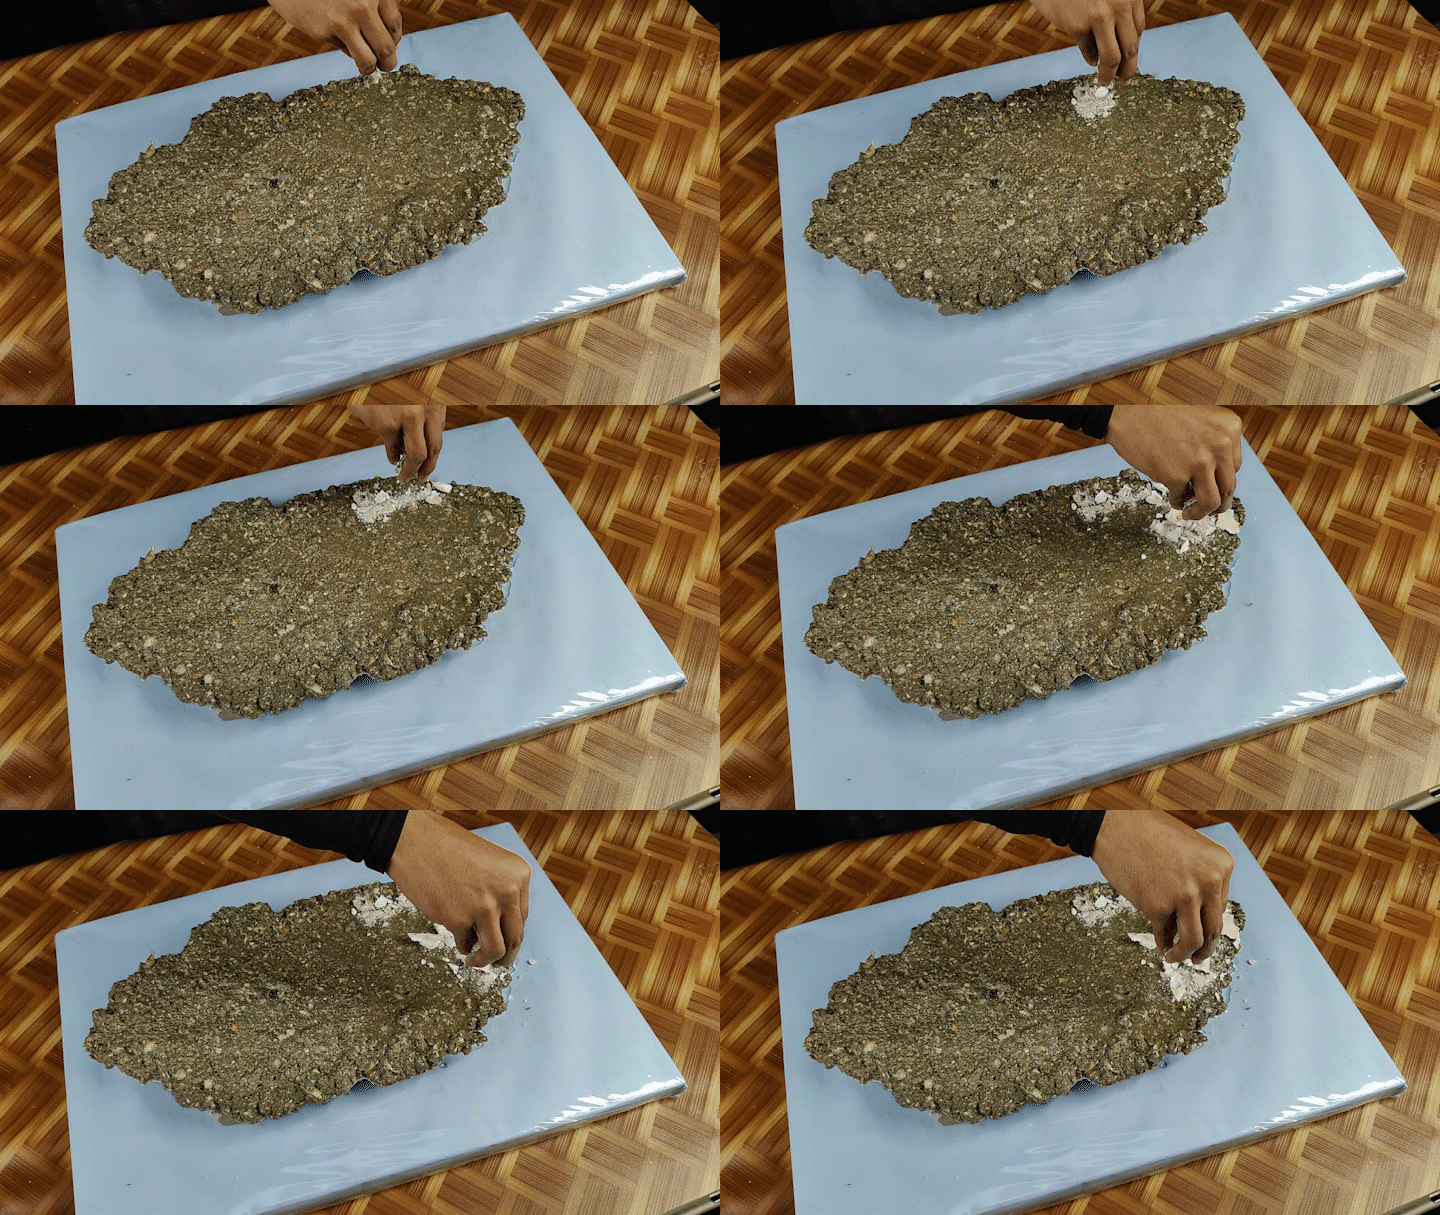
- Take seashells and crush them with a hammer into smaller pieces. (more akin to dust)
- Mix the seashell dust and river sand with epoxy resin.
- Check the consistency of the mixture to make sure it can be spread easily and isn't too thin.
Making the Clock Base


- Spread the mixer on a flat surface and give it a shape. We gave it a random, diamond-like shape.
- After spreading, pour some clear resin onto the mixer. This was done so that our base turns into strength. We are using a slow-drying epoxy that takes 24 hours to dry.
- Make a hole in the centre of the base using a stick. This hole was made as a reference for the clock.
- Make the seashore by adding some white sea sand and seashell dust particles.
- To create a blue ocean water texture, combine the epoxy blue colour with epoxy resin.
- Pour blue epoxy and then clear epoxy on the base and mix them to get different effects of depth. Repeat with 2 to 3 layers, giving 24 hours' interval between each.
- Mix the epoxy resin with the white epoxy colour and
- Pour it near the beach to create sea waves.
- Use an air blower to spread the waves, and play with it till you get a satisfying texture.
- Leave it to dry for the next 24 to 48 hours.
Decoration


- took a seashell silicone mould and poured colourful epoxy to create seashells of different types. Wait for them to dry, then take them out of the mould.
- Set a few resin seashells on the base of our clock with the help of some clear epoxy. This gives an enhanced feeling of seaside serenity.
- Apply some diorama moss powder to the higher lands on the ocean to give them a green (land) effect.
- Add some white sea sand to make the shoreline more realistic.
- Finally, add a layer of clear epoxy to coat the ocean surface.
- Let the epoxy dry for another 24 to 48 hours. Cover the project with a tray to protect it from dust while it cures.
Making Room for Clock Machine


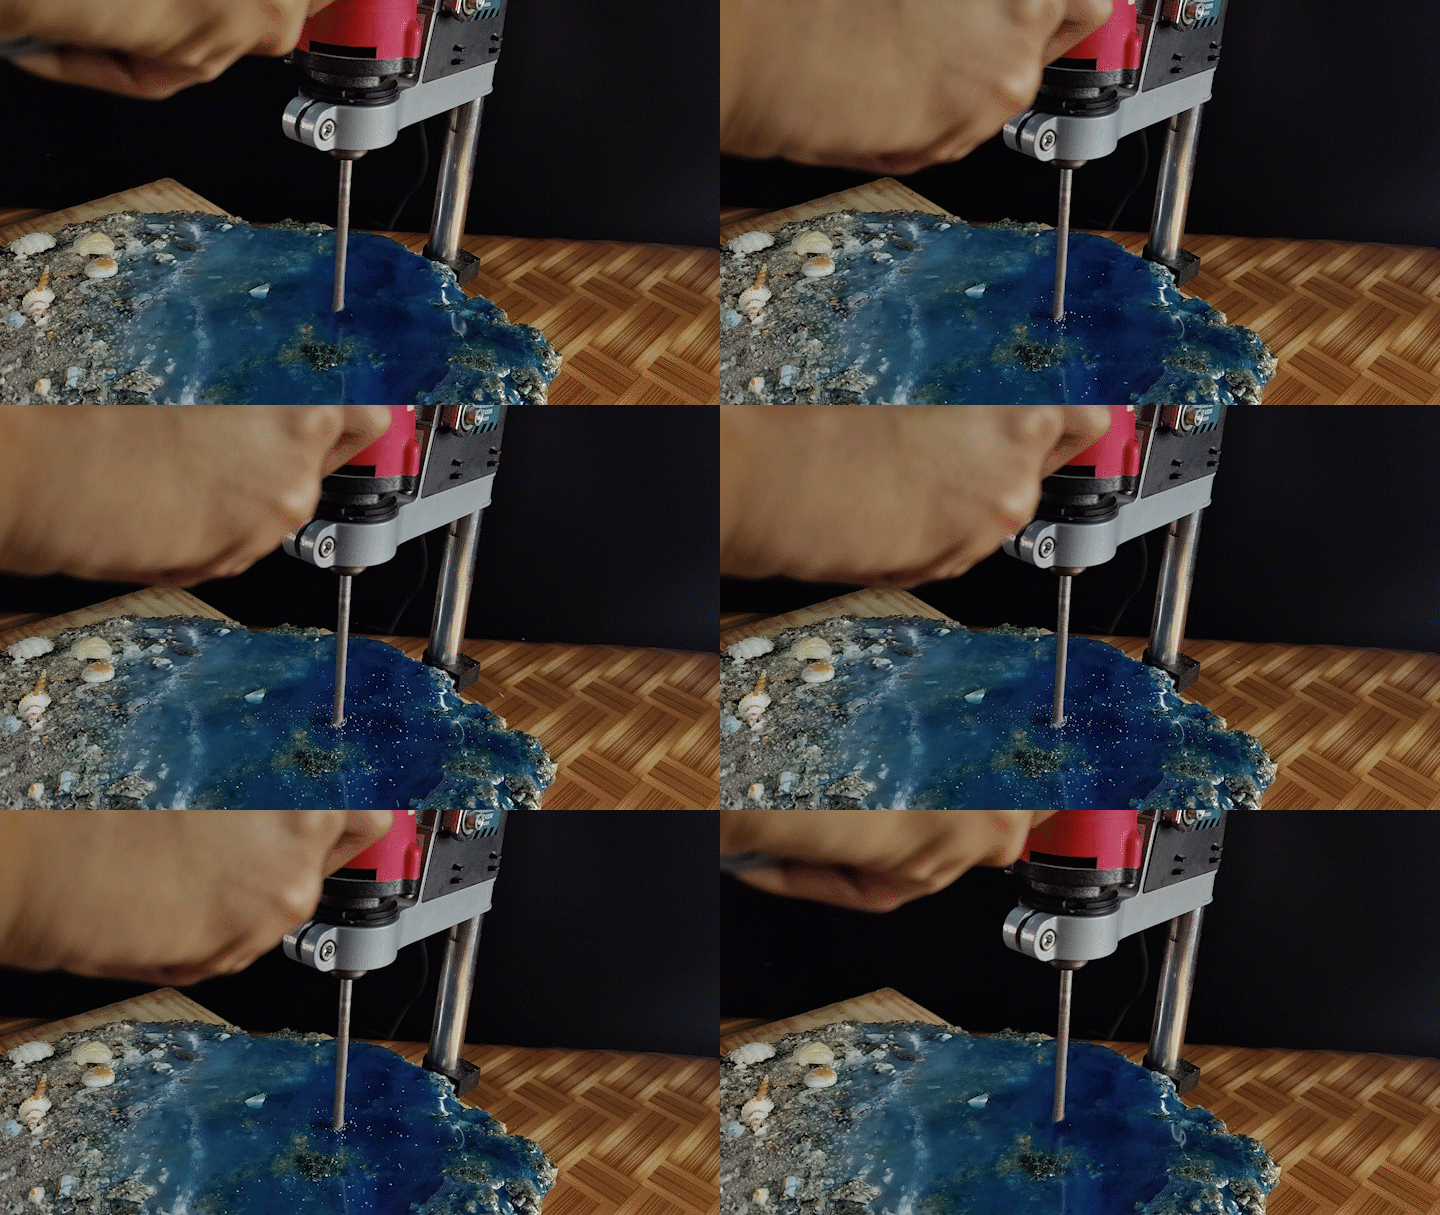
- Make a hole in the centre of the clock base by using a drill press.
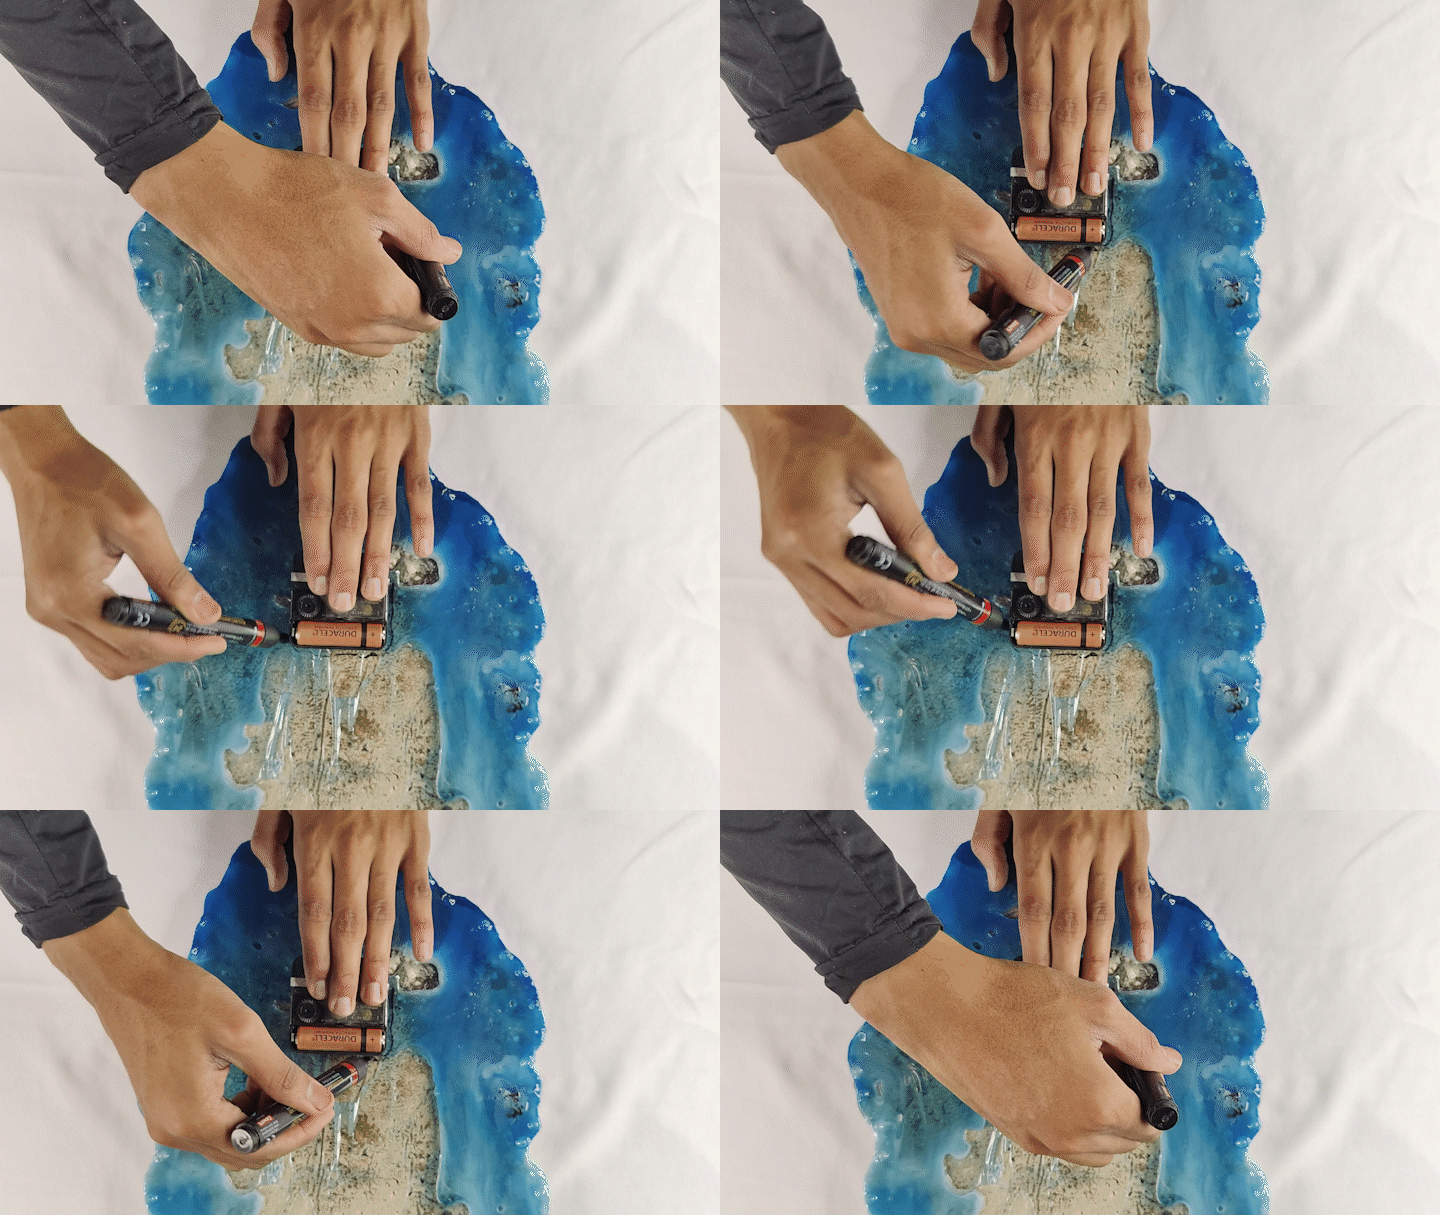
- Make a room for the clock machine by using a drill press from the back side.
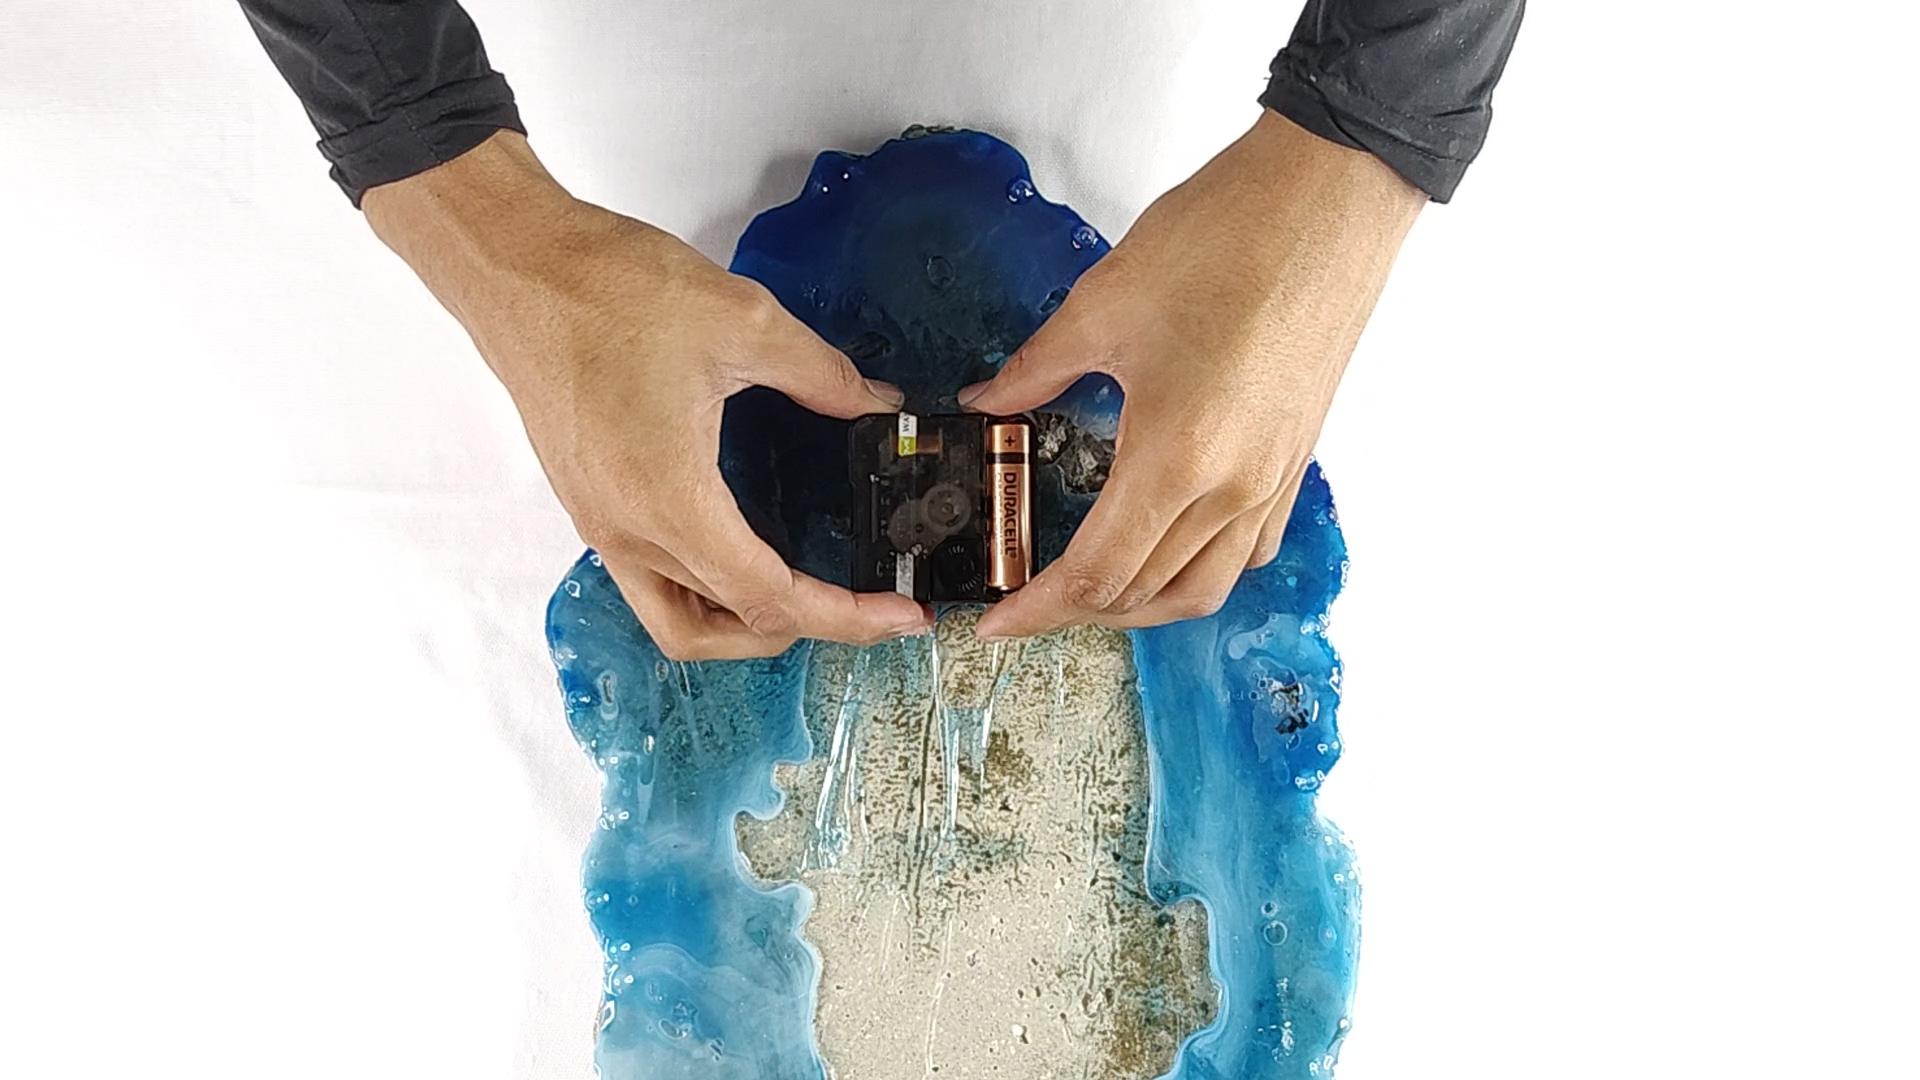
- Set the clock machine once your clock room is complete.
- Install the hanger hooks from behind by screwing them
Final


- Now that our clock machine is fixed, it is time to fix all the clock dials.
- Finally, the ocean clock is complete and is ready to be hung.
Conclusion

Creating a Seaside Serenity ocean diorama seashell clock with epoxy resin is not only a fun and creative project but also a great way to bring the calming energy of the ocean into your home. By following the steps outlined in this article, you'll be able to create a unique piece of art that captures the essence of the seaside. Whether you're a seasoned crafter or a beginner, this project is an opportunity to explore your creativity and hone your skills. So why not give it a try and see what kind of masterpiece you can create? With a little patience and a lot of imagination, you'll have a stunning seashell clock that will transport you to the beach every time you look at it.