Sew and Tie Perfect Pointe Shoes
by WilliamsonA in Craft > Sewing
1094 Views, 10 Favorites, 0 Comments
Sew and Tie Perfect Pointe Shoes

Introduction:
Sewing pointe shoes is already confusing when it's your first pair. It is even more confusing when everyone does it a little differently! No matter if you have been dancing forever or are just starting out, if you are new to pointe shoes I want to share this option for you to consider. Especially because this method hides all the stitching on the outside of the shoe!
Still curious what to do with all the ribbon after you have sewn it? Then worry not! I also included how I tie my pointe shoes so they are secure all rehearsal.
Remember that this may take several tries and it is completely okay to rip out the stitching and start sewing over again.
Supplies
You will need:
- Pointe Shoes (preferably ones that have been fitted to you at a dance store or studio)
- Elastic bands (2x at the same length, minimum 8 inches)
- Ribbon (4x at the same length, minimum 16 inches)
- Measuring tape
- Scissors
- Sewing thread in a similar color to pointe shoes
- Sewing needle
- Lighter
Note: seek adult supervision or assistance for step two with the lighter.
Measure/Cut Ribbons and Elastic

You will need to measure out your ribbons and elastics to trim before you sew them to your shoes. You should have two equal length ribbons per shoe (mine are about 20 inches long each), and one elastic per shoe (mine are about 6 inches after trimming).
Your length of ribbon and elastic will depend on your shoe fit, shoe size, and preference, but you will want them to connect in the areas shown in the photo with about half and inch to an inch beyond the edge.
- The elastic will connect to the shoe just behind the ankle bone on either side and should stretch slightly but not enough to sut off circulation to the foot.
- The ribbon will connect on one end to the shoe about where your arch is.
TIP: Making a mark on the inside of the shoe where you had your elastic and ribbons is helpful for sewing in the same place later.
(Optional) Melt End of Ribbons


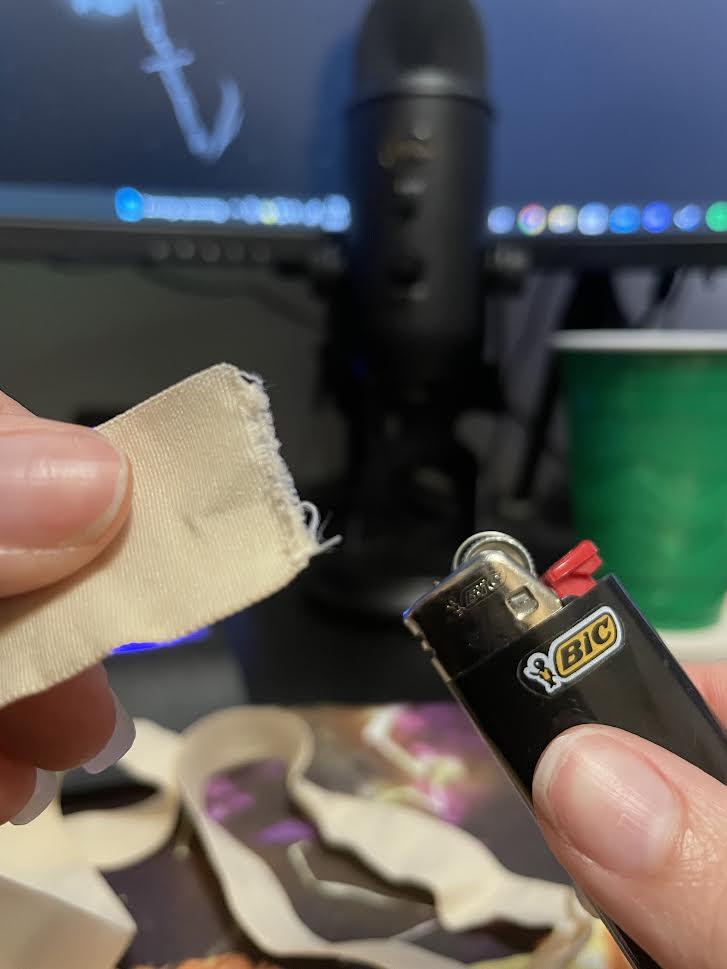
Once you have cut your ribbons, to keep the ends from fraying later, we can melt the ends with a lighter. If you are not an adult, please seek adult supervision or assistance in melting the end.
- Turn on the lighter and place each end of the ribbon near the flame - not directly in the flame. Once the frayed edges melt into an even line, turn the flame off and let the ribbon cool.
- Repeat for the other ends of the ribbons.
This step is optional but it prevents fraying ribbons later on.
Sew Elastics


Using the sewing thread and needle, we will attach the elastic to both sides of the pointe shoe. This is where if you made a mark when measuring your elastics, you can use the same mark to know where to sew.
- Starting on one side of the pointe shoe, place the elastic where it should be sewn and leave a half inch to inch under the shoe edge.
- Take the sewing needle and thread and, starting on the inside of the shoe and elastic, sew a row through the shoe in line with the border.
- The row should consist of 1/4 inch stitches.
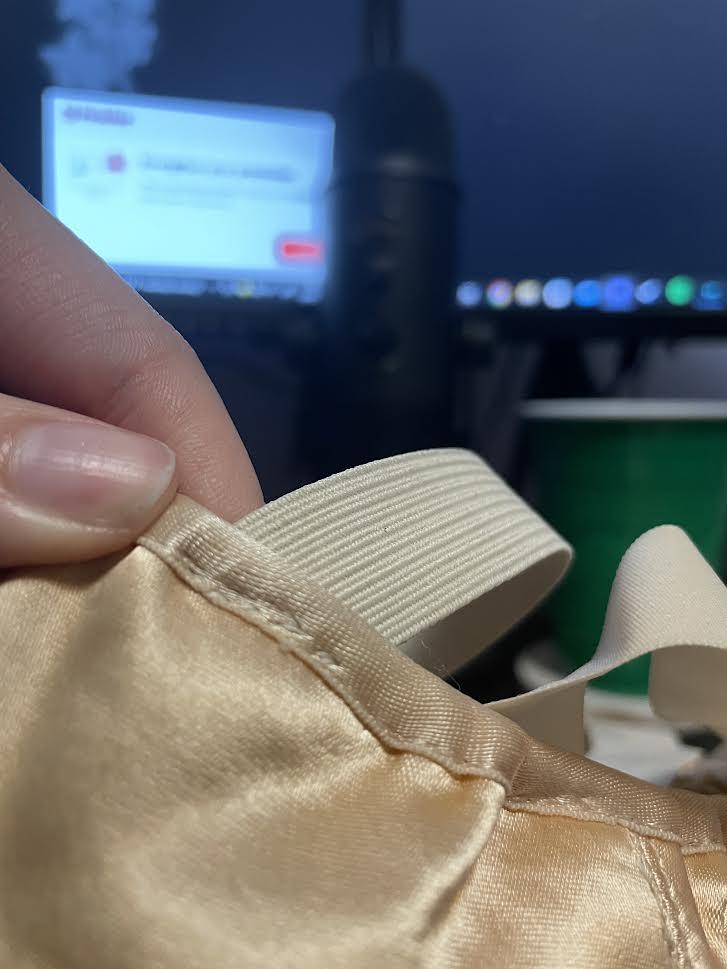
- The border line that the stitches should follow can be found in the second photo, where the shoe should already be sewn. (This provides a "hidden" stitch from the outside).
- Make a second stitch row going back along the edge being careful not to use the same stitch holes from before.
- Tie the tail from the begining with the end to knot and secure the stitching.
- Repeat this process on the other end of the elastic with the other side of the pointe shoe.
Repeat this entire section with your second pointe shoe.
Sew Ribbons

Similar to the previous step, we will now sew two ribbons to each shoe. This is also where if you made a mark when measuring your ribbons, you can use the same mark to know where to sew.
- Starting on one side of the pointe shoe, place one ribbon where it should be sewn and leave about an inch under the edge.
- Take the sewing needle and thread and, starting on the inside of the shoe and ribbon, sew a row through the shoe in line with the border.
- The row should consist of 1/4 inch stitches.
- The border line that the stitches should follow is the same as int he previous step.
- When row one is complete, then start stitching the inner shoe lining and ribbon together in very close stitches down the side of the inch under the shoe edge.
- Hint: we will be sewing around the extra in a square
- Option: If your shoe does not have inner lining here, feel free to sew through the entire shoe, I just like to hide my stitches.
- Continue this close stitching all the way around the ribbon until reaching where you started.
- Tie the begining tail and ending in a solid knot and trim excess thread.
- Repeat this with the second ribbon on the other side of the pointe shoe.
Repeat this whole process for the second pointe shoe.
Ready to Wear!

Now that you have a pair of sewn pointe shoes, you are ready to tie them up and wear them!
Congrats!
You can stop here or continue to the next step to start tying your pointe shoes.
Inside Ribbon


Now that your shoe is on your foot (elastic over your ankle), you can start with ribbons.
- Start with the inside ribbon and cross it over the top of your ankle.
- Wrap the ribbon behind your leg until you only have an inch or two left (see photos).
- Note: The ribbon should be wraped snug but not to tight as to cut of the circulation.
Outside Ribbon


This is a little tricky with one hand, but if you have both free (unlike me with the camera), hold onto the inside ribbon with one hand and use the other to wrap.
- Take the outside ribbon and cross it over the ankle in the opposite direction as before.
- Wrap the ribbon behind the leg continually until you only have an inch or two left (should end on same side as your inside ribbon edge)
- Note: the ribbon should be wrapped snug but not to tight as to cut of the circulation.
- You may have a little more for one but that is okay.
Tie and Tuck


Now that both ends of the ribbon have met, we can secure them.
- Cross one ribbon over the other, then under the cross (like the begining of tying a shoelace).
- Tighten the ribbon (again not so tight it cuts off circulation).
- Tuck the extra ends underneath the wrapped ribbon to hold the "tails" in place.
Enjoy!

Congrats again!
Now you have successfully and neatly sewn and tied your perfect pointe shoes! Thank you for reading these instructions and I wish you all the best in your dance adventures!