Simple Clay Cat!

In this instructable, I'll be going through how to make a simplistic cute clay cat out of clay!
Supplies
- Clay (choose whatever colors you’d like) Scuply II is suggested
- Only one color necessary
- Small Gems for the eyes
- Glass platform to sculpt on
- Basic sculpting tools (images provided of suggested tools)
- Any kind of cleaning wipes such as Clorox Access to an oven
- Decently powerful nail drill suggested and basic smoothing drill bits
- Matt or glossy varnish
- Exaco knife
- Superglue
- Extra stuff like crystals and little charms are always welcome.
Get Your Workspace Ready

- Get your wipes of choice and wipe down the glass surface you’ll be working on
- Wash your own hands or sanitize them
- Assure you’re somewhere where your sculpture/s aren’t at risk of getting smashed
Gather Your Supplies and Plan

- Get your clay color of choice and plan what kind of design you’d want
- Choose a gem that corresponds with the clay color and any extra charms or gems if you chose to
Begin Sculpting


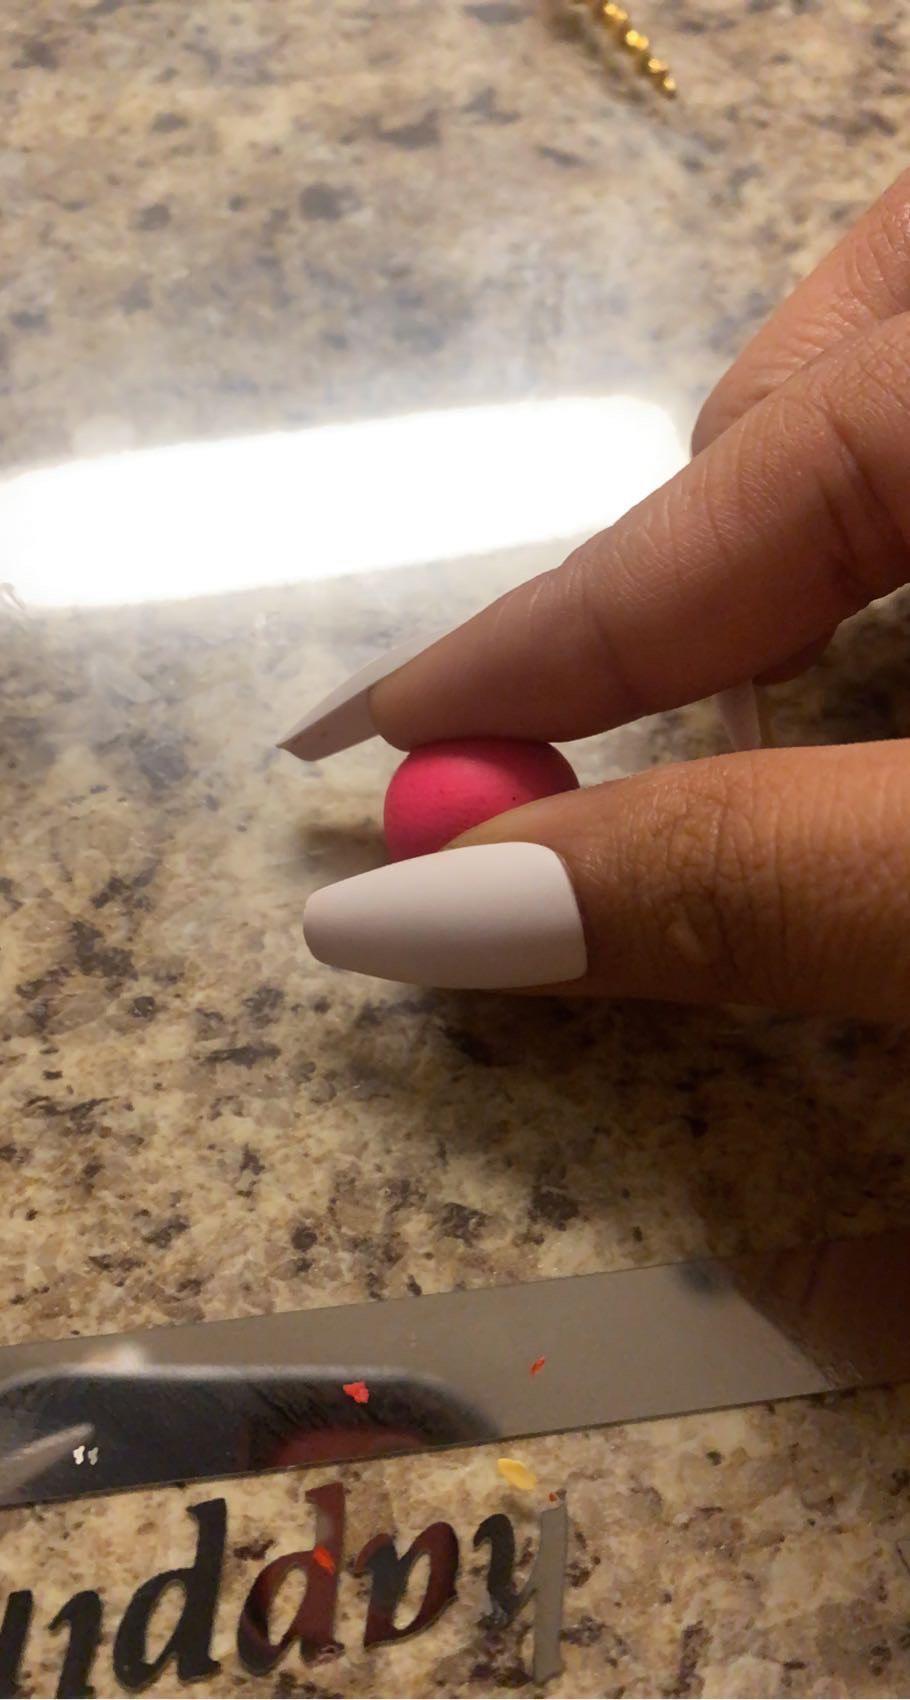
- You start by creating a ball by rolling it until its smooth
- Then you pinch the top slightly to make it a triangular shape
- Smooth it out with your fingers
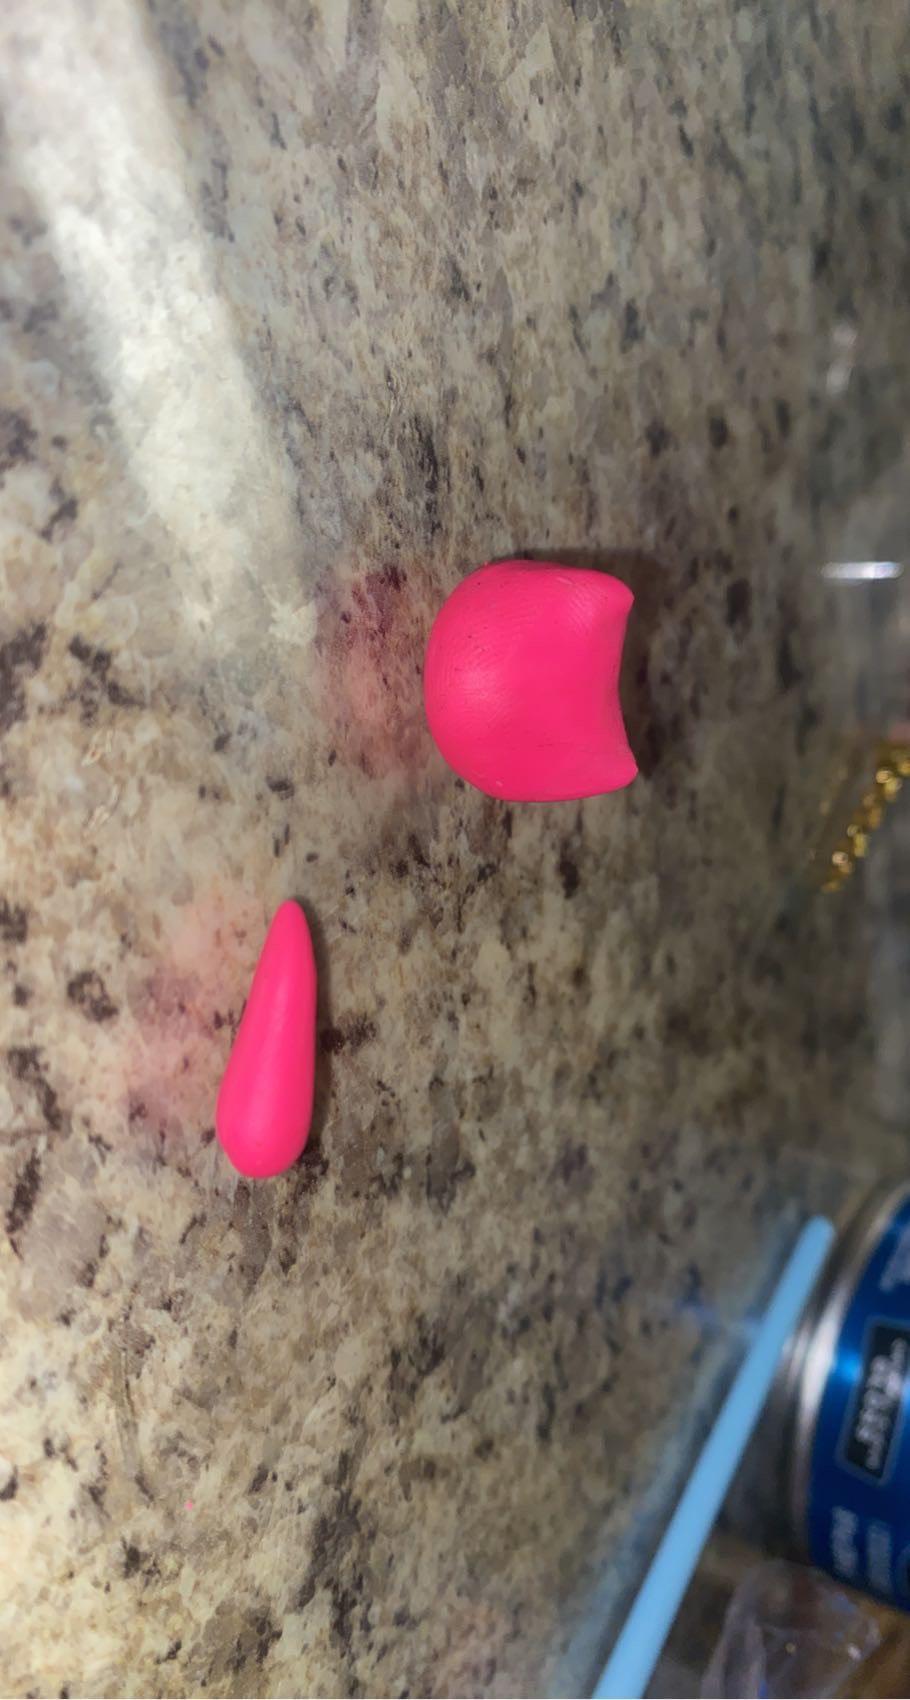
- Flatten the body a bit to your liking
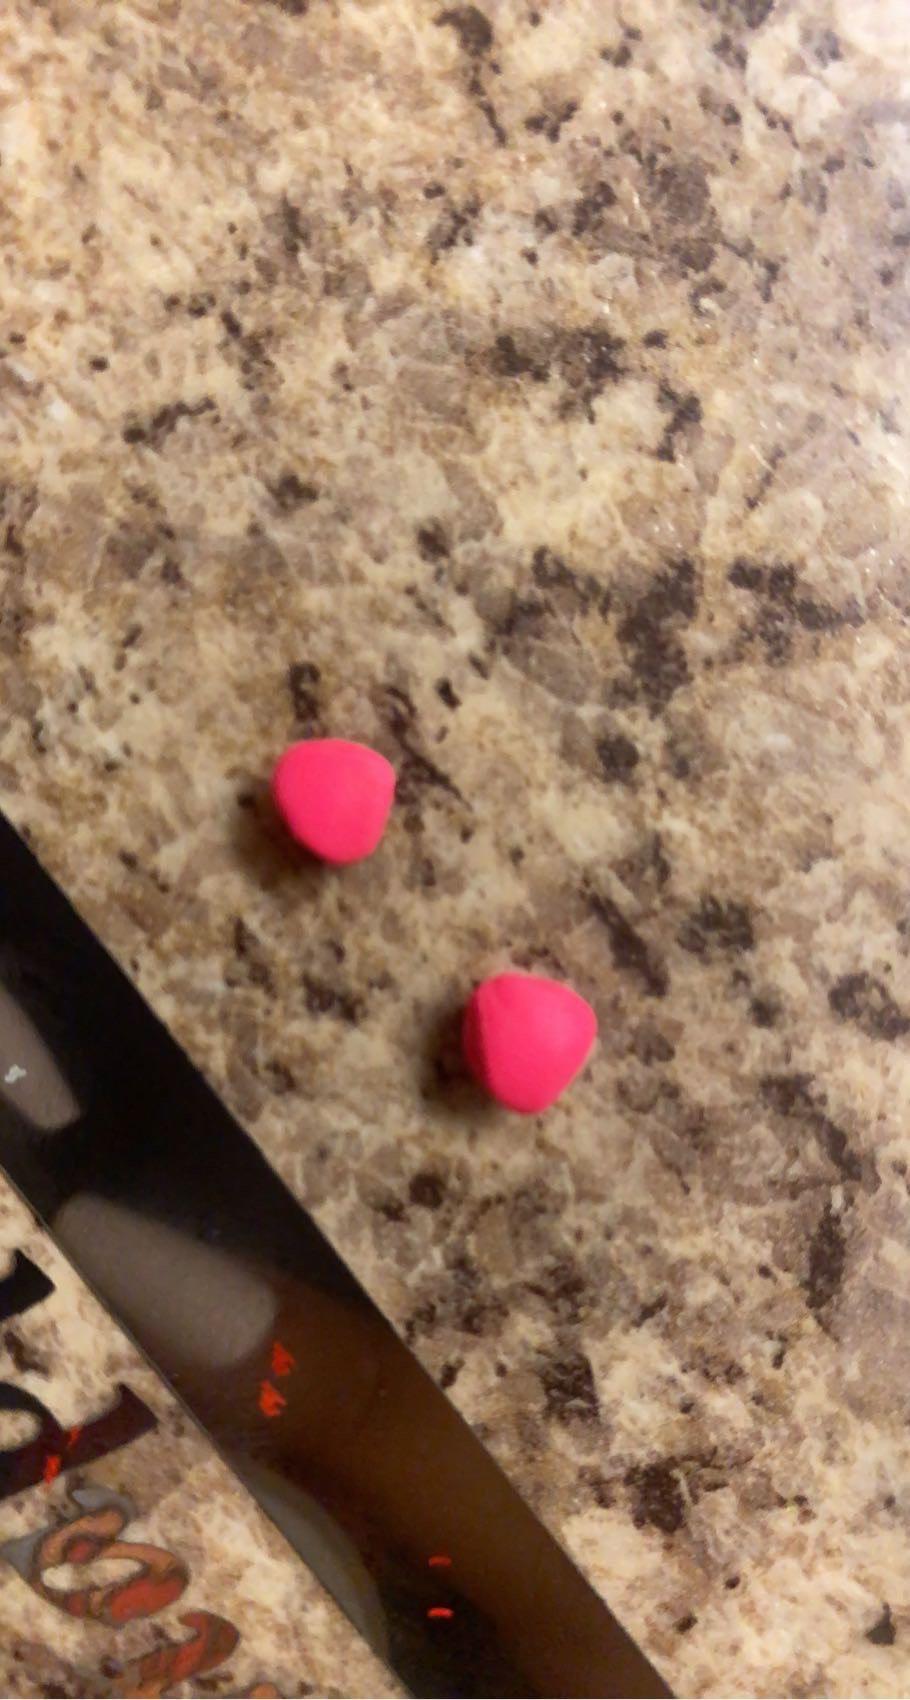
- Get two smaller pieces of clay of the same color and make two small rounded triangles
- Place it on the head leaving space between the two
- Adjust it as you please and then get a teardrop-shaped piece, make it as big as you'd like the cats tail to be
- Smooth out the tail with your finger
Finish Up Your Sculpture


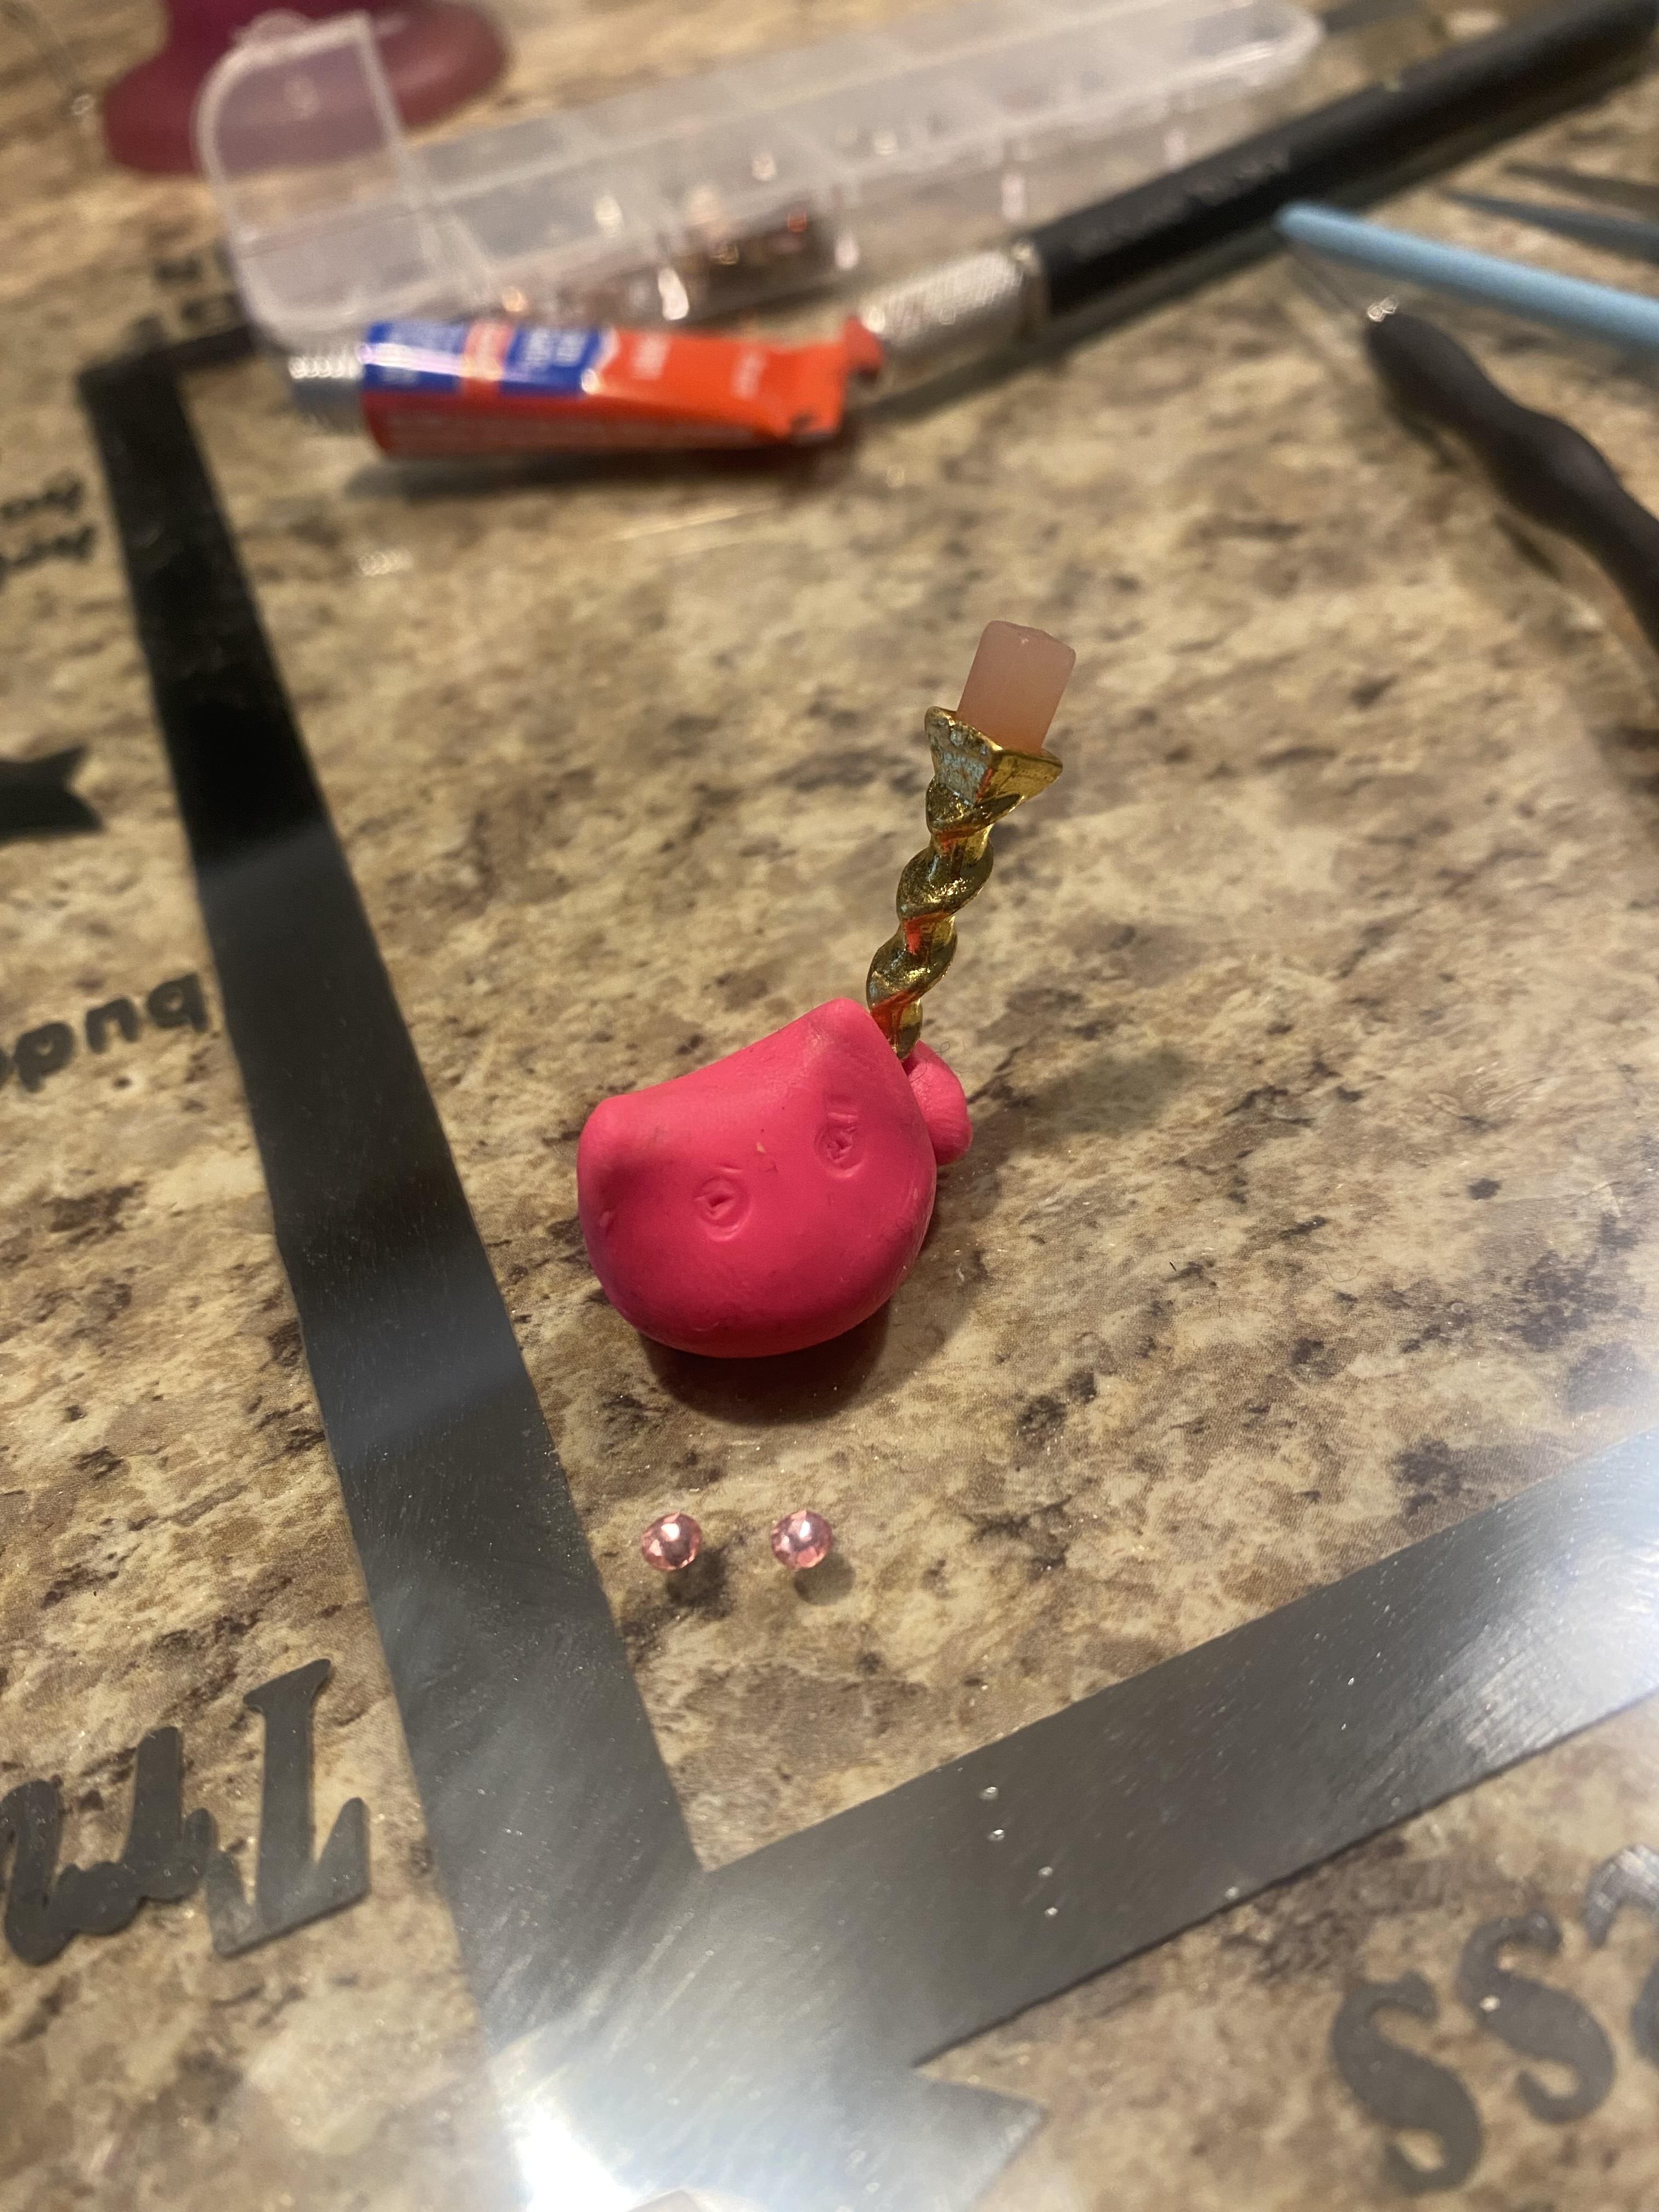
- Make two small dots where you’d want the eyes to be and grab two of any colored gem that you'd like and place them very gently on those holes and then gently remove them
- (This is done to leave an indent for the eyes but often-times gems and such at least the ones I own are on the cheaper side and so are made of some type of plastic and are not oven-safe)
- Pose the cat how you’d like and smooth out, then add charms/crystals/ etc as you’d like
Baking the Sculpture

- Remove the crystals and charms gently so as not to mess up the imprint it left behind
- Set your oven to 275 degrees and place your sculpture on decent sized piece of foil. Usually, I’d put multiple in at once but for this tutorial, it’ll only be one.
- If you’re using scuply II or III it'll probably say on the clay packaging to bake for 25 minutes per inch. I usually bake for around 30-40 minutes checking on it occasionally. It really depends how big you make it.
- After you put it in and wait the time, once the timer goes off you take it out carefully assuring not to tip the sculpture or burn yourself Let it sit and cool for around 10 minutes.
Adding the Final Touches


- Once its cooled get your nail drill and wipe off the sculpture of any dust and such
- Begin drilling down the bumps and drill gently around the areas you’ve indented for the charms and gems
- Once it's as smooth as you’d like dust it off and wipe it down
- Then get your glue and your gems that you'd like to put on the sculpture
- Make sure to be careful applying a drop of glue on the areas you’d like to apply the gems and charms
- Let sit for at least 15-20 minutes
- Then get whatever varnish you'd like to apply to the cat sculpture (i chose glossy) and be sure to apply light coats, coating it evenly. It could be applied with a brush, dipping it, or even spraying depending on the varnish.
- Let it sit out for up to a day depending on the varnish
- And you’re done!