Simple Electric Motor


Electric Motor
Video:
Materials List

You can hold the coil together by wrapping one or both ends around the coil like in the picture. Take your wire strippers and strip the shielding off the ends of the wire to create a good contact surface. We ended up stripping ours all the way to the coil because the coil moved slightly side to side.


Now that you have your paper clips bent, take a piece of cardboard and cut it to a size that seems appropriate. Use your hot glue gun and glue the stands down to the cardboard. Make sure that your stands are placed just the right amount apart according to the width of your coiled wire.

Next grab your magnet or two if you would like. We found that using two of them created higher RPMs and a more automatic start. Place the magnet(s) in the center directly under the coil.


Now take your battery pack and clip it onto the legs of the motor stands. At this point your coil might start turning if you have crafted the motor with precision. If it doesn't, give it a little nudge. Play around with the placement and height of the coils until you have it in the best position.

Have fun making and learning about an electric motor!
Introduction
The Electric Motor project is designed to help students understand how an electric motor operates. This motor is created using common electrical and household parts. Follow the instructions below to create a very simple electric motor.Video:
Materials List
| Cardboard |
 |
Shielded Wire |
 |
| 2x Metal Paper Clip |
 |
1 or 2x Magnet |
 |
| Battery Pack |
 |
Batteries |
 |
| Alligator Clips |
 |
Suggested Tools
- Hot Glue Gun
- Wire Strippers
- Pliers (Optional)
Step One
Grab some shielded wire! We used a fairly long piece of wire and made a thicker coil, you can use less and it’ll still work fine. Our favorite type of wire to use is network cable wire because it is cheap and easy to get. Any wire around AWG 23 should work fine. We mad our coil by wrapping the wire around two of our fingers, but if you want a more precise coil, find something round, like a big sharpie or an old film canister, anything round will work.
You can hold the coil together by wrapping one or both ends around the coil like in the picture. Take your wire strippers and strip the shielding off the ends of the wire to create a good contact surface. We ended up stripping ours all the way to the coil because the coil moved slightly side to side.
Step Two
Before you start this step, you might want to plug in your hot glue gun and get it warmed up so it will be good to go when you need it. Now take your two metal paper clips and bend them to look like a stand. You can do this with your hands alone, but if you need some extra leverage or want to keep your hands nice and soft then use pliers to bend it into shape. You can see that you will need room at the bottom of the stand to attach the alligator clips.

Now that you have your paper clips bent, take a piece of cardboard and cut it to a size that seems appropriate. Use your hot glue gun and glue the stands down to the cardboard. Make sure that your stands are placed just the right amount apart according to the width of your coiled wire.
Step Three
Take your wire and place it on the stand. It should have good contact with the paperclip and be fairly level. You may need to bend the holding spot so that the coil will not jump off the stand as ours did the first time we started it. It should look something like the picture.
Next grab your magnet or two if you would like. We found that using two of them created higher RPMs and a more automatic start. Place the magnet(s) in the center directly under the coil.


Step Four
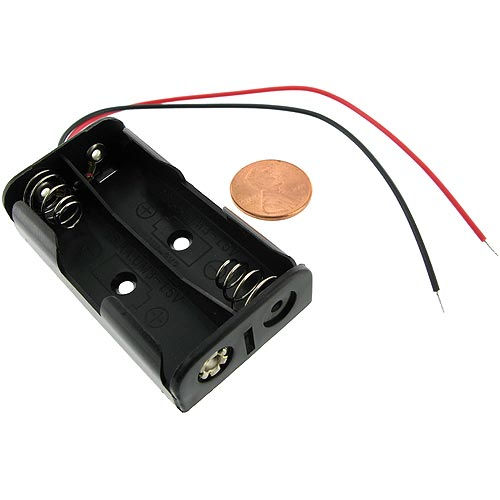
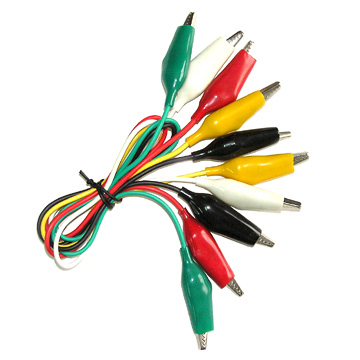
Take your batteries and place them in the battery pack. We used 2 AA batteries for our electric motor, which worked out well. We tried with 6 AAA batteries and that was a little dangerous because it would begin to overheat after a short while. Two AA batteries work great though. We also used alligator clip wires because they are easy to use. You can always wrap the battery wires around the paperclip as well.
Now take your battery pack and clip it onto the legs of the motor stands. At this point your coil might start turning if you have crafted the motor with precision. If it doesn't, give it a little nudge. Play around with the placement and height of the coils until you have it in the best position.

Have fun making and learning about an electric motor!