Skatepark Coffee Table


Materials needed:
4x 2 feet x 4 feet x 3/4 in board
3x 1 1/2 in x 2 in x 8 ft
Screws
Spray paint
Balsa wood
8 hinges
4x 2 feet x 4 feet x 3/4 in board
3x 1 1/2 in x 2 in x 8 ft
Screws
Spray paint
Balsa wood
8 hinges
Base


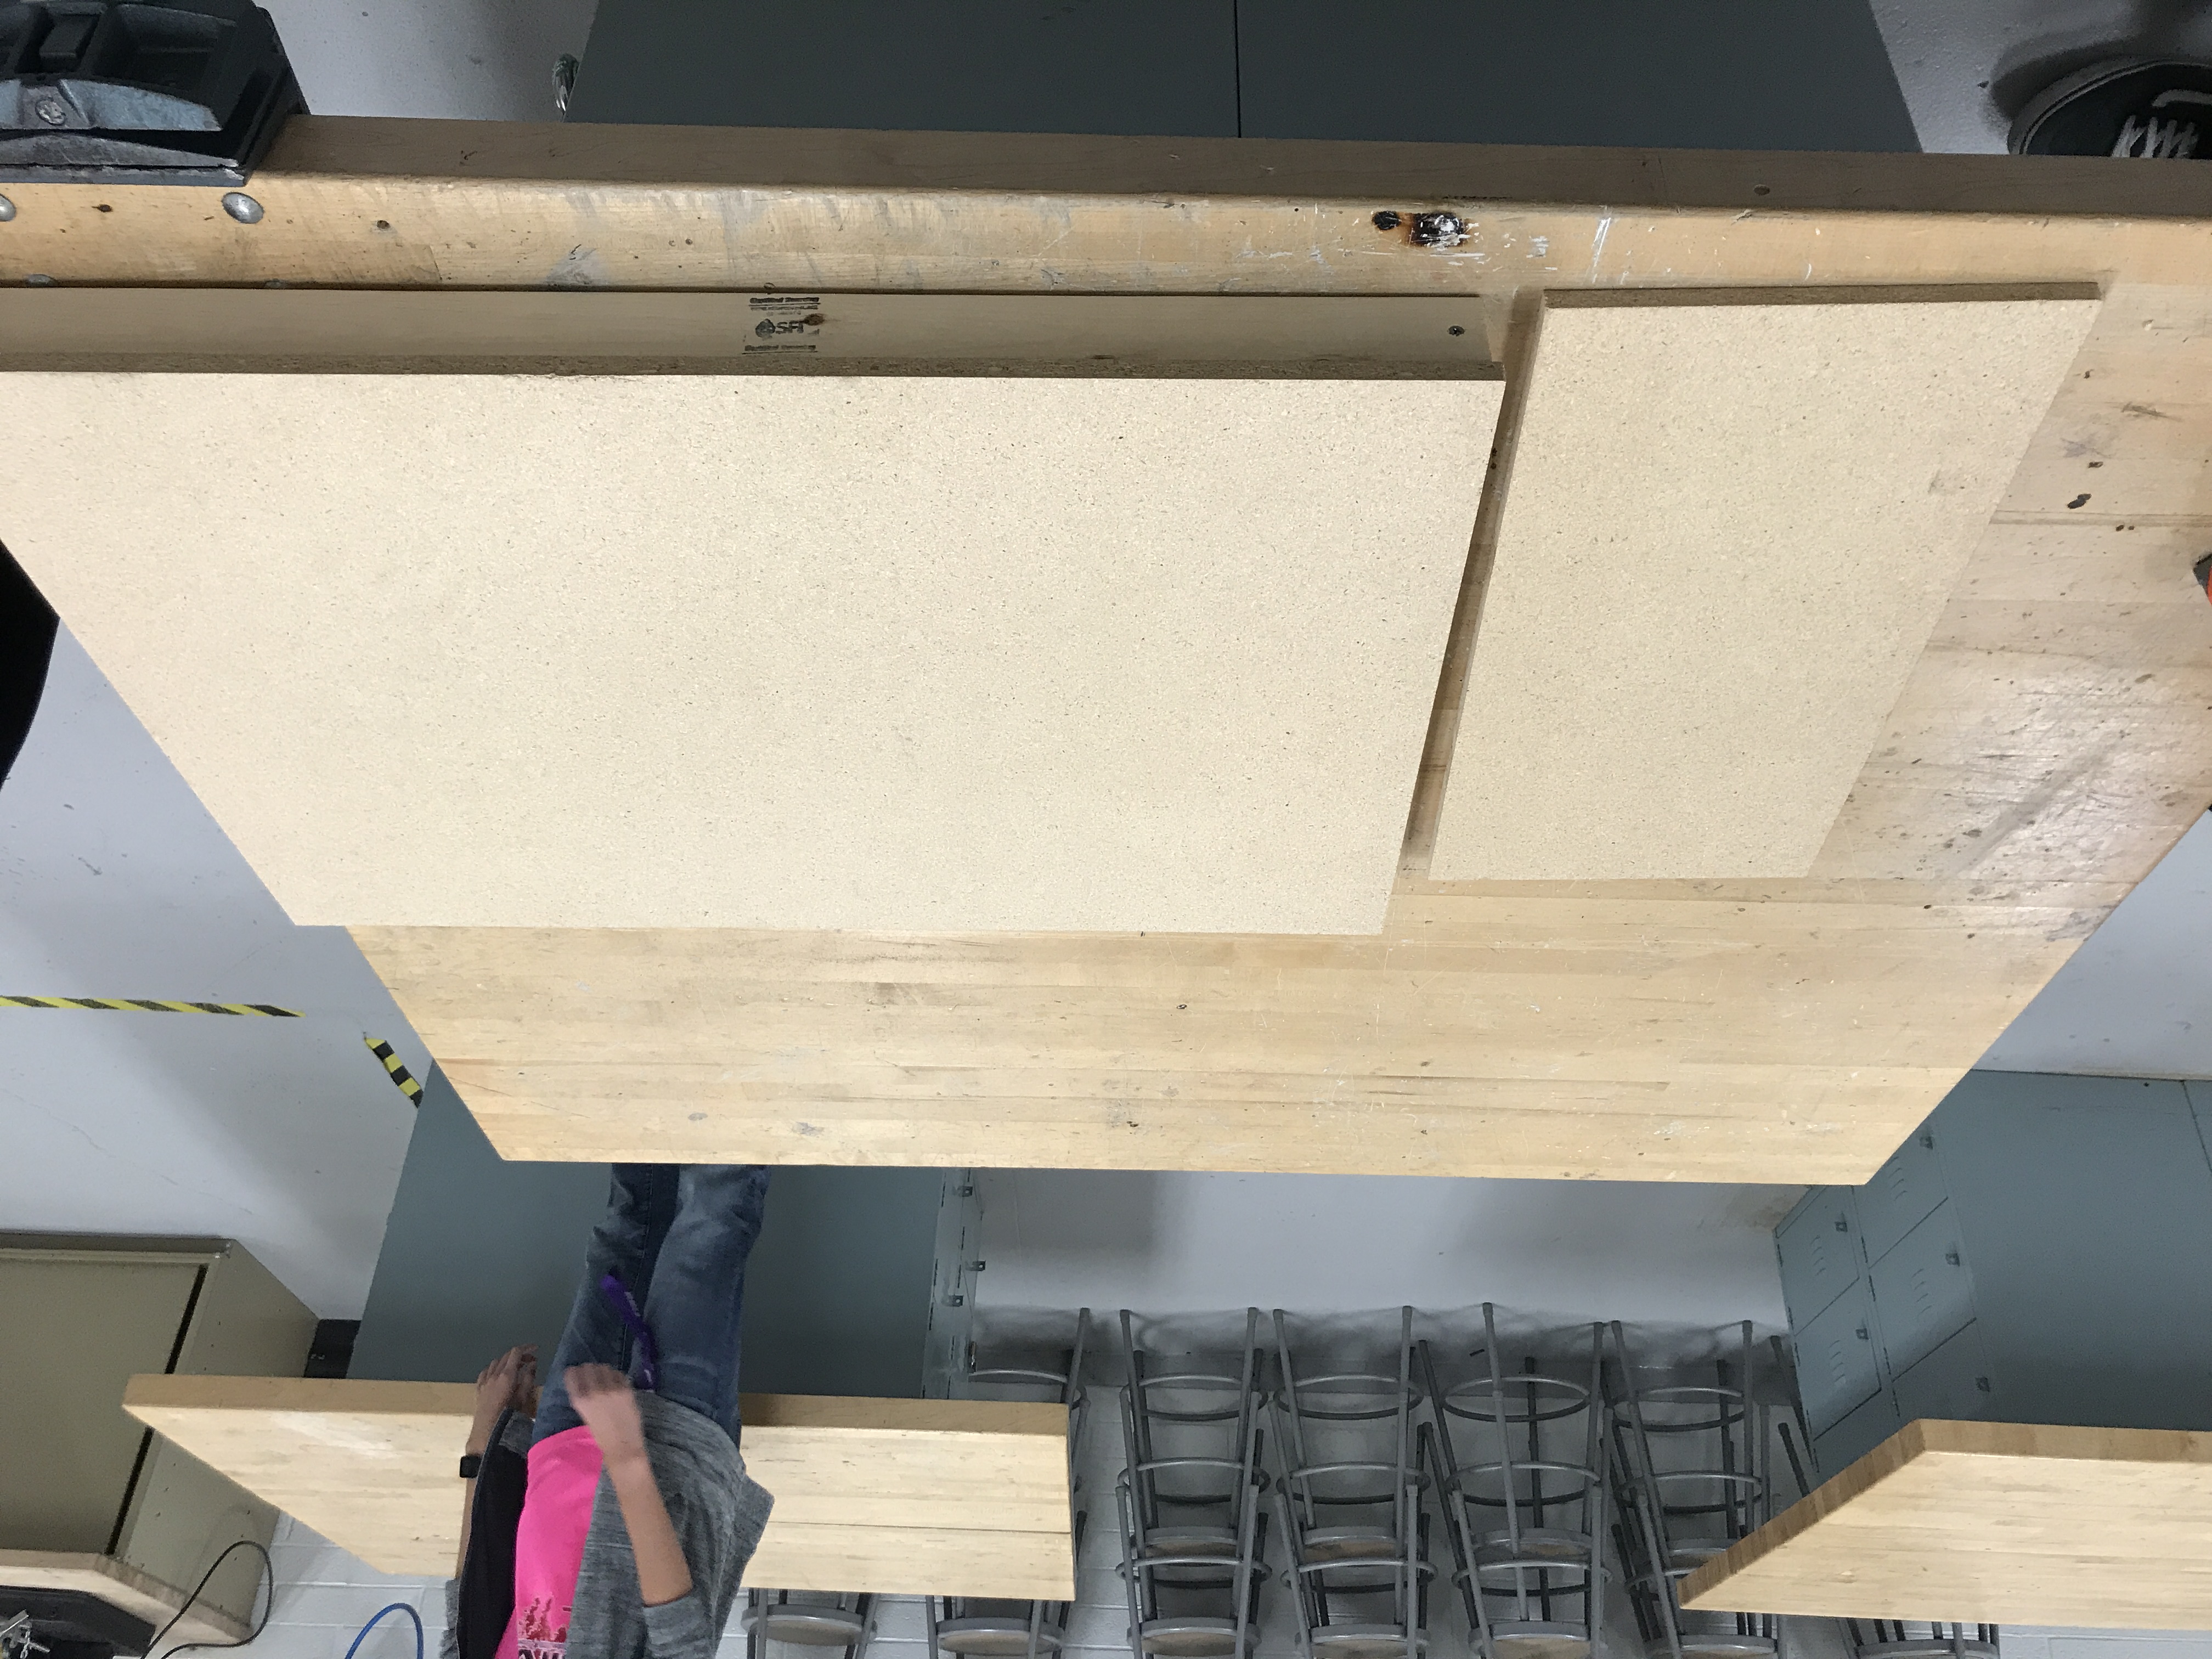
Cut plank to 2 3ft sections. Then cut 2 1ft 9 in pieces. Place them in a rectangular shape. With the smaller pieces being inside the two longer pieces. The rectangles should be 3ft x 2 ft once finished.
Base Pt. 2


Cut one of the boards down to 3 ft and screw into the base you made in the previous step.
Legs

Cut planks into 4 2ft long boards. Screw then on the inner lip on the base
Legs Pt. 2

Cut boards 16 inches long to cover the legs. This is not a necessary part. But it does make the table sturdy and look better.
Cover
Cut a piece of the board to 6in x 1ft 10.5 in this will be a side on the shorter side of the table. Use wood glue and center the piece standing upright. Repeat for the other side.
Cover Pt. 2
Cut 2 pieces of board to 3ft x 6 in. This will be the siding for the longer sides. Use the hinges to connect it to the table standing upright.
Cover Pt. 3
Cut one board into 2 3ft x 1ft boards. This will be the top of the table. It will attach to the sides with hinges so that the table can open into a skatepark.
Ramps


Making the inside is the harder part. We made a quarter and half pipe. We cut the access wood into arched pieces and glued them down. This helped the balsa wood we used keep its shape.
Stairs

For the stairs we used the extra wood and stacked it with a stagger so it has a simple stair shape.
Finish


After everything is glued/screwed down and finished how you’d like, painting it and personalizing it is the fun part.