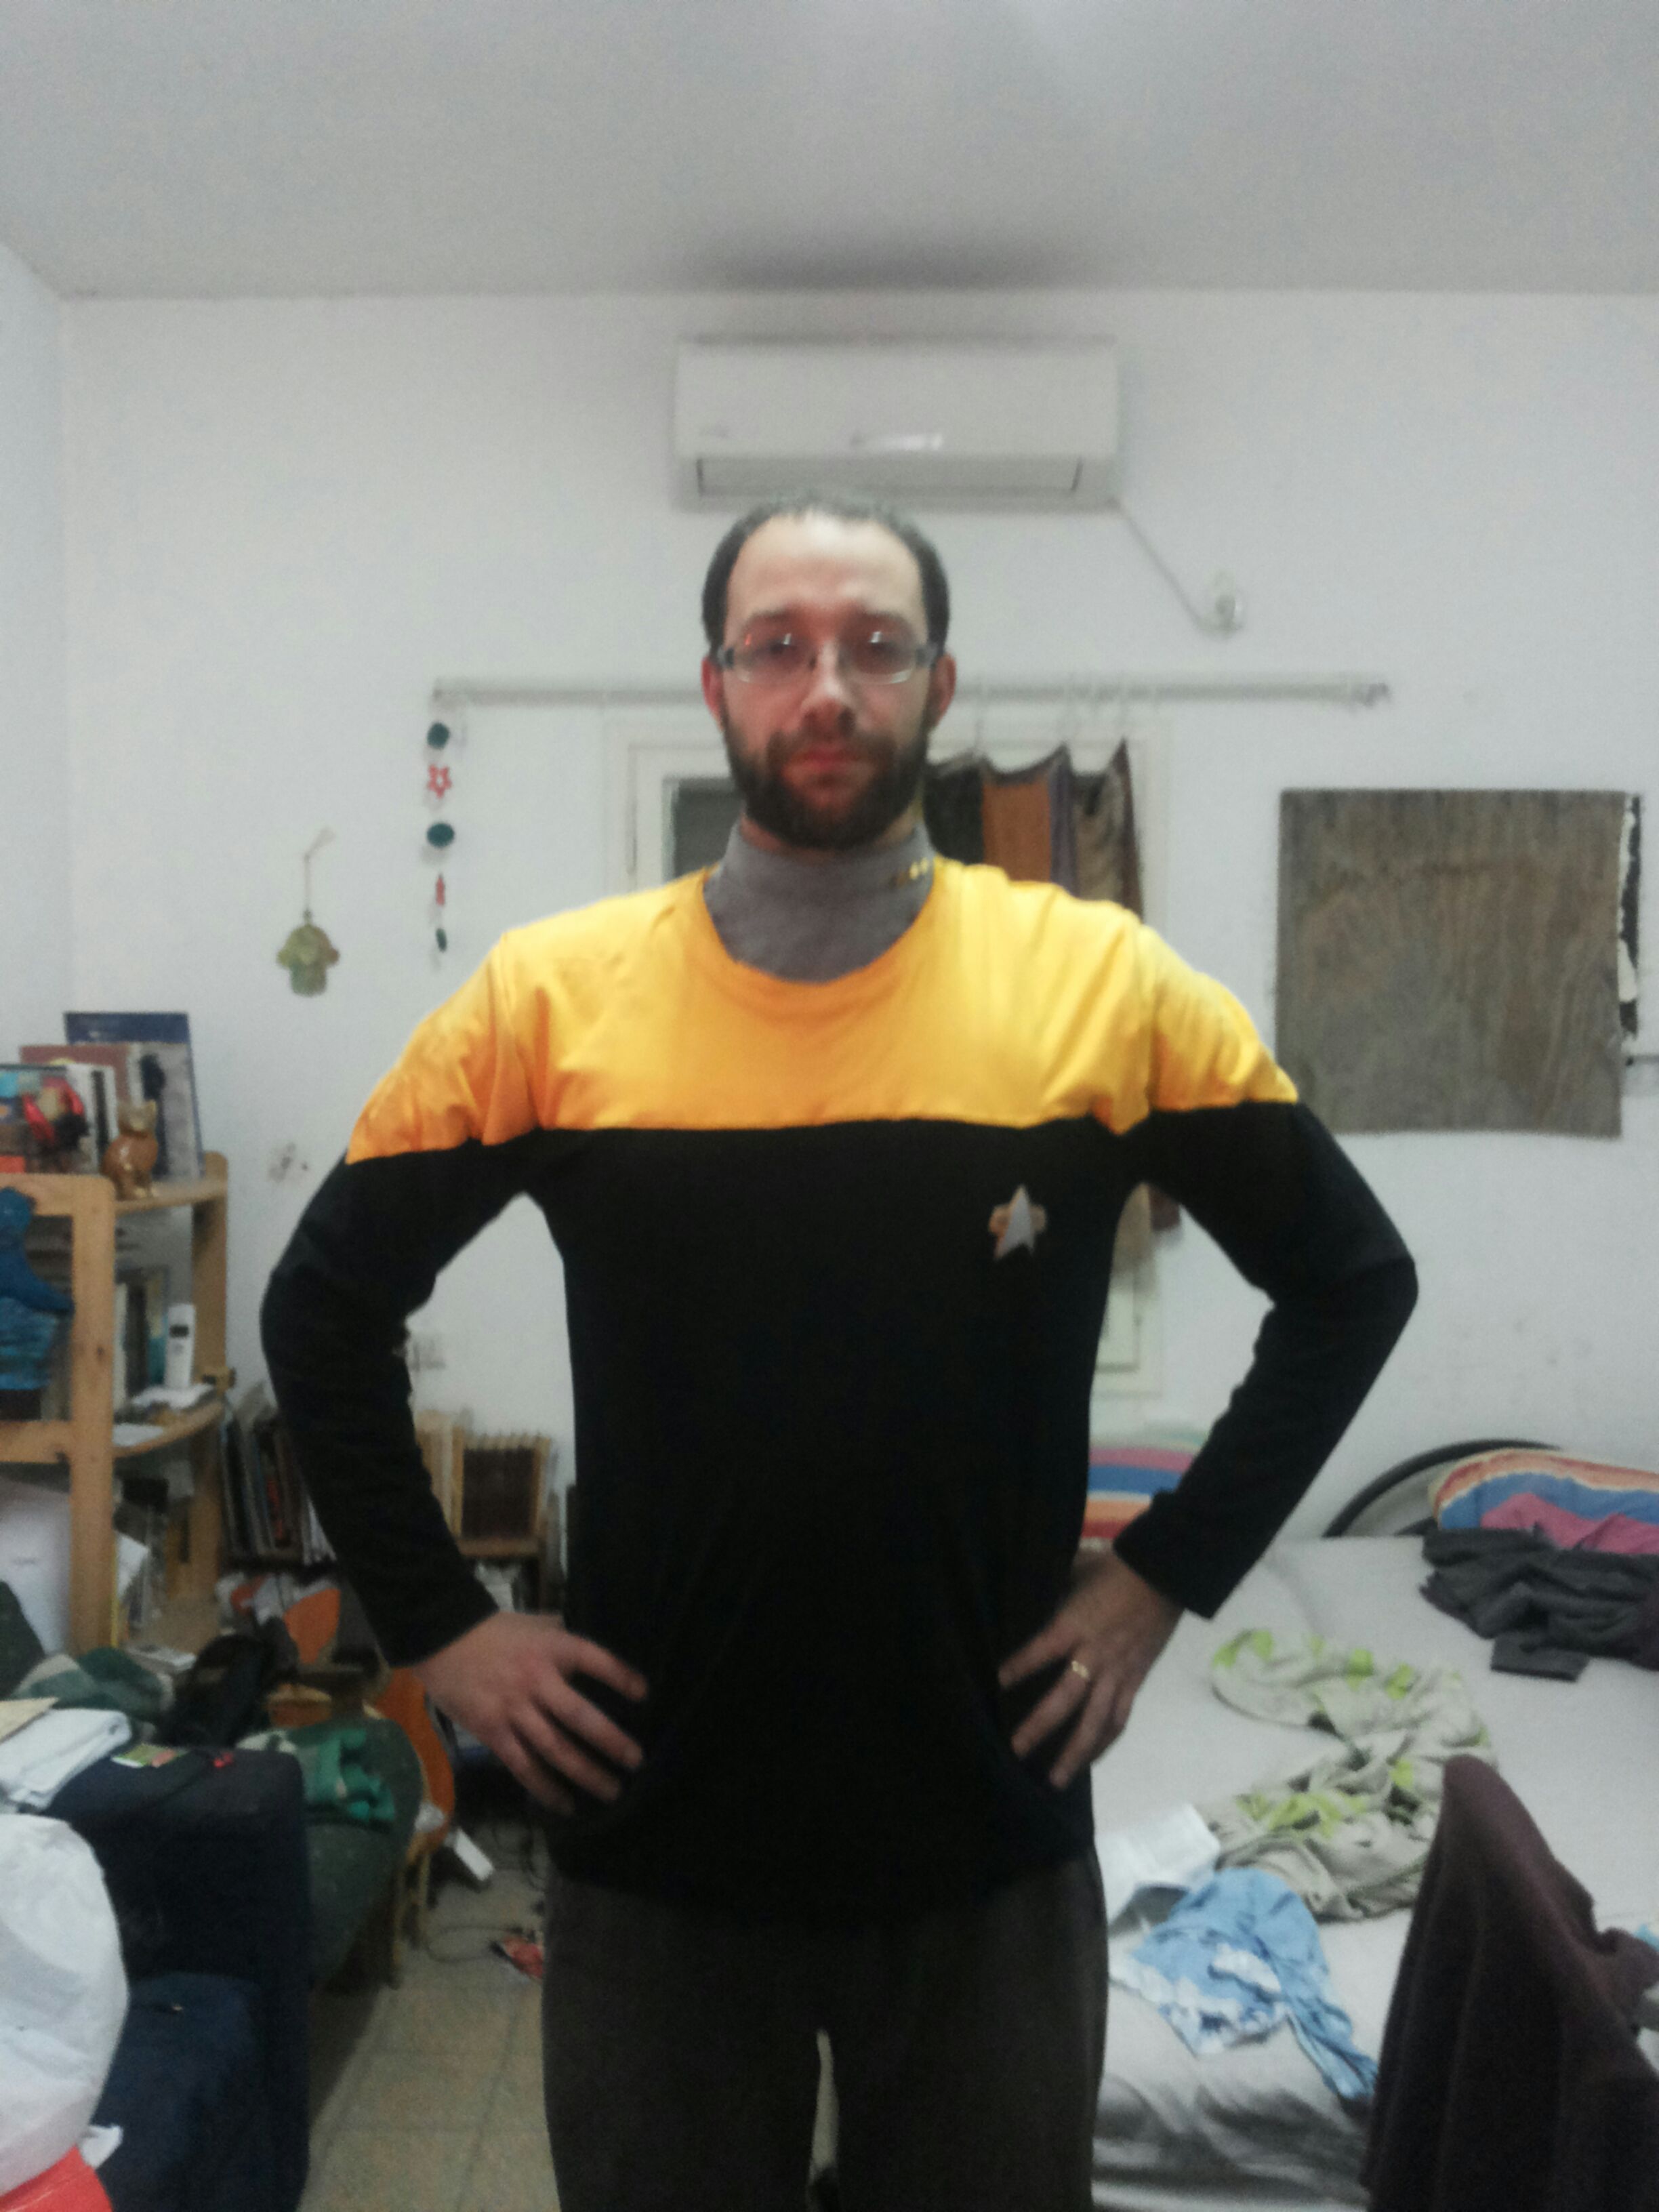
Star Trek Voyager Uniform


Needing a Star Trek costume, I looked around and discovered that the easiest to make would be the ones from Voyager (along with the later seasons of DS9). For that purpose I looked at numerous pictures and decided to make it from 2 T-shirts (the black one has to be long sleeved).
The comm-badge and rank pips I bought on Ebay:
http://www.ebay.com/itm/380652862765?_trksid=p2060778.m2749.l2649&ssPageName=STRK%3AMEBIDX%3AIT I chose Lt. Commander, but they have a wide variety
http://www.ebay.com/itm/361147321311?_trksid=p2060778.m2749.l2649&ssPageName=STRK%3AMEBIDX%3AIT Velcro backed, resin badge
One of the resources I'm using in designing the costume is a sale page of an original costume:
http://propgalaxy.com/products.php?product=STAR-TREK-VOYAGER-EMERGENCY-COMMAND-HOLOGRAM-%28ECH%29-UNIFORM There are a number of pictures which give a good detailed view of the uniform
Equipment and Notes


1. Sewing machine
2. Fabric scissors
3. Tape measure
4. Pins, lots of pins
Notes:
1. My sewing skills are very basic, I'm sure I made quite a number of rookie mistakes. Any corrections you have, will be added to the Ible with attribution.
2. This project is made mostly using a very old sewing machine, anything even as fancy as a zigzag stitch requires a visit to someone with a better machine, and therefore I didn't do it quite as much as I might have otherwise. Any major seam, almost all seams to be precise, would benefit from a zigzag stich reinforcement. If you have a serger, it sews and cuts at the same time, saving both work and time.
3. This won't look quite as good as some of the costimes you can buy. It'll look at least as good as most of the ones with a similar price, and you'll have the satisfaction of knowing you made it yourself. My costs (for now just including the shirt) came to ~50$ US. If you actually live *in* the US some of the costs will be lower (for instance, shipping on items from Ebay)
Shirts


The second color will be cut under the bottom of the sleeve.
The final thing you'll need is a grey (preferably blue grey) mock turtleneck. I found a real turtleneck and made it into a dickie (forgot to take pictures...)
Preparing the Yoke


Then, cut open the bottom of each sleeve (there's a seam in there, cut it off, and most of the work is done)
Finally, fold inwards, to make a hem around 1/3 of the way up the seam. Again, don't worry about the accuracy, it'll be improved later.
First Fitting


I made a second yoke out of the lower half of the shirt.
Also, I discovered that the ideal length of the yoke is obtained by folding the piece up until the bottom is at the bottom of the neck piece.
once I decided to add a second yoke, I removed the sleeves (carefully) by cutting open the seam.
Preparing the Sleeve Part of the Yoke


Lay the sleeve from the shirt on the edge of the yoke. you'll notice that it sticks out a bit on top at the edge, fold that part in. Again, I pinned.
Next, unfold the sleeve and fold the bottom in such a way that the end of the sleeve comes to a point, fold the top half similarly. There shouldn't be need for much extra fabric of you're doing double layer, and if you're doing a single layer you'll need to trim.
Do the same for the other side.
Assemble the Yoke and Prepare the Undershirt (or Dickie)


After measuring again to make sure it's a good fold on the shoulder pieces, it's time to sew the shoulder pieces (sorry, forgot to photograph) and assemble the yoke. To do that, put the 2 pieces of the main part together (one inside the other, I put the real yoke on the inside) and turn inside out. Then, pin the shoulder piece starting at the seam of the yoke and working towards the edge. I found it easier to pin and sew the 2 sides of the shoulder piece separately rather than one continuous seam.
Do the same on the other side, and your yoke is almost done.
If you're using a turtleneck, fold down 2/3rds of the neck on the inside and sew around the base of the neck. That leaves ~1/3 hanging loose at the bottom. Insert the rank pins (if you ordered the same ones I did) and when putting on the costume the flap will cover the backing of the pins and protect your neck.
Sewing the Yoke


Neck Line and Comm Badge


The old neckband of the shirt (assuming you only use 1 yoke or put the original yoke on the outside) is made of a material called ribbing. This material is very visible and not the right look, so we need to replace it. For this I'm using instructions found here: http://www.craftstylish.com/item/8413/how-to-sew-a...
First turn the shirt inside out, and pin the 3 (or 2) yokes together .5-1 inch away from the ribbing. Then cut along the ribbing of the black shirt.
Make your neckband (follow the instructions at the link) and turn the shirt right side out. To pin (following the instructions) the neckband on the shirt, remove one pin (from earlier) at a time and before putting it back in (on the outside, this time) line up all the layers (black shirt, division color yoke or 2, neckband). Complete according to the instructions at the link, and you're almost done.
If you ordered the same comm badge as me, you'll have gotten a resin badge with velcro on the back. remove the second piece of the velcro (the one for the shirt) and find the best place for it. Sew by hand, and attach the Comm badge.
At this point the shirt is all done. Either couple with a plain pair of black pants, or (as I'm doing) make a jumpsuit out of it. I'll update the instructable after I finish, to include that part.