Stealth Garage Door Remote


I wanted to hide my garage door remote and still have easy access to it.
This is a very simple instructable with the basic tools needed.
List of supplies:
Garage Door Remote
Normally Open Momentary Switch
Soldering iron
Copper wiring
This is a very simple instructable with the basic tools needed.
List of supplies:
Garage Door Remote
Normally Open Momentary Switch
Soldering iron
Copper wiring
Disassembly


Here is the remote being disassembled.
Under the buttons is a board with contact points for the buttons.
When you press the button, it creates a connection and the remote sends a signal. It's just like a momentary switch. What we're going to do is connect a lead to each half of this switch and then connect those leads to a switch that we can mount inside the car.
The 4th and 5th pictures show the seperate halves of the contact point in color. Red for one side, Black for the other.
Wiring


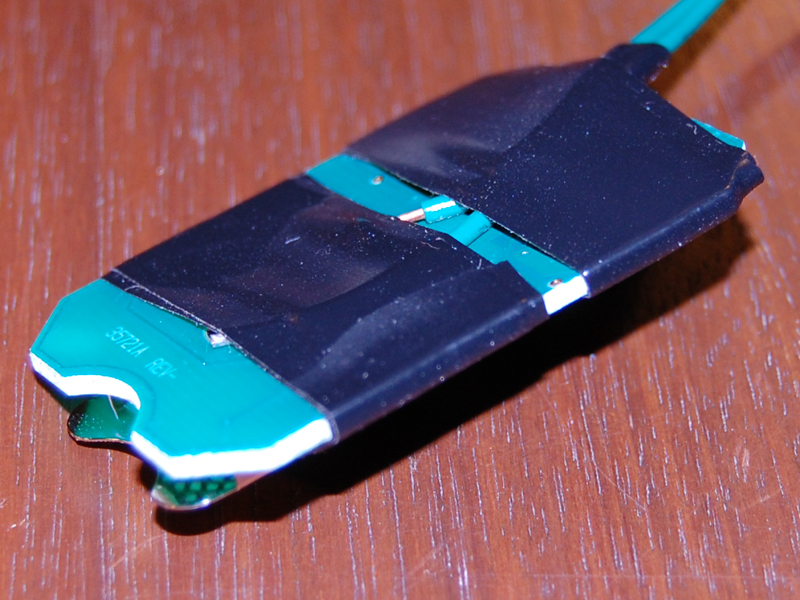
So now we solder on the leads.
One lead goes to the red portion of the switch and one lead goes to the black portion of the switch (colored in the second photo).
Be careful with the solder, you don't want any creating a short between the black and red part.
I suck at soldering.
Then we tape it up to help secure our connections.
One lead goes to the red portion of the switch and one lead goes to the black portion of the switch (colored in the second photo).
Be careful with the solder, you don't want any creating a short between the black and red part.
I suck at soldering.
Then we tape it up to help secure our connections.
Reassembly


Now I modified the top part of the remote case to make room for the wires.
This step is optionally, I wanted to put everything back in it's case.
This step is optionally, I wanted to put everything back in it's case.
Installation


I decided to use the valet switch of my security system to use as the switch.
The valet switch is powered, so I unplugged it from my security system. This switch also serves as the alarm status, I left that part plugged in.
I pulled the switch from the dash and spliced in the leads from the remote. There isn't a polarity concern, so it doesn't matter which wire is connected to which lead as long as they each get their own wire.
Done


Just slide the plug back into the dash. And we're done.
Looks exactly the same as when I started.
Here's a photo of another installation I did in my other car with a push button normally open momentary switch I got from Radio $hack.
If there was anything that didn't make sense or I left something out, please let me know. Hope you enjoyed.
Looks exactly the same as when I started.
Here's a photo of another installation I did in my other car with a push button normally open momentary switch I got from Radio $hack.
If there was anything that didn't make sense or I left something out, please let me know. Hope you enjoyed.