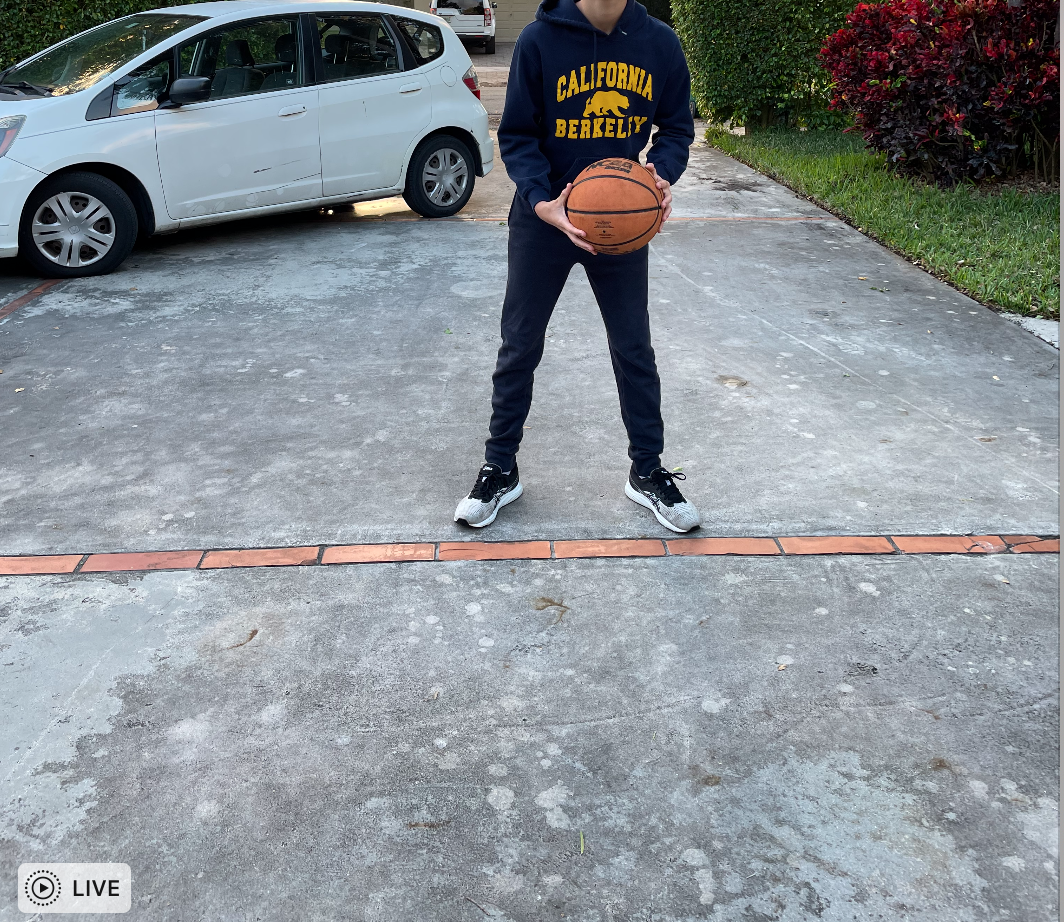
Steps to the Perfect Shooting Form
by pinapplemocha in Outside > Sports
952 Views, 5 Favorites, 0 Comments
Steps to the Perfect Shooting Form

Ever since I got into basketball, I have been searching through the internet, asking friends, coaches, even my dad about how to perfect my shooting form from the free-throw line to the 3. I wanted to be able to walk to any spot on the court and swish the shot, I wanted consistency.
It took weeks to get it right, but the perfect form I learned is now helping me improve in basketball. A good amount of shots go in, there is arch and backspin, and it swishes! In this instructable I'm going to teach the perfecting shooting form for basketball.
Step 1: Collect Your Materials

- A basketball (any brand, I use Wilson college size)
-A basketball hoop (rim at 10ft, preferably Plexiglas backboard)
Step 2: Shot Pocket

As you catch the ball from a pass or from a dribble, move it into the shot pocket. The shot pocket is where you hold the ball, the more consistent your starting position is, the higher chance you will have a consistent shooting form. Usually start at your stomach and throughout the “Perfect Shot”, you will move it up and out.
Step 3: Stay Balanced


This means you face the basket, bend your knees and plant both your feet on the ground to prepare for the shot, you can do a jump shot or simply standing shot. You should have good posture, a straight back, and keep feet shoulder-width apart.
Step 4: Eyes on the Target

When you are shooting, you must be looking at the hoop to prepare and align your shot with the perfect strength and trajectory for it to go in. Never watch the ball after you shoot. Either go for a rebound or get back on defense if you know it is missing.
Step 5: Elbow Under the Ball

When you bring up your arm to shoot, make sure to have your elbow at a 90 degree angle. Your elbow should be around your eye/ear area and the ball should be around your chest when you release the ball. Your shooting hand lies on the bottom/back of the ball, while the guide hand rests on the side of the ball to control direction.
Step 6: Follow Through

You begin extending your elbow for that push of strength, and then there is the flick of the wrist and fingers, there should be backspin on the flick. The backspin on the ball mid-air is for a less aggressive touch so it is more likely to swish or if it hits the rim or backboard it doesn’t go flying away.
Step 7: Put It All Together


Put it all together. With all the steps you will practice them repeatedly in order. Catch the ball off a pass and hold it in your shot pocket. Then, get your feet pointing at the basket with knees bent, NEVER CROSS YOUR FEET. After, look at the basket and bring up your arms, and finally release the ball with a backspin flick to the basket. All the steps will be done together in just a few seconds, start up close. Always make sure to have arch on your shot. Now, the best thing you can do is practice!!