String Art


I decided that I wanted to expand my art horizons and do something different, that not a lot of people see. String art! I've taught myself how to do this and would like to share with others. You need patience and time for this, but the end result will be worth it!
For this instructable I will show you the basics of how to make your own string art. We will start with something simple, like a word. I'm going to make the word "family" in string.
Supplies needed:
-Birchwood plywood (for the word family, my piece of wood is 20" x 4")
-Steel wire nails: size 1 x 18 (from Lowes)
-Craft paint (I used brown)
-Scissors
-scotch tape
-Paint brush
-A hammer
-Dmc floss from ACmoore (I picked basic white)
-A printed out template for nailing
-A towel (optional-for underneath the wood so the nails don't nail into the table!)
Paint

Paint your piece of wood with your acrylic paint (I chose brown).
Paint two coats.
Don't forget the sides of the wood.
No need to paint the bottom of the wood.
Dry time: 20 minutes
Template

Place your template on the wood where you want to nail it. I put mine centered equally.
Just use a few pieces of tape to secure the template on.
I posted the pdf file of the family template.
Downloads
Nailing


Grab your steel nails, you are ready to start the nailing step.
Place your nail around the edge of the letter and hammer in place.
Do not nail too far down because you will go through the wood. Have about a half inch of the nail showing when you hammer it in.
For the rest of the nailing process, make sure to have an appropriate distance between each nail. About 3/4" distance between the nails.
REMEMBER- we are nailing around the letter
Remove Template


Once you've finished nailing, remove the template. Carefully pull the template up from the nails. Try not to pull so hard, or the nail will come out of the wood.
Discard the template.
Knotting

You are now ready to string!
Knot your first nail. Know twice to keep string secure.
Stringing


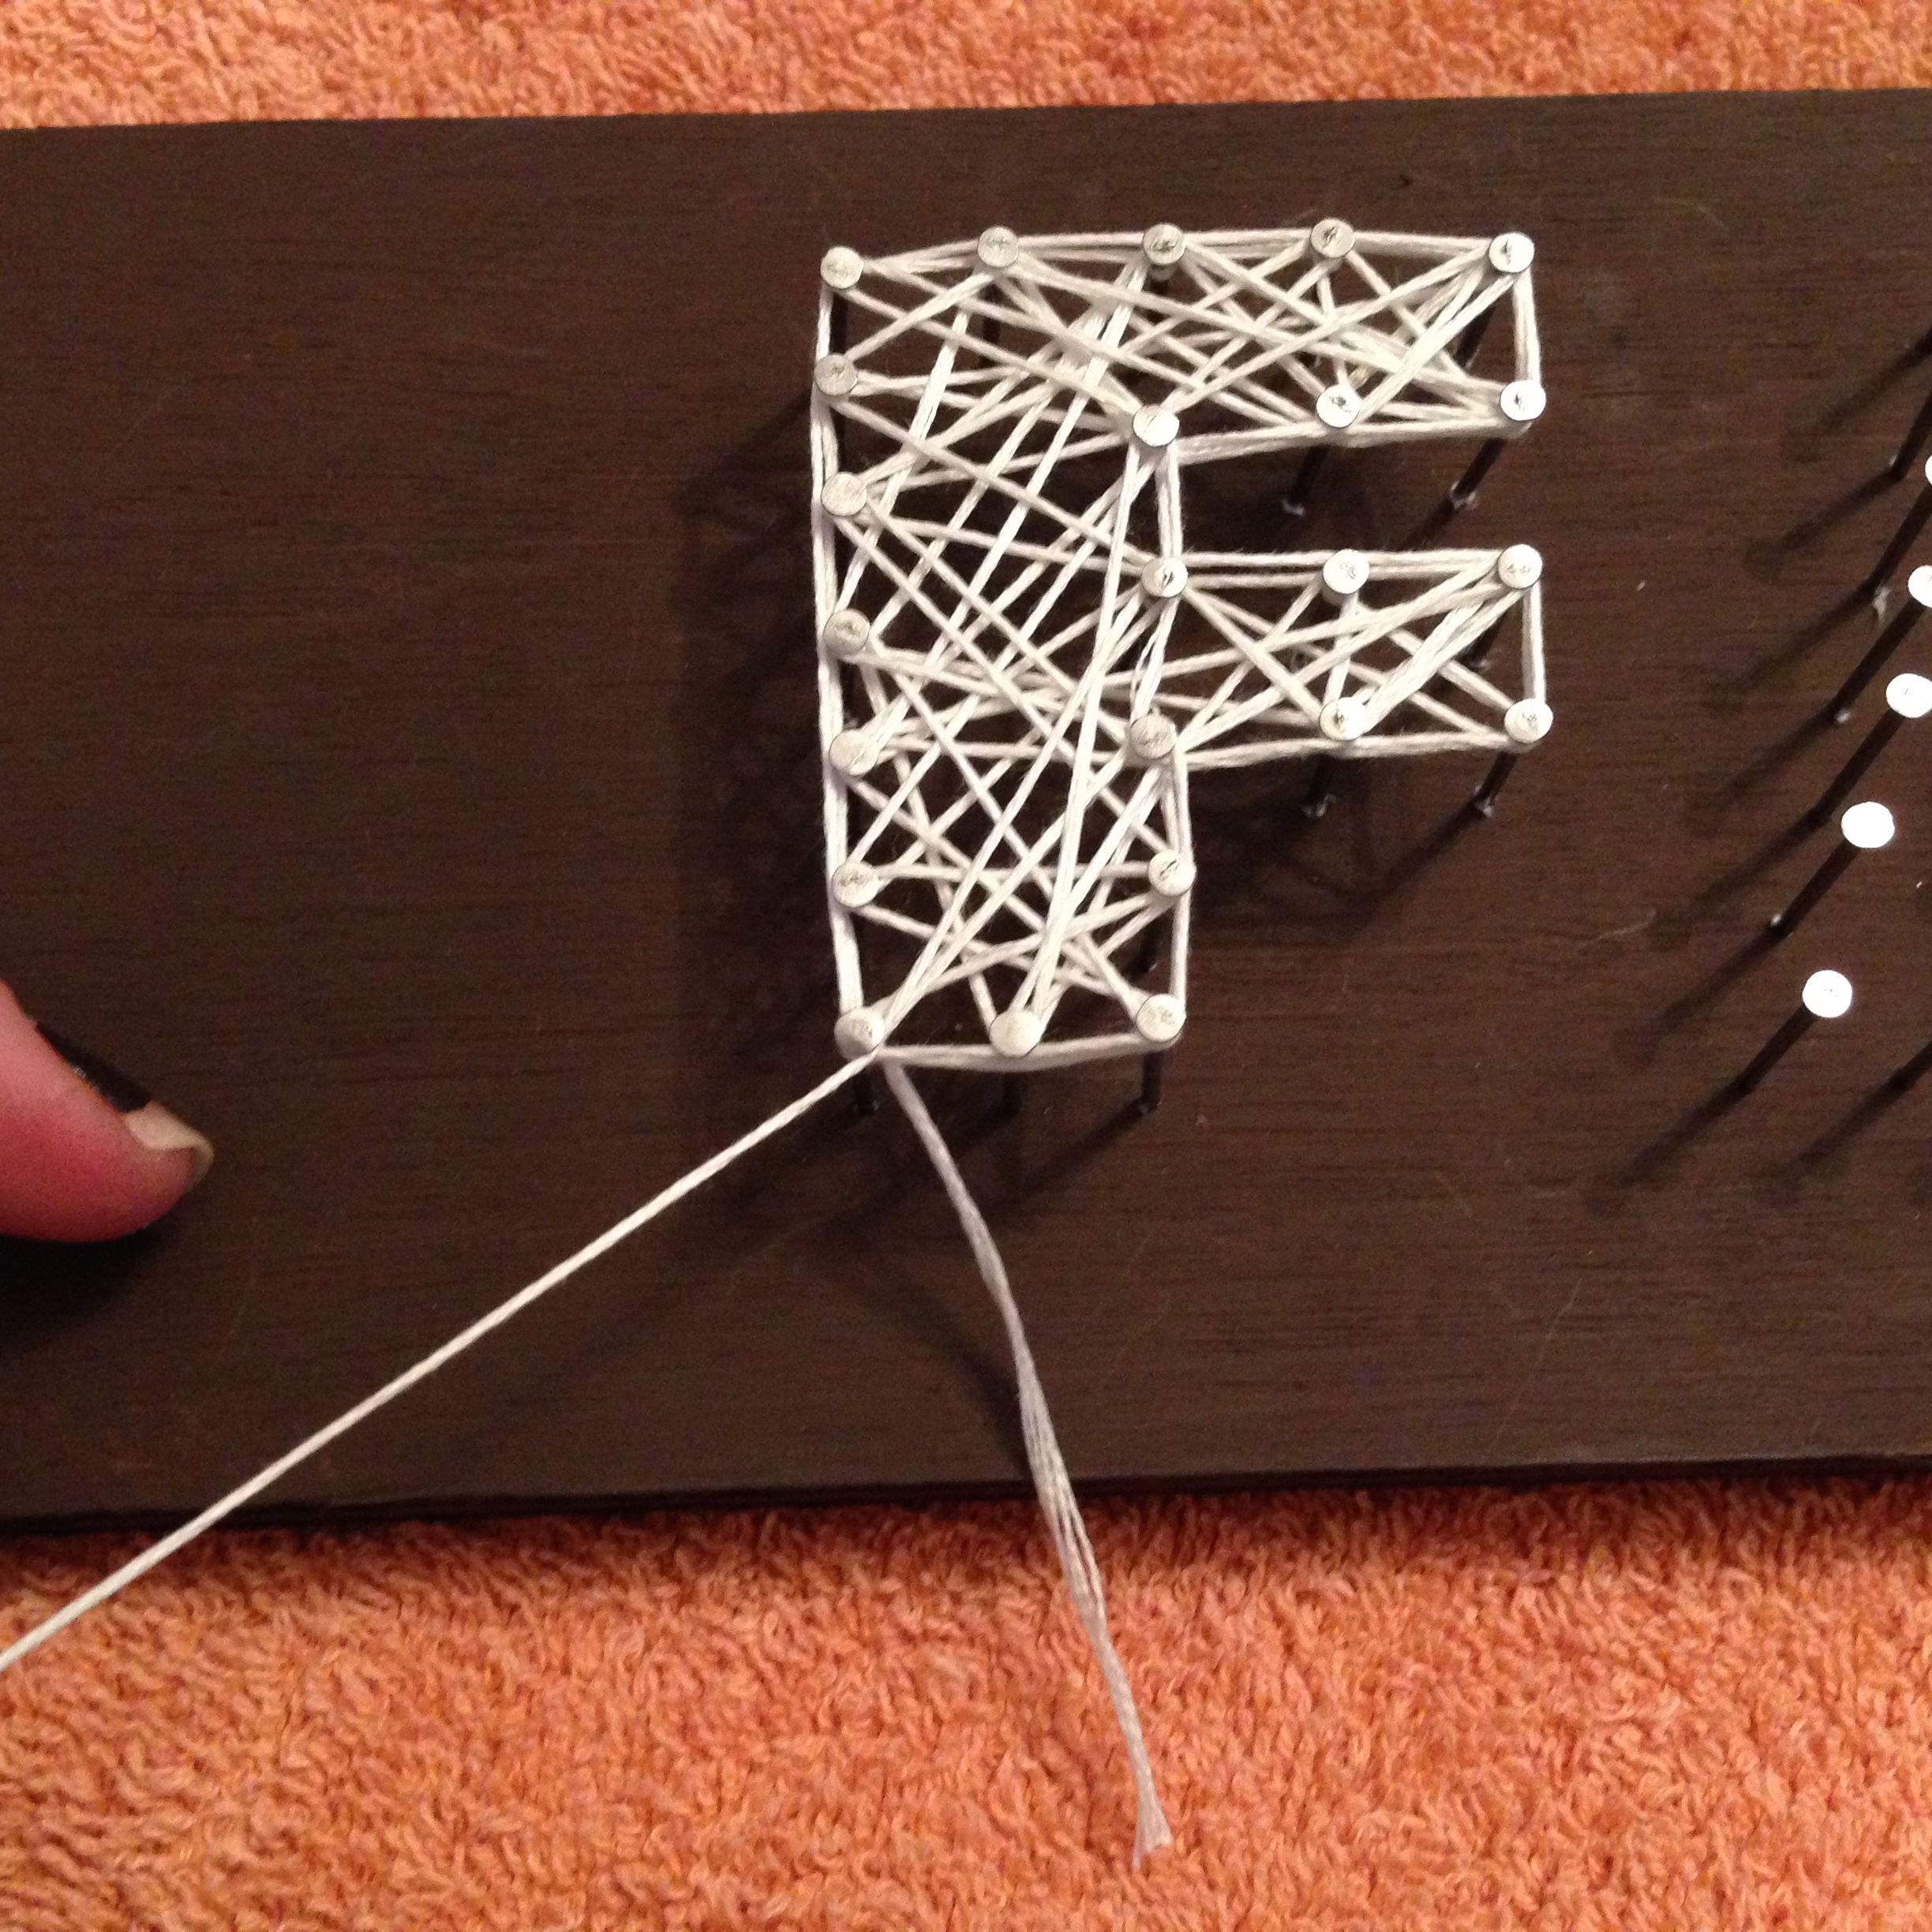
Once you've made your first knot, the next process you wrap the string around the next nail once and move on to the next nail to create an outline for the letter.
Keep doing this process until you get to the end of the letter and you clearly see an outline.
Stringing (continued)


Once you get to the end of making the outline of the letter, start wrapping the string around random nails to fill up the space.
(You can crisscross the string) There is no specific way to do this, you just need to fill in the space.
After this process is done, knot the string twice on the last nail of that letter. Cut off excess string.
Stringing (continued)


After this process is done and you filled up the letter, knot the string twice on the last nail of that letter.
Cut off excess string.
Repeat this process for all letters.
Finished!


You're all done!
I decided to set this on my mantle. You can also hang this up anywhere, it's a great home decor piece.
I also provided images of the other string arts I made using the same instructions and techniques!