Fedex Furniture: Cardboard Table Made From FedEx Boxes
by matt392 in Craft > Cardboard
4547 Views, 22 Favorites, 0 Comments
Fedex Furniture: Cardboard Table Made From FedEx Boxes


Quick way to make a small, lightweight cardboard table out of medium/large FedEX boxes.
Parts:
1. 6 medium or large FedEx boxes
2. Duct tape
3. Breakaway knife
Parts:
1. 6 medium or large FedEx boxes
2. Duct tape
3. Breakaway knife
Build the 1st Half of the Leg


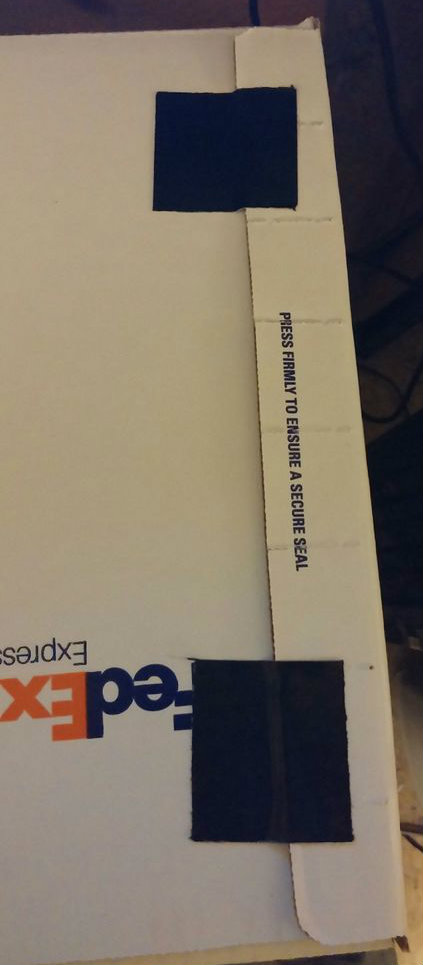
1. Take one box and seal up one side with the adhesive on the flap. Use duct tape to reinforce the seal.
2. On the other side of the box, using duct tape, tape down the 1 large flap without adhesive on top of the 2 small flaps.
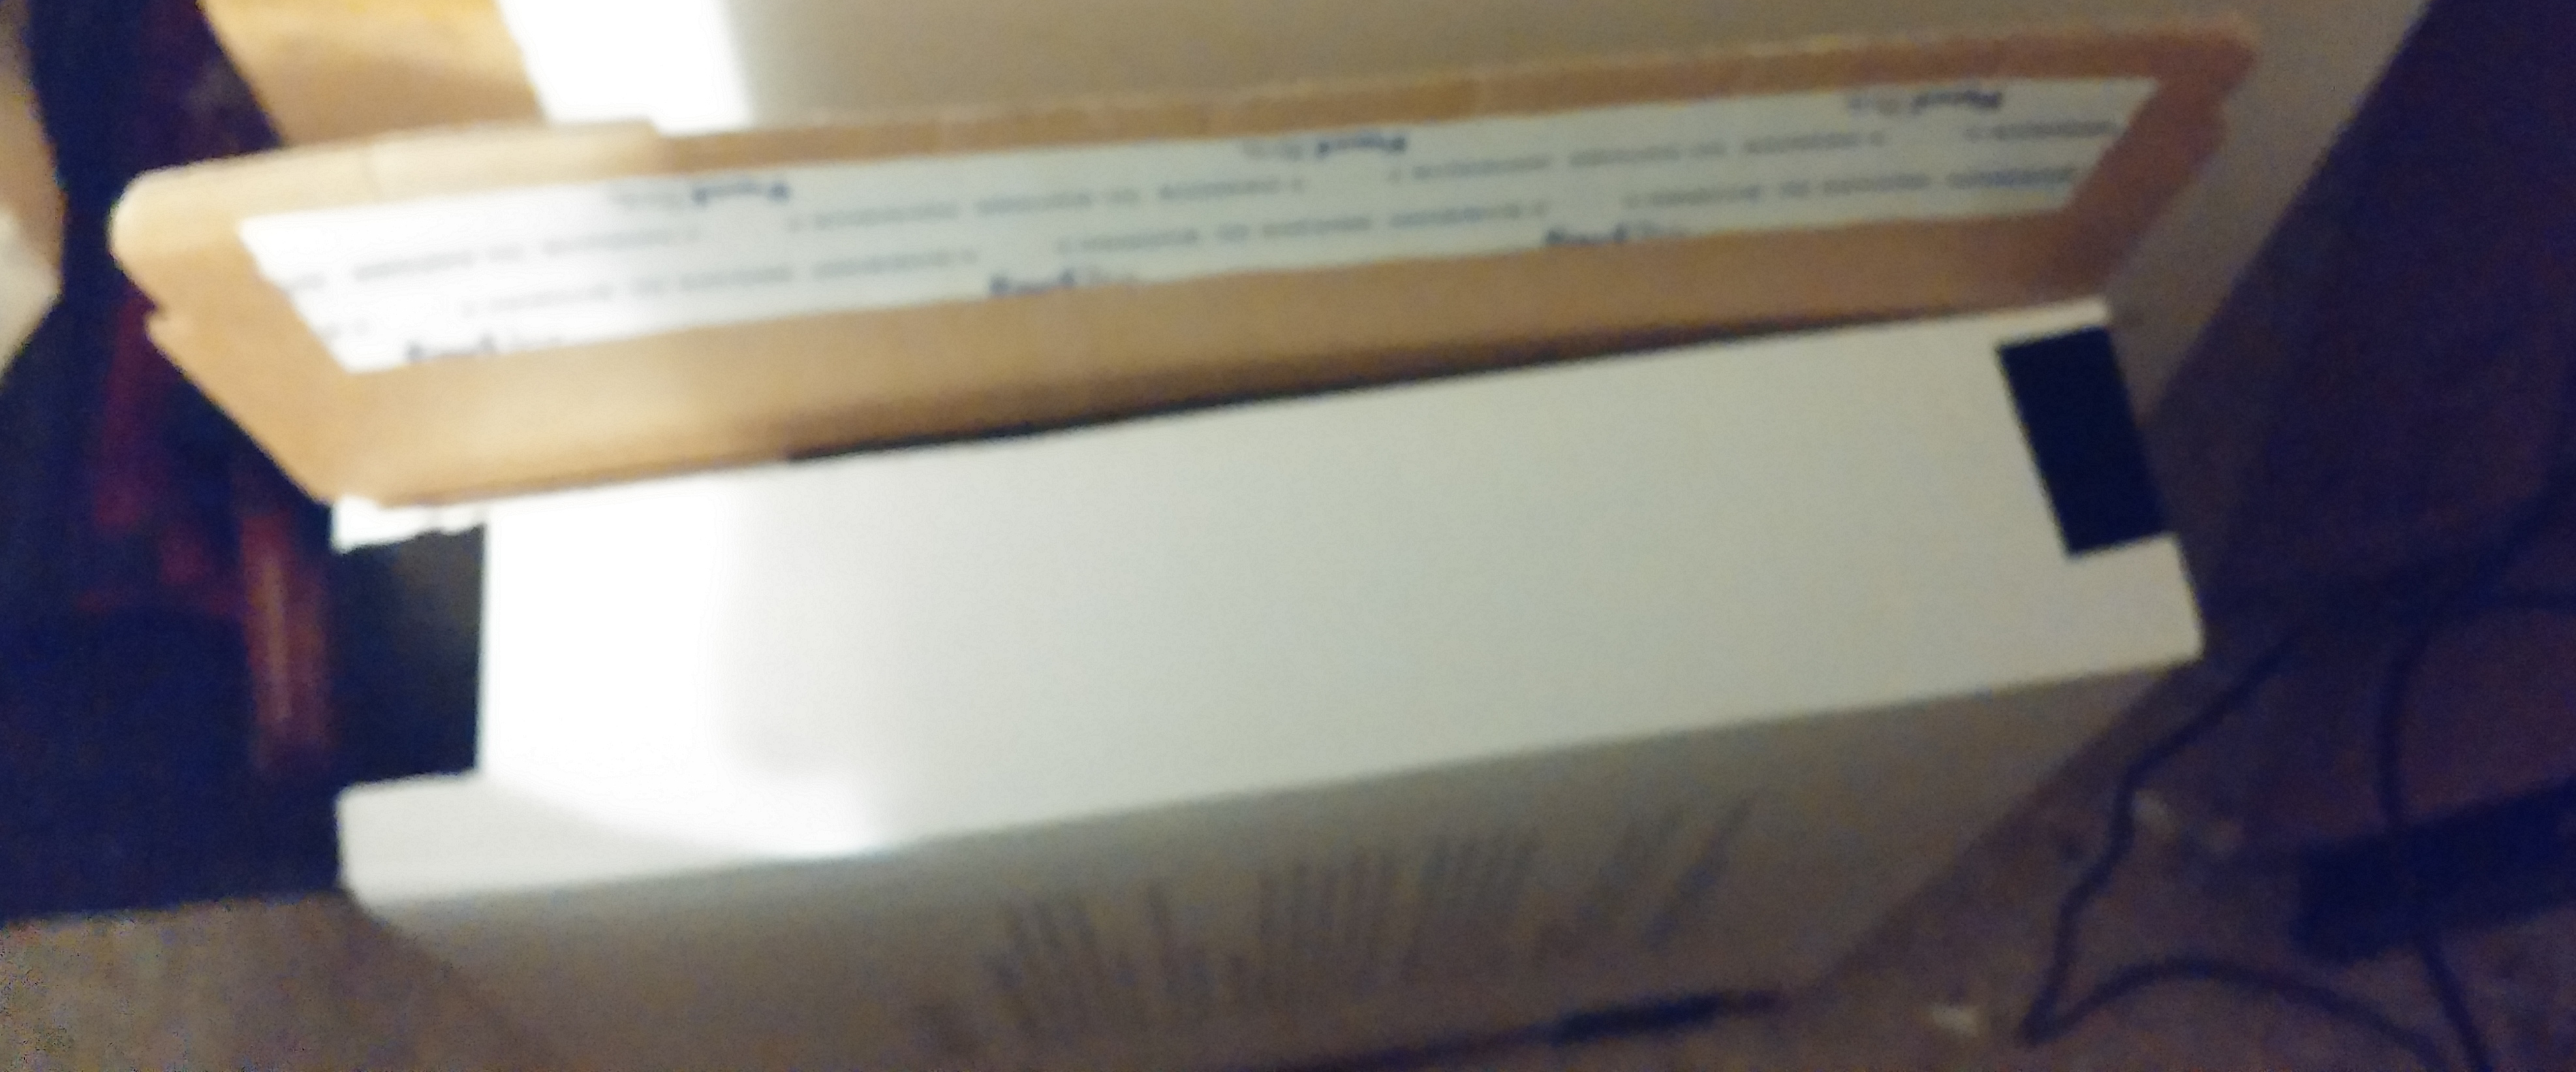
3. Leave the flap with the adhesive UP and the paper over the adhesive. Please see picture.
4. Take a 2nd box and repeat steps 1 to 3.
2. On the other side of the box, using duct tape, tape down the 1 large flap without adhesive on top of the 2 small flaps.
3. Leave the flap with the adhesive UP and the paper over the adhesive. Please see picture.
4. Take a 2nd box and repeat steps 1 to 3.
Build the 2nd Half of the Leg


1. Take a 2nd box, duct tape down the 2 smaller flaps and the large flap that does NOT have the adhesive. Leave the flap with adhesive open.
2. Do this on BOTH sides of the box.
3. You should have a box that has an open flap on each side. Please see picture.
4. Take another box and repeat steps 1 to 3.
2. Do this on BOTH sides of the box.
3. You should have a box that has an open flap on each side. Please see picture.
4. Take another box and repeat steps 1 to 3.
Attach 2 Halves of Legs


1. Take 1 box that was prepared with one flap open and another box that was prepared with 2 flaps open.
2. Test interlock both halves with the open adhesive flaps on opposite sides of the leg. Do a test attachment of both halves while the paper is on top of the adhesive. Please see picture.
2. Remove adhesive strips and press together on both sides of the leg.
3. Add duct tape to reinforce the flap attachments.
4. Repeat steps 1 to 3 for the 2nd leg with the other 2 boxes that were prepared previously.
5. You should now have 2 legs of the table ready. Set them to the side.
Make the Top of the Table

1. Take a 5th box and on one side, duct tape the large flap without adhesive over the 2 smaller flaps.
2. Repeat above process on the other side
3. Now you should have a box with both adhesive flaps open. Please see picture.
4. Set tabletop to the side for the moment.
2. Repeat above process on the other side
3. Now you should have a box with both adhesive flaps open. Please see picture.
4. Set tabletop to the side for the moment.
Build Crossbeam

1. Take a 6th box, on BOTH sides, using the breakaway knife, cut off the large flap WITHOUT the adhesive and the 2 smaller flaps on the top and bottom.
2. You should now have a flat box with both adhesive flaps viewable. Please see picture.
3. Set to the side for the moment.
.
2. You should now have a flat box with both adhesive flaps viewable. Please see picture.
3. Set to the side for the moment.
.
Attach Tabletop to Both Legs


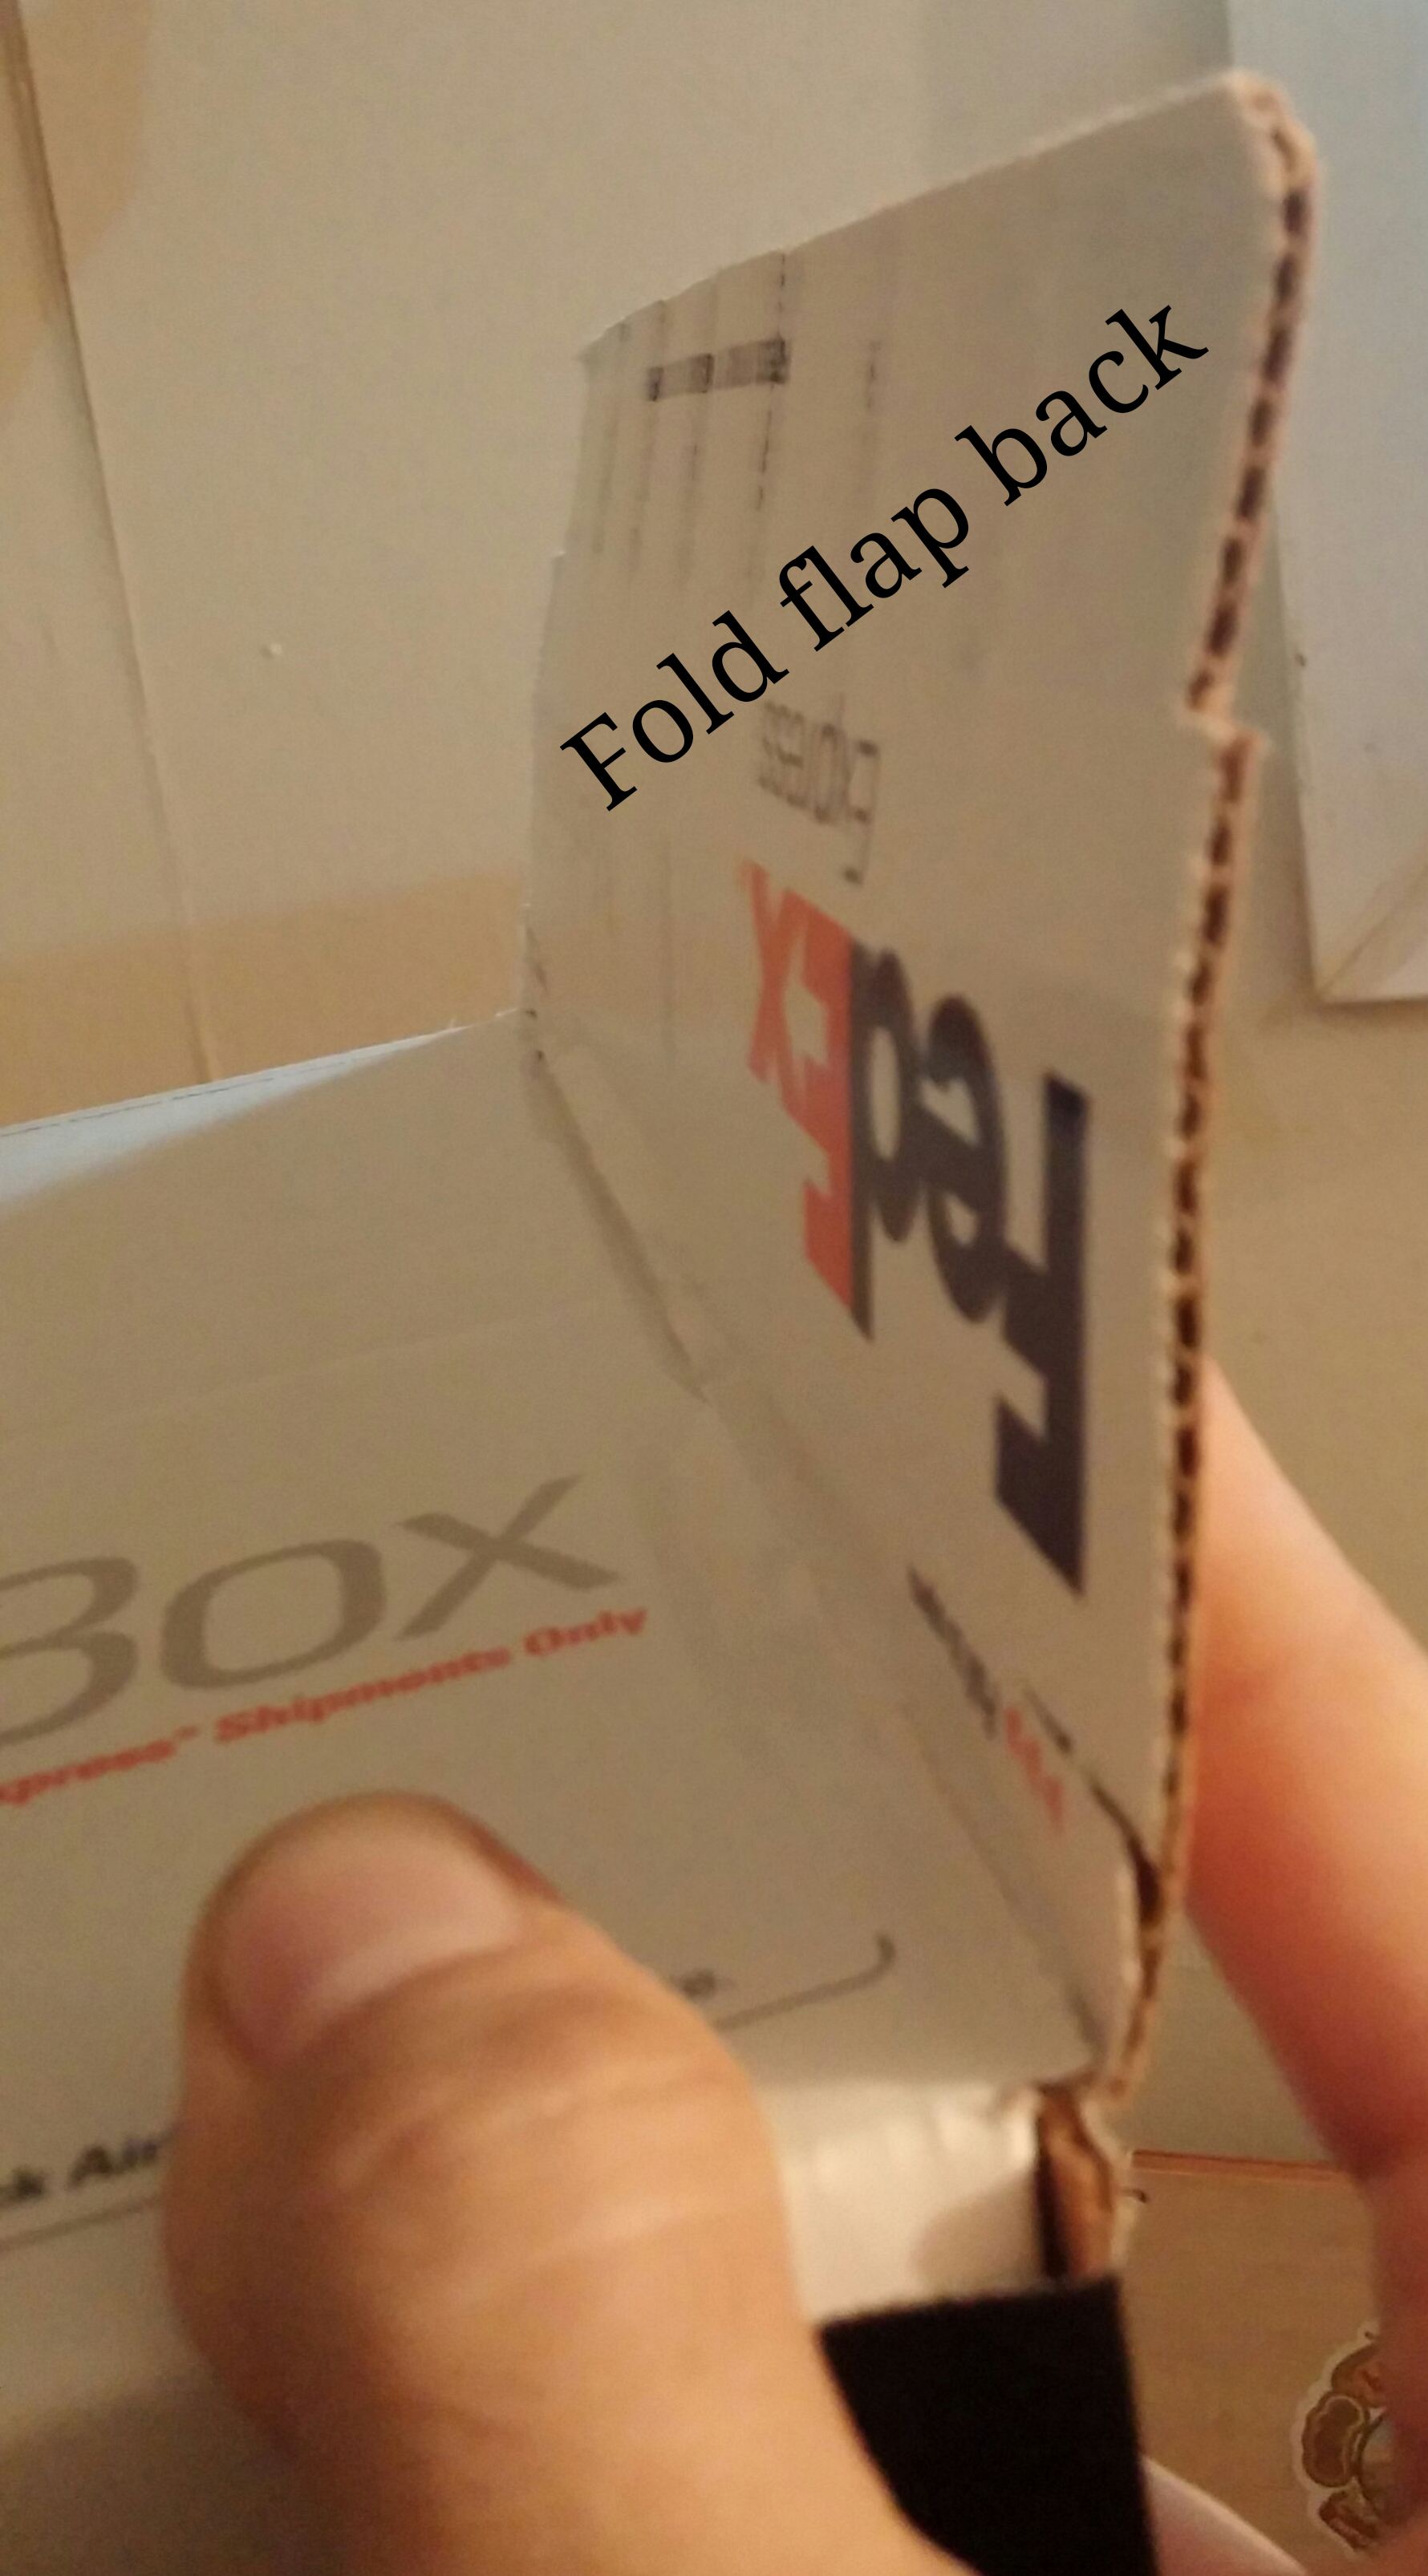
1. Take the box that is the designated tabletop and fold back both flaps so that the adhesive sides are facing out.
2. Next, flip the box over so that the adhesive flaps are underneath it.
3. Test the connection of attaching the tabletop to the side of 1 leg that is the opposite side of that leg's open flap. (See picture) When satisfied with the test, remove the adhesive for this 1 side and attach to the side of the leg opposite the leg's open flap. Repeat on the 2nd side. Make sure table top is level with leg.
4. On 1 leg with the flap up, remove the adhesive and fold down onto the table top for a 2nd seal. Repeat process for the other leg.
5. Reinforce the adhesive flaps with duct tape.
Attach Crossbeam


1. Take the box that was designated the crossbeam. On one side of the table, test the placement of the crossbeam about midway down the leg, with the paper still on top of the adhesive. Bend each flap around the outside corner of each leg to make sure both sides are in the proper position.
2. Once you are satisfied with the placement, remove paper over the adhesive on flaps and bend around the outside corner of one leg, about halfway down the length of the leg. Repeat the process for 2nd leg.
3. Add duct tape to reinforce the crossbeam connection.
4. This will act as a stabilizer for the table
5. The FedEx Table is now complete. It can be used for light-duty work. It may not last for years, but this can be useful when a table is needed quickly and FedEx boxes are readily available in an office setting.
6. Optional: if you have an extra piece of cardboard, duct tape it to the top of the table to increase the stiffness.