Thin Duct Tape Wallet


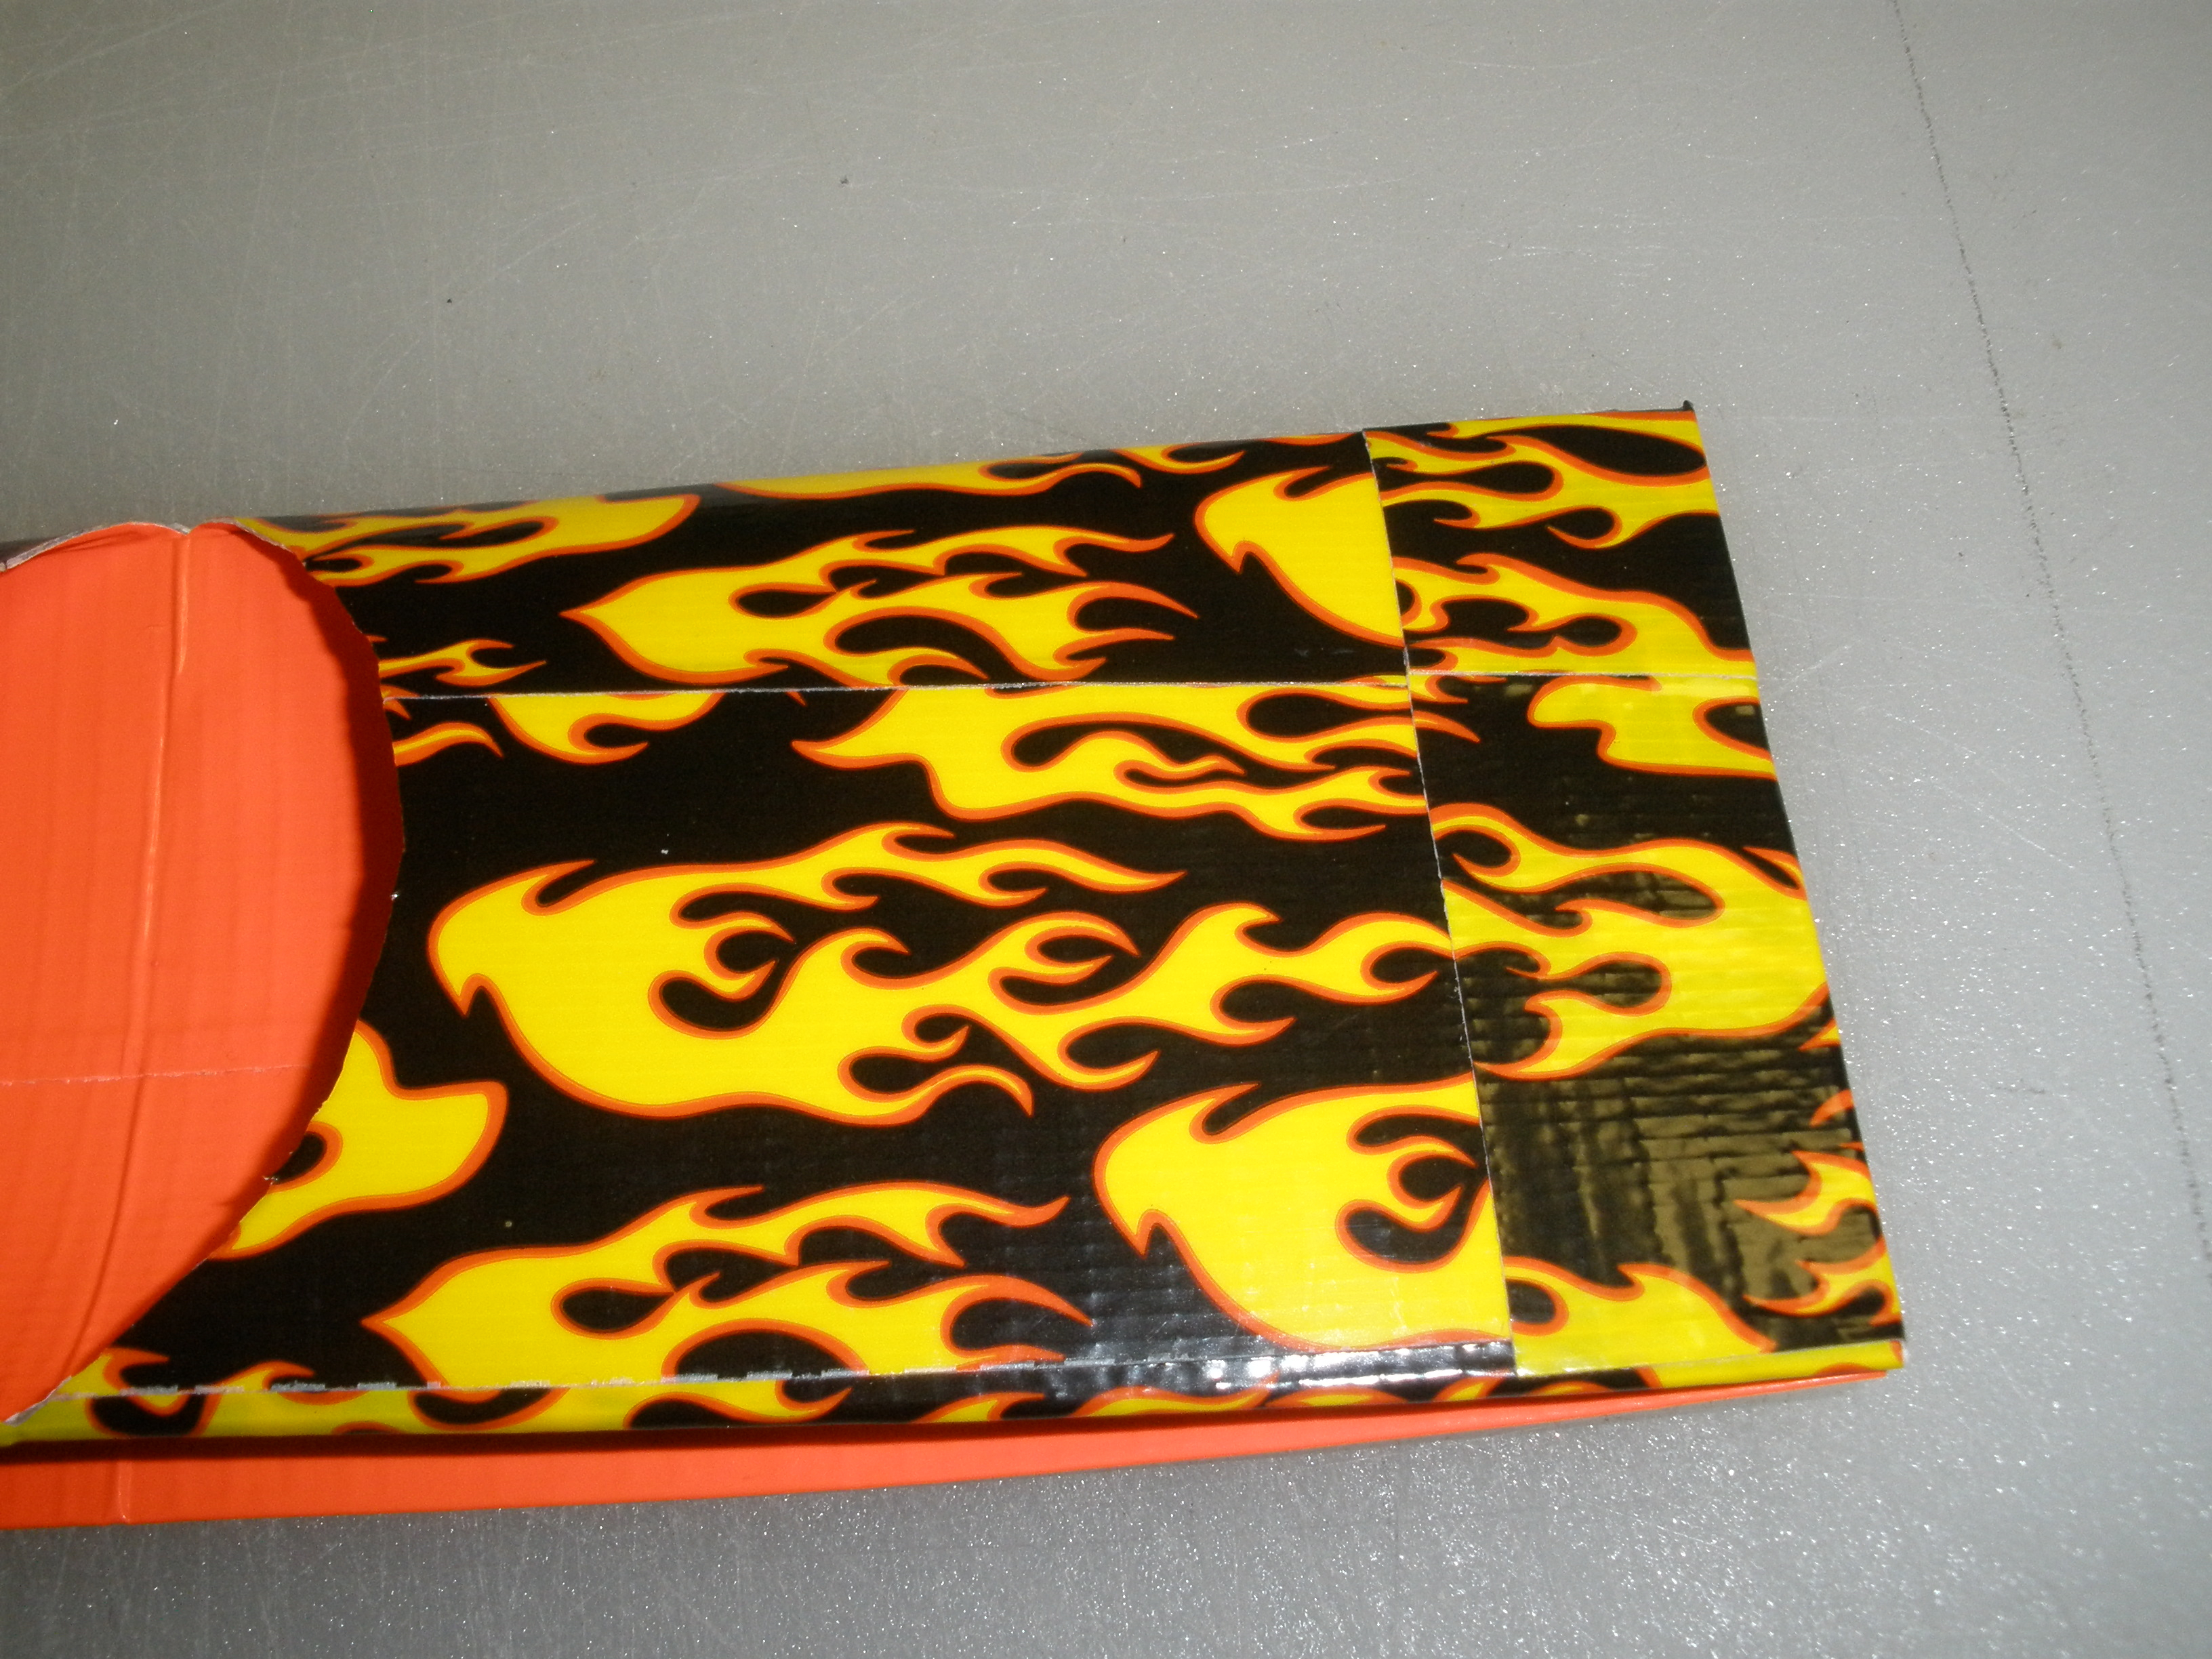
This is my contribution to the many Duct tape wallets out there. I was inspired by some of the minimalist wallet online and at "everyday-carry.com". I made some for the kids they love them.
This wallet is very simple to make and looks great when you use 2 different tape colors as you can see.
It has a section for notes and 2 pocket on eater side for cards.
Hope you have fun making one.
This wallet is very simple to make and looks great when you use 2 different tape colors as you can see.
It has a section for notes and 2 pocket on eater side for cards.
Hope you have fun making one.
Make the Paper Template.


1. The things you will need.
2. Divide the paper into three I used 7cm for each section, cut off the execs.
3. Fold the paper in half to get the mid line.
4. Measure 10cm from the mid line to ether sides and cut off the exec.
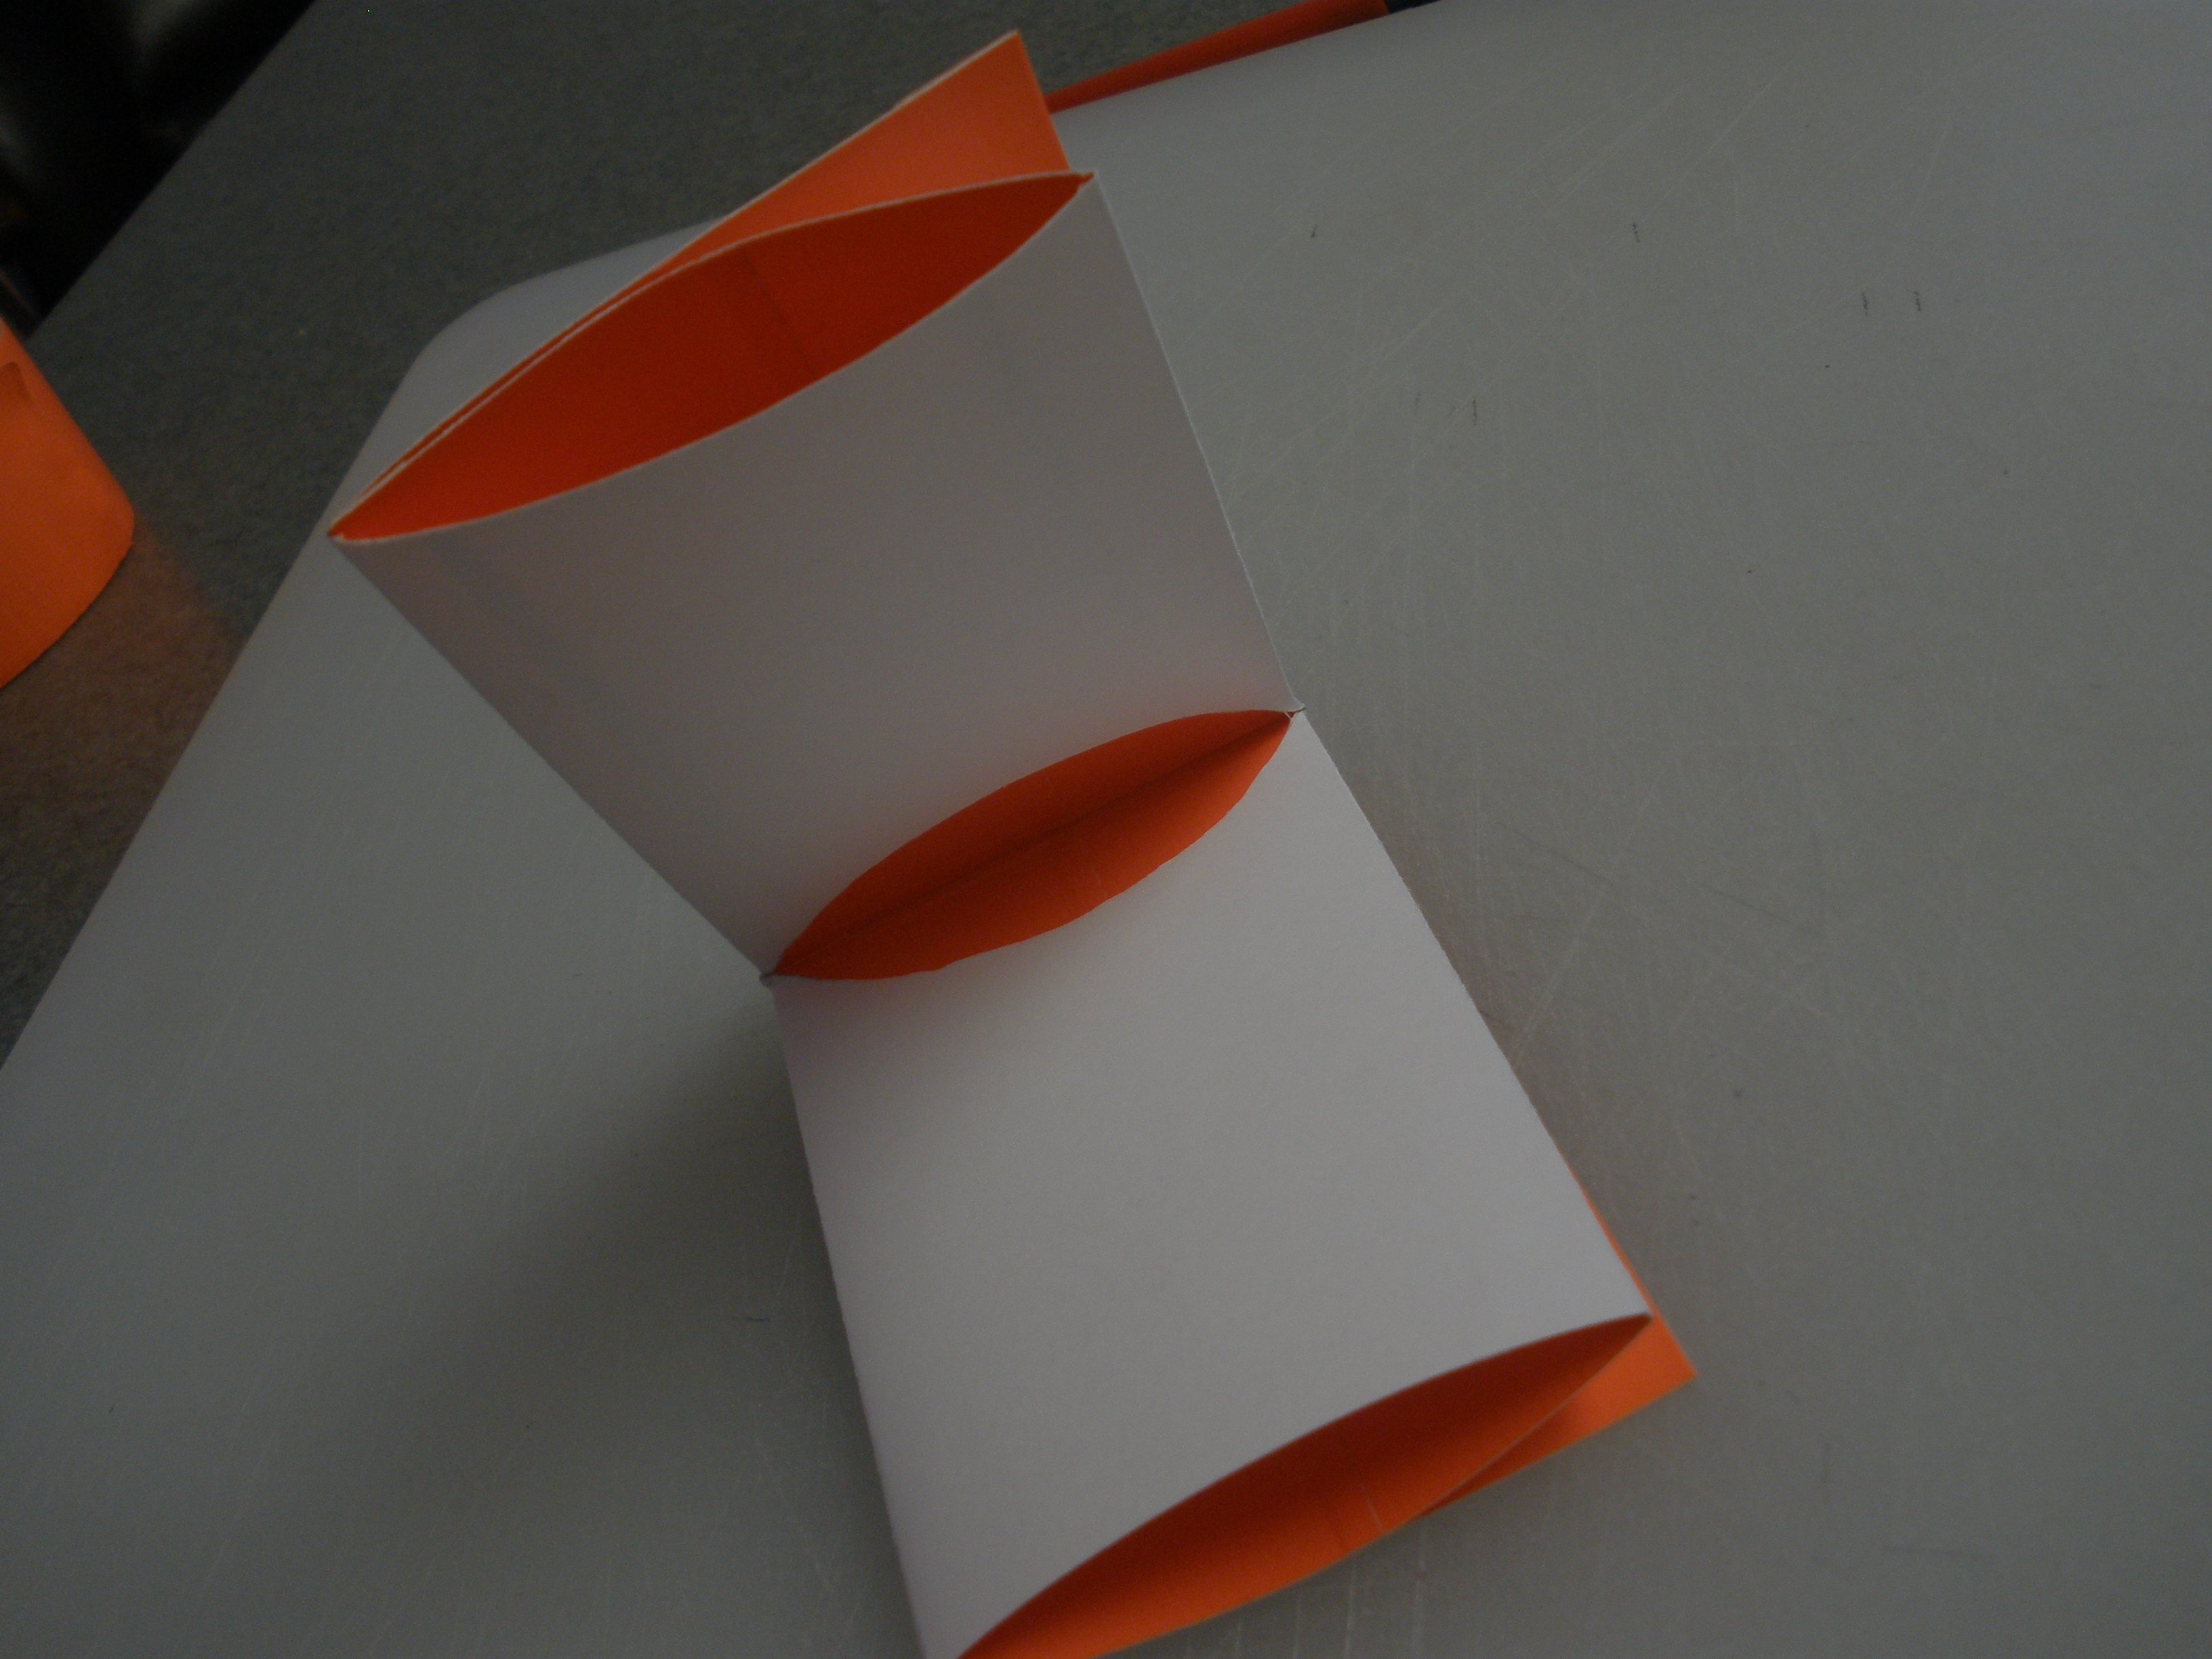
5. Use the inside of a duct tape role and mark an arc in the center segment on the mid line.
6. Make folds on the segment lines.
Now you are ready for the Duct tape.
Make the Inside of the Wallet.


1. Stick a length of tape in the center of the paper, you need to start here so that your overlaps are in the correct direction. If not, notes you put into the wallet will snag on the overlap as you put them in.
2. Use a ruler as a gauge for the over lap size.
3. With the ruler in place stick a length of tape on to the paper with the overlap on top of the first tape.
4. Repeat step 3 to cover the paper, make sure you have some over hang at the top and bottom of the paper.
5. Turn the paper over and trim off the exec on the sides. Fold the over hang onto the paper.
6. Fold the paper in half at the mid line and cut out the arc with a scissors.
7. Unfold and smooth out.
8. Fold the segments in, to overlap each other, to create a good crease.
9. Now fold in half at the mid line to create a crease.
You are now ready the add the out side tape.
Make the Outside of the Wallet.


1. Stick a length of tape at the top of the paper a small way down from the edge, this will give the wallet a nice look when it is complete. Make sure you have a lot of over hang on the sides.You will use this to stick the wallet together, you only need to do this for the length of the first segment.
2. Use the over lap method form step 3 of "Make the inside"
3. Continue this to the bottom of the paper. With the last length of tape start at the bottom and over lap to the top.
4. Turn it over. Trim off the exec from after the first segment and use the ruler width to trim off the exec on the first segment. Fold it in half and cut out the hole and then unfold.
5 Fold the wallet with the inside over lapping in. Square up the ends and fold the first segment overhang over the folded wallet side to sick it down.
6. Repeat step 5 for the other side.
7. Fold the wallet in half and smooth out the creases. Your wallet is done.
I put the wallet under some heavy books for some time to flatten it out.
THE END.