Tiny Paper Boats


As you may have noticed my account is called Tiny Boat Productions. This partly stems from the fact that I have always made paper boats out of candy wrappers, so tiny boats. I really enjoy making these boats and leaving them out on my desk or making them and giving them to people. They are a fast and fun little object that give a place more personality.
Supplies

You don't need any tools for this project other than your hands, which one could argue are your most useful tools. For supplies all you need is a candy wrapper. I have done this with a lot of different wrappers, but for this guide I'll be using a Starburst wrapper. They come in tons of colors and are a great size.
The only thing to keep in mind about the wrapper is it needs to be a rectangle; with the long sides about 1.5 times the length of the short sides. The Starburst wrapper is 42mm wide and 65mm long.
Fold It in Half


First fold the wrapper in half along the long sides. Crease it well, I run my fingernail across one side to make sure the crease is sharp.
Make a Center Mark

Next I like to create a center mark in the center of the now long side at the fold we just made. To do this I just fold the piece in half and crease the top 1/4" or so. We just need to be able to see it to do the next step.
Fold Down the Corners


Now with the center mark made, we can fold each corner down. Fold down from the corner with the crease toward the center. These folds are at 45 degrees from the center mark to the edge of the piece. Once you fold the corner down you should have a small section left at the bottom.
If you have a lot of flap at the bottom anything over about 1/2 the same height as the triangle the piece, the rectangle of paper you started with is too tall. You can trim off the bottom, making it about 1/3 the height of the triangle and keep going. If the paper left at the bottom is very small the piece is too square. Stop, unfold and trim the width of the piece down a bit.
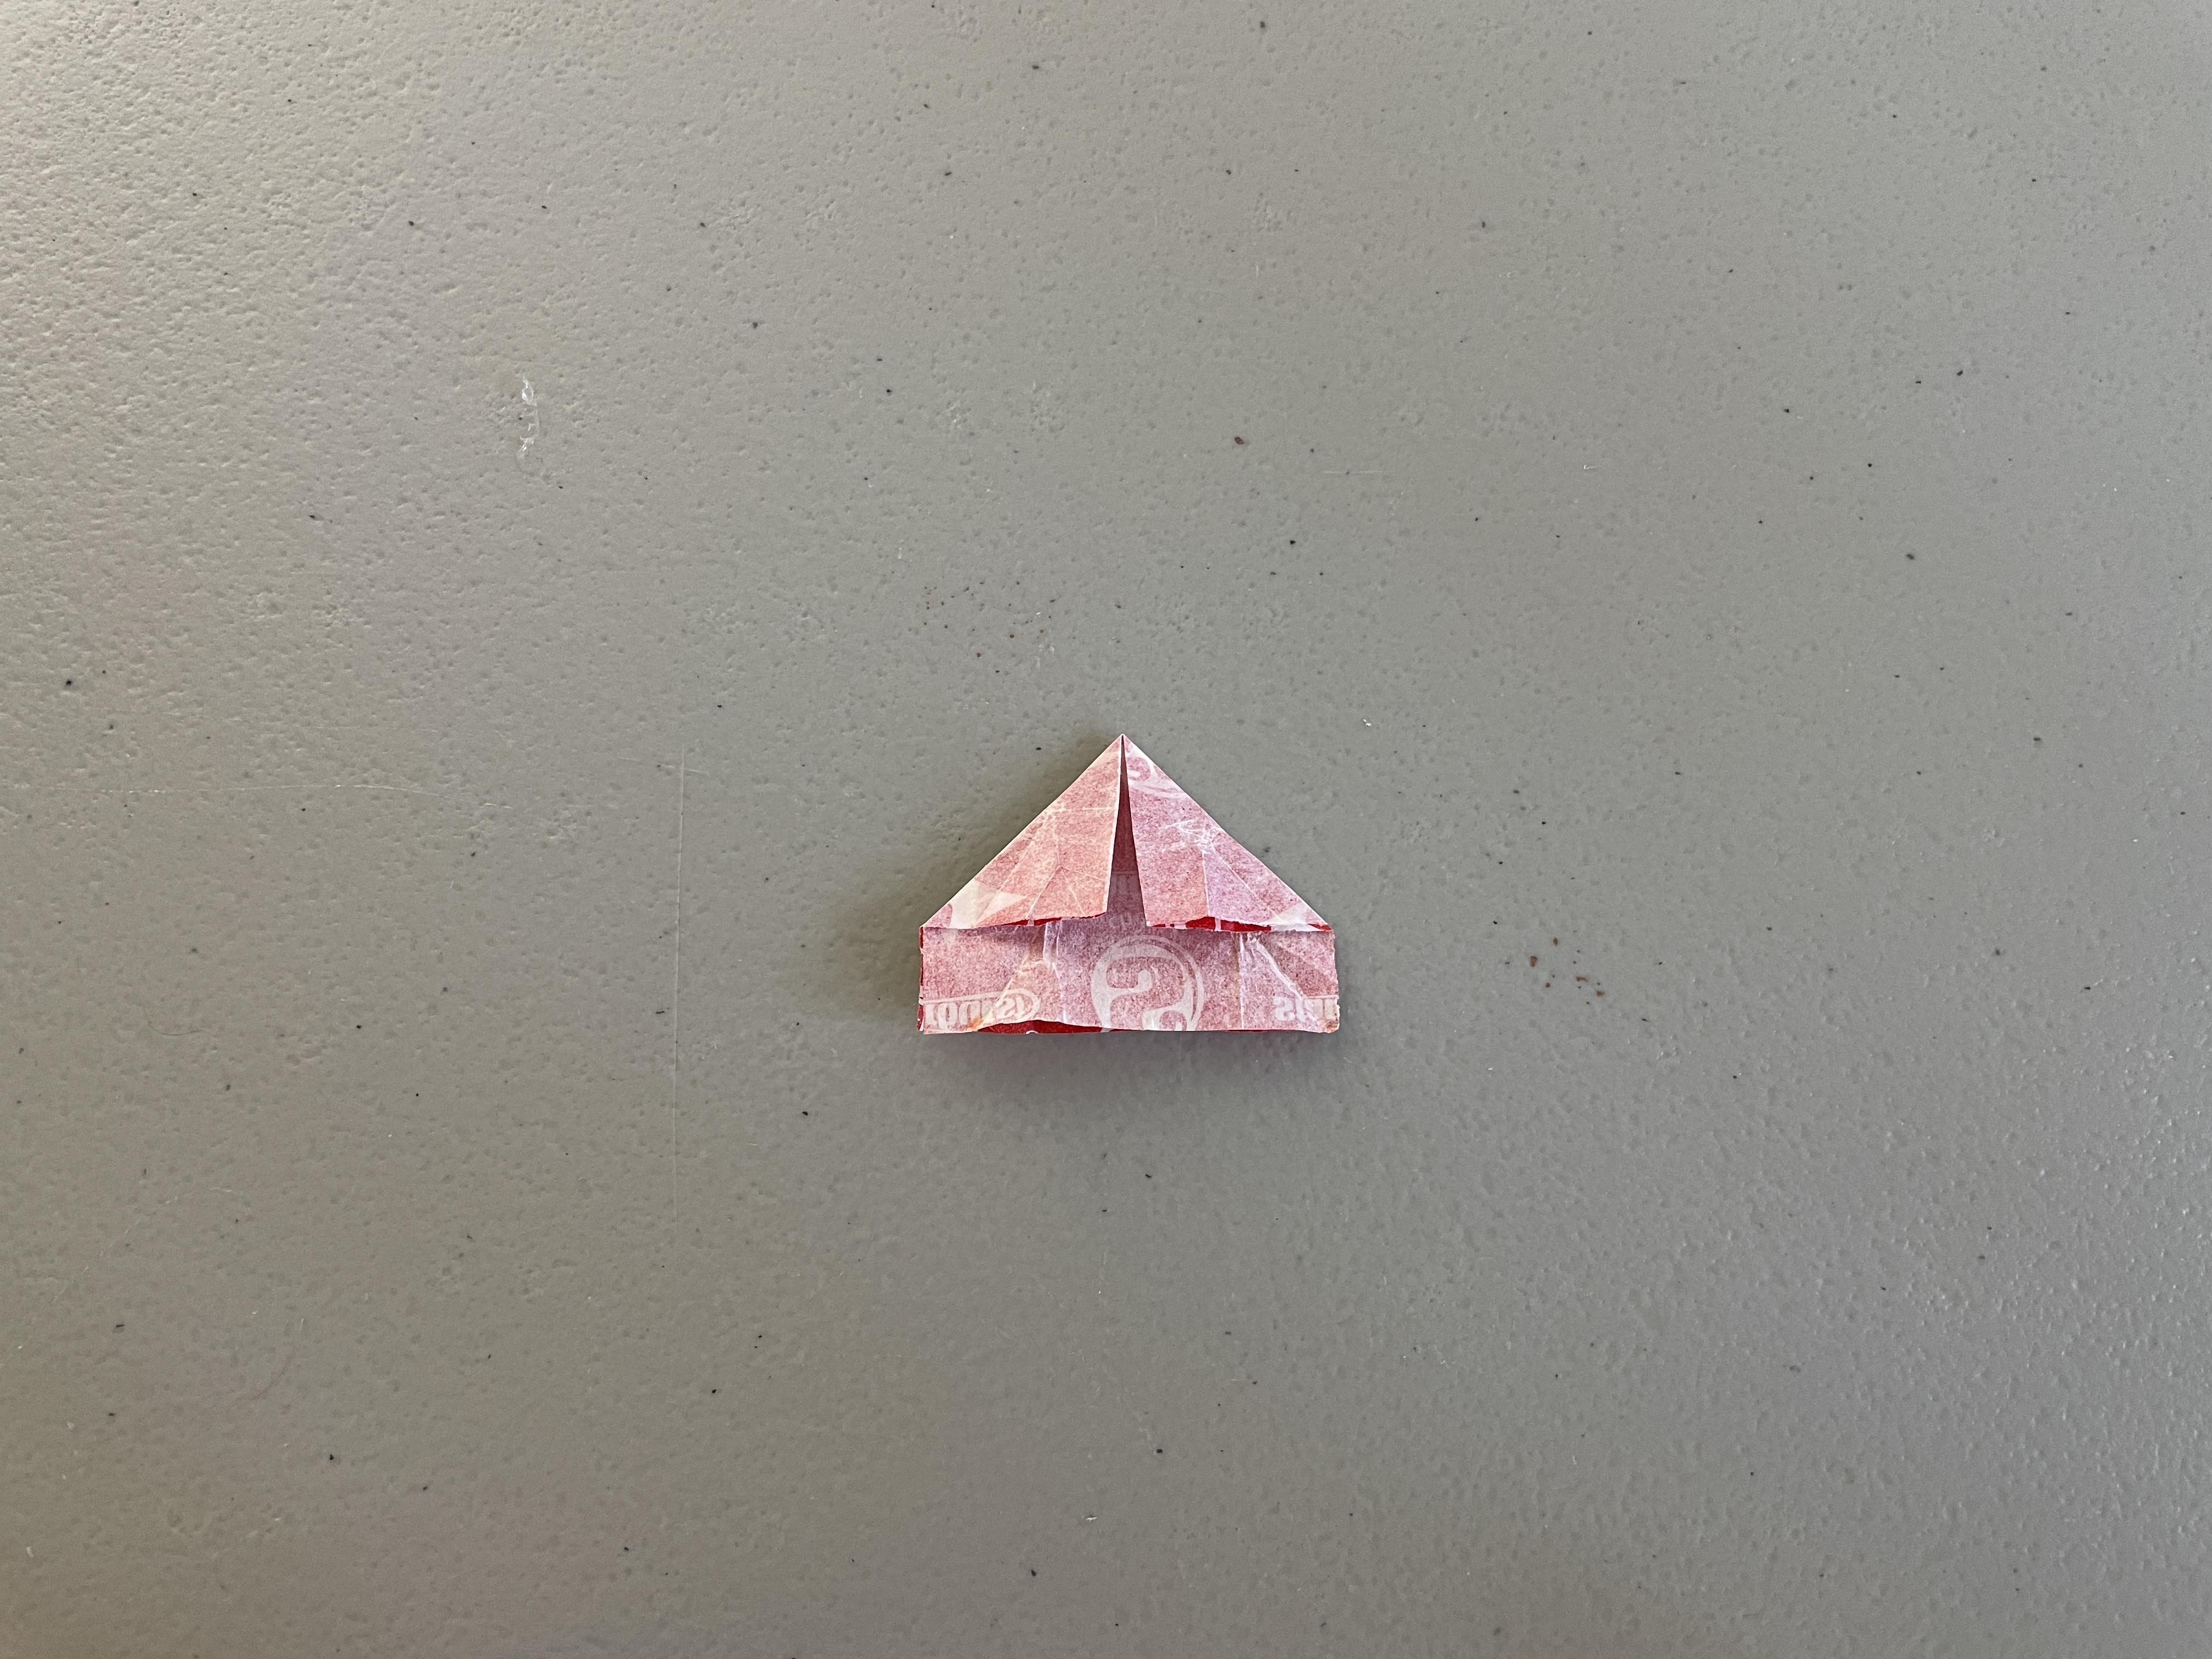
If the paper is at the bottom below the triangle is about 1/3 the height of the triangle you are good. Fold down the other corner toward the center as well.
Now you should have a very squat house shape.
Fold Up the Flaps


Next fold up the front flap at the bottom onto the triangles, creasing them at the bottom of the triangle. The two corners will stick up past the triangle, fold them over onto the back. With that done, flip the piece over and do the same on the other flap, folding up the flap and folding the corners over onto the back.
You should have a triangle.
Make It a Square Again


This is I think the hardest part.
At the base of the triangle there is a small pocket. I stick my index finger into the pocket so that it fits on my finger like a little hat. Then twist my finger, and using my other hand, pinch the free corners down. The triangle is now a square, take a second to make any adjustments and press it flat.
You now should have a square.
Make It a Triangle Again.


Now that we have this square, fold up the free corners that were just pressed down. The bottom corner folds up to the top, on both sides.
Now it is a smaller triangle.
Make It a Square Again

The next step is to take this from a triangle to a boat. As with a previous step the triangle will have a small pocket, I put it on my index finger and twist again. Again pressing down the free corners to make a smaller square.
Make the Boat


Now with the tiny square the two parts that were folded up earlier can be folded down to create the boat shape.
I put my fingernails on either side of the square where the two piece wrap around the center and pull outward. This pulls them down and creates a long trapezoid.
To make the boat pull outward on either side. Sometimes I will have to stick my pinky into the center to round out the center of the boat. If needed fix any of the flaps that aren't in the right spot.
Final Notes
The major factor in how your boat will look is which side fold inward first. The side that is on the center in the first fold will be the side that is the outer edge of the boat. The outside will be the small middle part. I typically make the more colorful side the outer edge, so folding it in in the first fold.