Tinycade Claw Control Panel

Welcome to the Tinycade Claw game control panel tutorial.
In this tutorial we will make the control panel that works with the 'Claw' game on the Tinycade arcade.
Please familiarize yourself with the project on our website before creating the control panel.
Materials needed:
- Cardboard
- Small magnets
- Toothpicks
- Paper
- Packing tape
- Glue or double sided tape
- Tiny magnets. Around 5-10
Tools needed:
- Hot glue gun
- Scissors
- Printer
- Exact-o knife
- Cutting mat
Print Out the Template

Print out the attached template using your printer
Cut Out the Template
Using scissors, cut out the pieces on the template. Make sure you have the correct number of each piece
Attach the Paper Cutouts to the Cardboard
Using glue or double sided tape, attach your paper templates to your cardboard to prepare them for cutting
Cut Out the Cardboard

Using your exacto knife and cutting mat, cut out the cardboard pieces. It should look something like the picture above when completed.
L-shaped Support Pieces


Take the 8 L-shaped pieces you cut out, (labeled G) and divide them into 2 groups of 4. Glue the 4 pieces together, one on top of the other, to create 2 support pieces. There is a picture of what they will look like glued together above.
Set these 2 pieces aside for later
Magnet Piece #1


Next, find the three matching rectangular pieces featured in the picture above. The pieces should be labeled E and F.
Take the piece labeled E and poke a hole through it with a pencil, around the same location as the magnet on the template.
Take one of the small magnets and push it into the hole you just created.
Once you do that, strip off a small piece of cardboard or other thin paper and glue it over the hole, to keep the magnet from falling out.
Once you have the magnet secured in place. glue the remaining two pieces, (the pieces labeled F), on either side of the magnet piece. You should be able to attach a magnet to the other side of the cover piece to make sure the magnet works
Set this piece aside for later
Magnet Piece #2


For this step, you are going to exactly repeat the previous step, but with the smaller 3 matching pieces.
Located the three pieces labeled D and repeat the same steps as before, inserting a magnet, covering it up, and gluing the other pieces on either side,
After creating this piece, you should be able to magnetically attach the two assembled pieces and have them stick together, as in the picture above.
Assembly #1


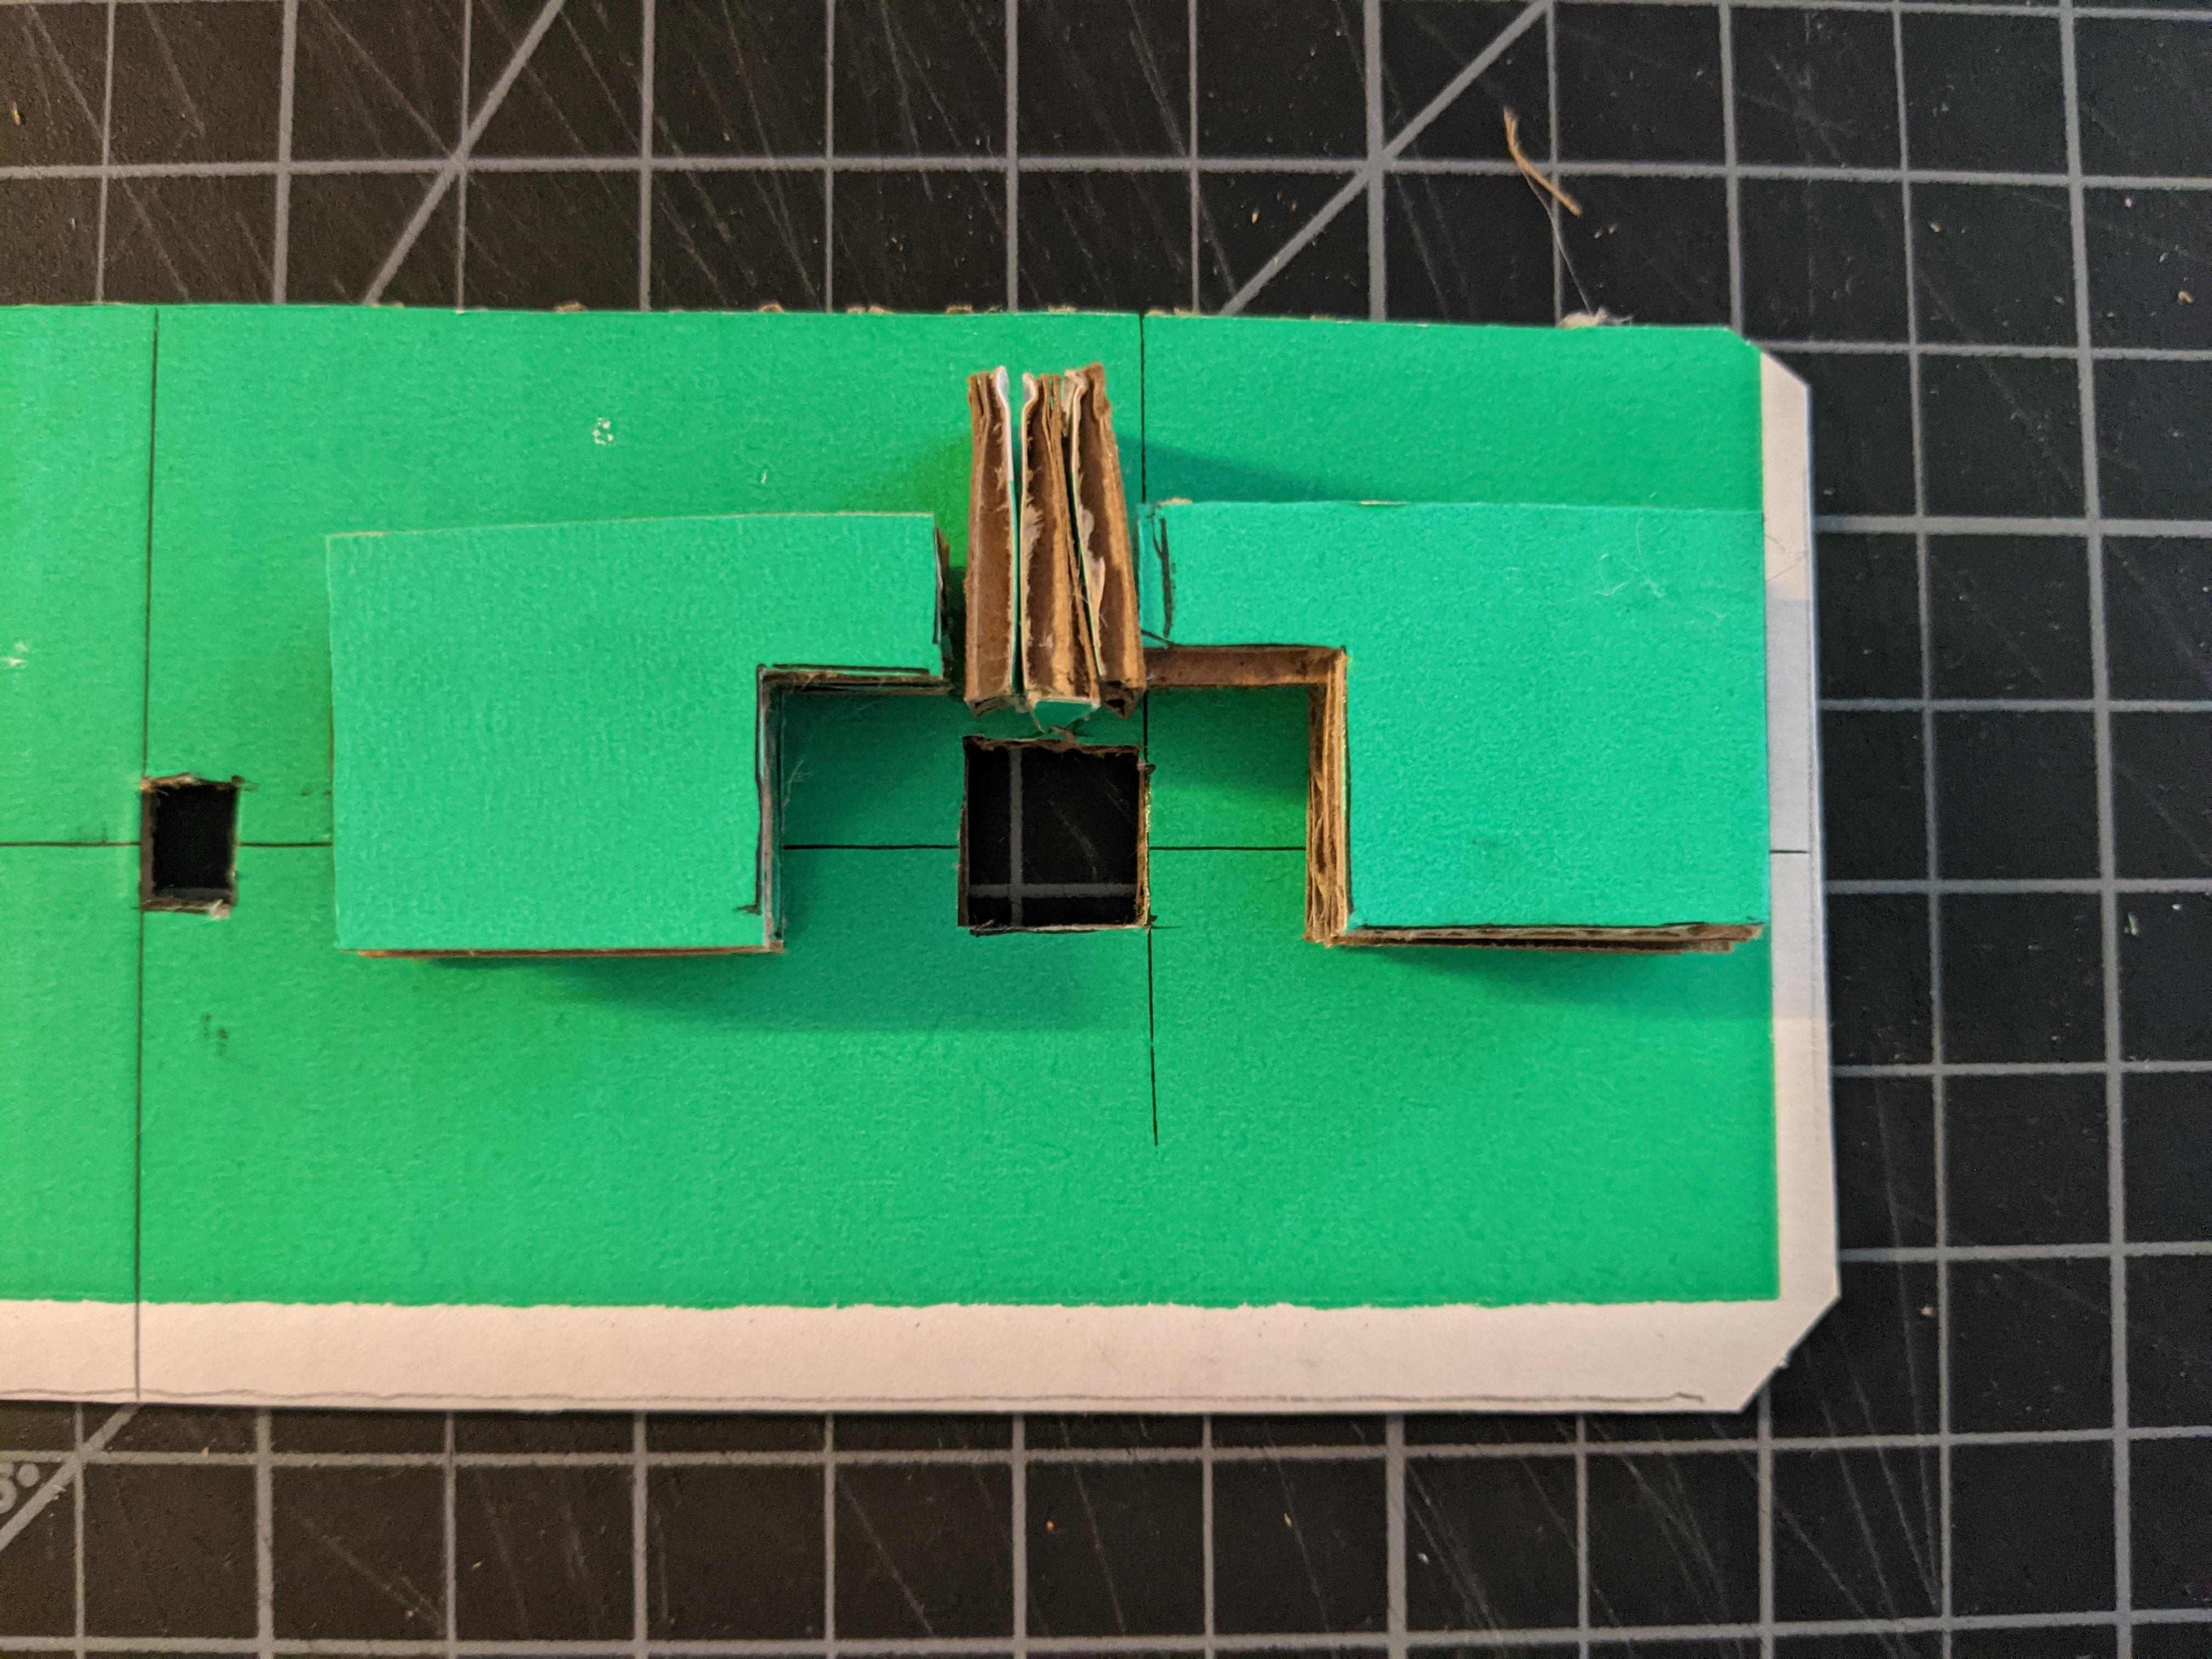
Take the large cardboard piece and glue the smaller assembled piece in the location pictures above. The small assembled piece (from the D pieces) goes right above the larger hole, with the magnet pointed down.
Then glue the 2 L-shaped pieces on either side of the assembled middle D piece.
After that, insert the longer assembled piece, (the E and F piece) through the hole so that the magnets line up with one another.
Take the remaining blocker cardboard piece, (labeled H), and run a toothpick between it and the long (E and F) piece so that the two are perpendicular to each other, see pictures above for clarification.
Now you can flip the large piece over and move the slider post (E and F piece), and watch the blocker (H piece) move back and forth.
Toothpick


When you are attaching and inserting the toothpicks, it helps to cut them to a reasonable length and attach end cardboard pieces to help ensure they fit properly and dont slide out or fall off.
Add Markers #1


From the attached file, print out the pictured markers, cut them out and glue them onto the L-shaped pieces in the configuration above.
Cover each marker with packing tape so that they don't get rubbed off over time.
Make sure that each marker gets fully uncovered when you push the flipper back and forth, as this is what is your phone camera sees to control the arcade game.
Magnet Piece #3


Grab the 3 remaining pieces, (labeled A, B, and C)
Grab the long piece, A, and fold it in half, and insert a small magnet in the gap at the fold.
Cover the gap with a small piece of paper to keep the magnet inside, and test that the magnet works by attaching another small magnet on the side.
Magnet Piece #4


You are going to want to repeat the previous step, but just with the smaller piece, labeled C.
This time you can just insert the magnet inside of the cardboard, you don't need to fold it.
Test that the 2 magnet pieces, A and C, are able to connect with one another.
Magnet Piece #5


Take the final of the 3 pieces, labeled B, and glue it onto the side of the longer magnet piece. This piece is what will block the marker from the camera's view, as seen in the images above.
Final Controls Assembly


Insert the last control assembly, (A, B, and C), through the empty hole in the control panel. Glue it in place and make sure everything looks correct and somewhat matches the pictures above. You can go ahead and insert your controls into your box and you should be good to go! Go to the website and check out the claw game to play it!
tinycade.xyz