Ultimate Wire Spool Hanger With Removable Spools
by MattInglot in Workshop > 3D Printing
1521 Views, 20 Favorites, 0 Comments
Ultimate Wire Spool Hanger With Removable Spools
)
I was organizing my electronics workbench and struggling to find a way to hang my wire spools that would still let me easily remove them.
All the solutions I found online involved hanging them from one big dowel, which makes getting to a spool and removing it super annoying!
The solution? A hanger system that lets you put each on an individual dowel!
Supplies
- 3D printer and filament
- 1/2" diameter dowel (enough for each of your spools)
- 1.25" and 1.5" pan head wood screws
- Saw to cut the dowel
- Screwdriver
Print the Wire Spool Hangers

Fire up your 3d printer and print as many hooks as you have spools, plus one. I used my Prusa i3 MK3 but any 3d printer should work.
Recommended settings:
- Print the hooks flat on their sides.
- PETG or PLA filament
- Strength comes from perimeters. I used 6 for nice beefy hooks.
- No supports needed if your printer bridges well.
Tip 1: for a more economical solution consider putting two spools per dowel. It saves space and plastic, and is still easy to use.
Tip 2: the hanger design attached in this instructable is a newer and improved version over what you see in the photos and video.
Downloads
Cut Your Dowel to Length


You will need a way to safely cut your dowel to length. I used my mitre saw, but you can also use a hand saw with a mitre box if you prefer.
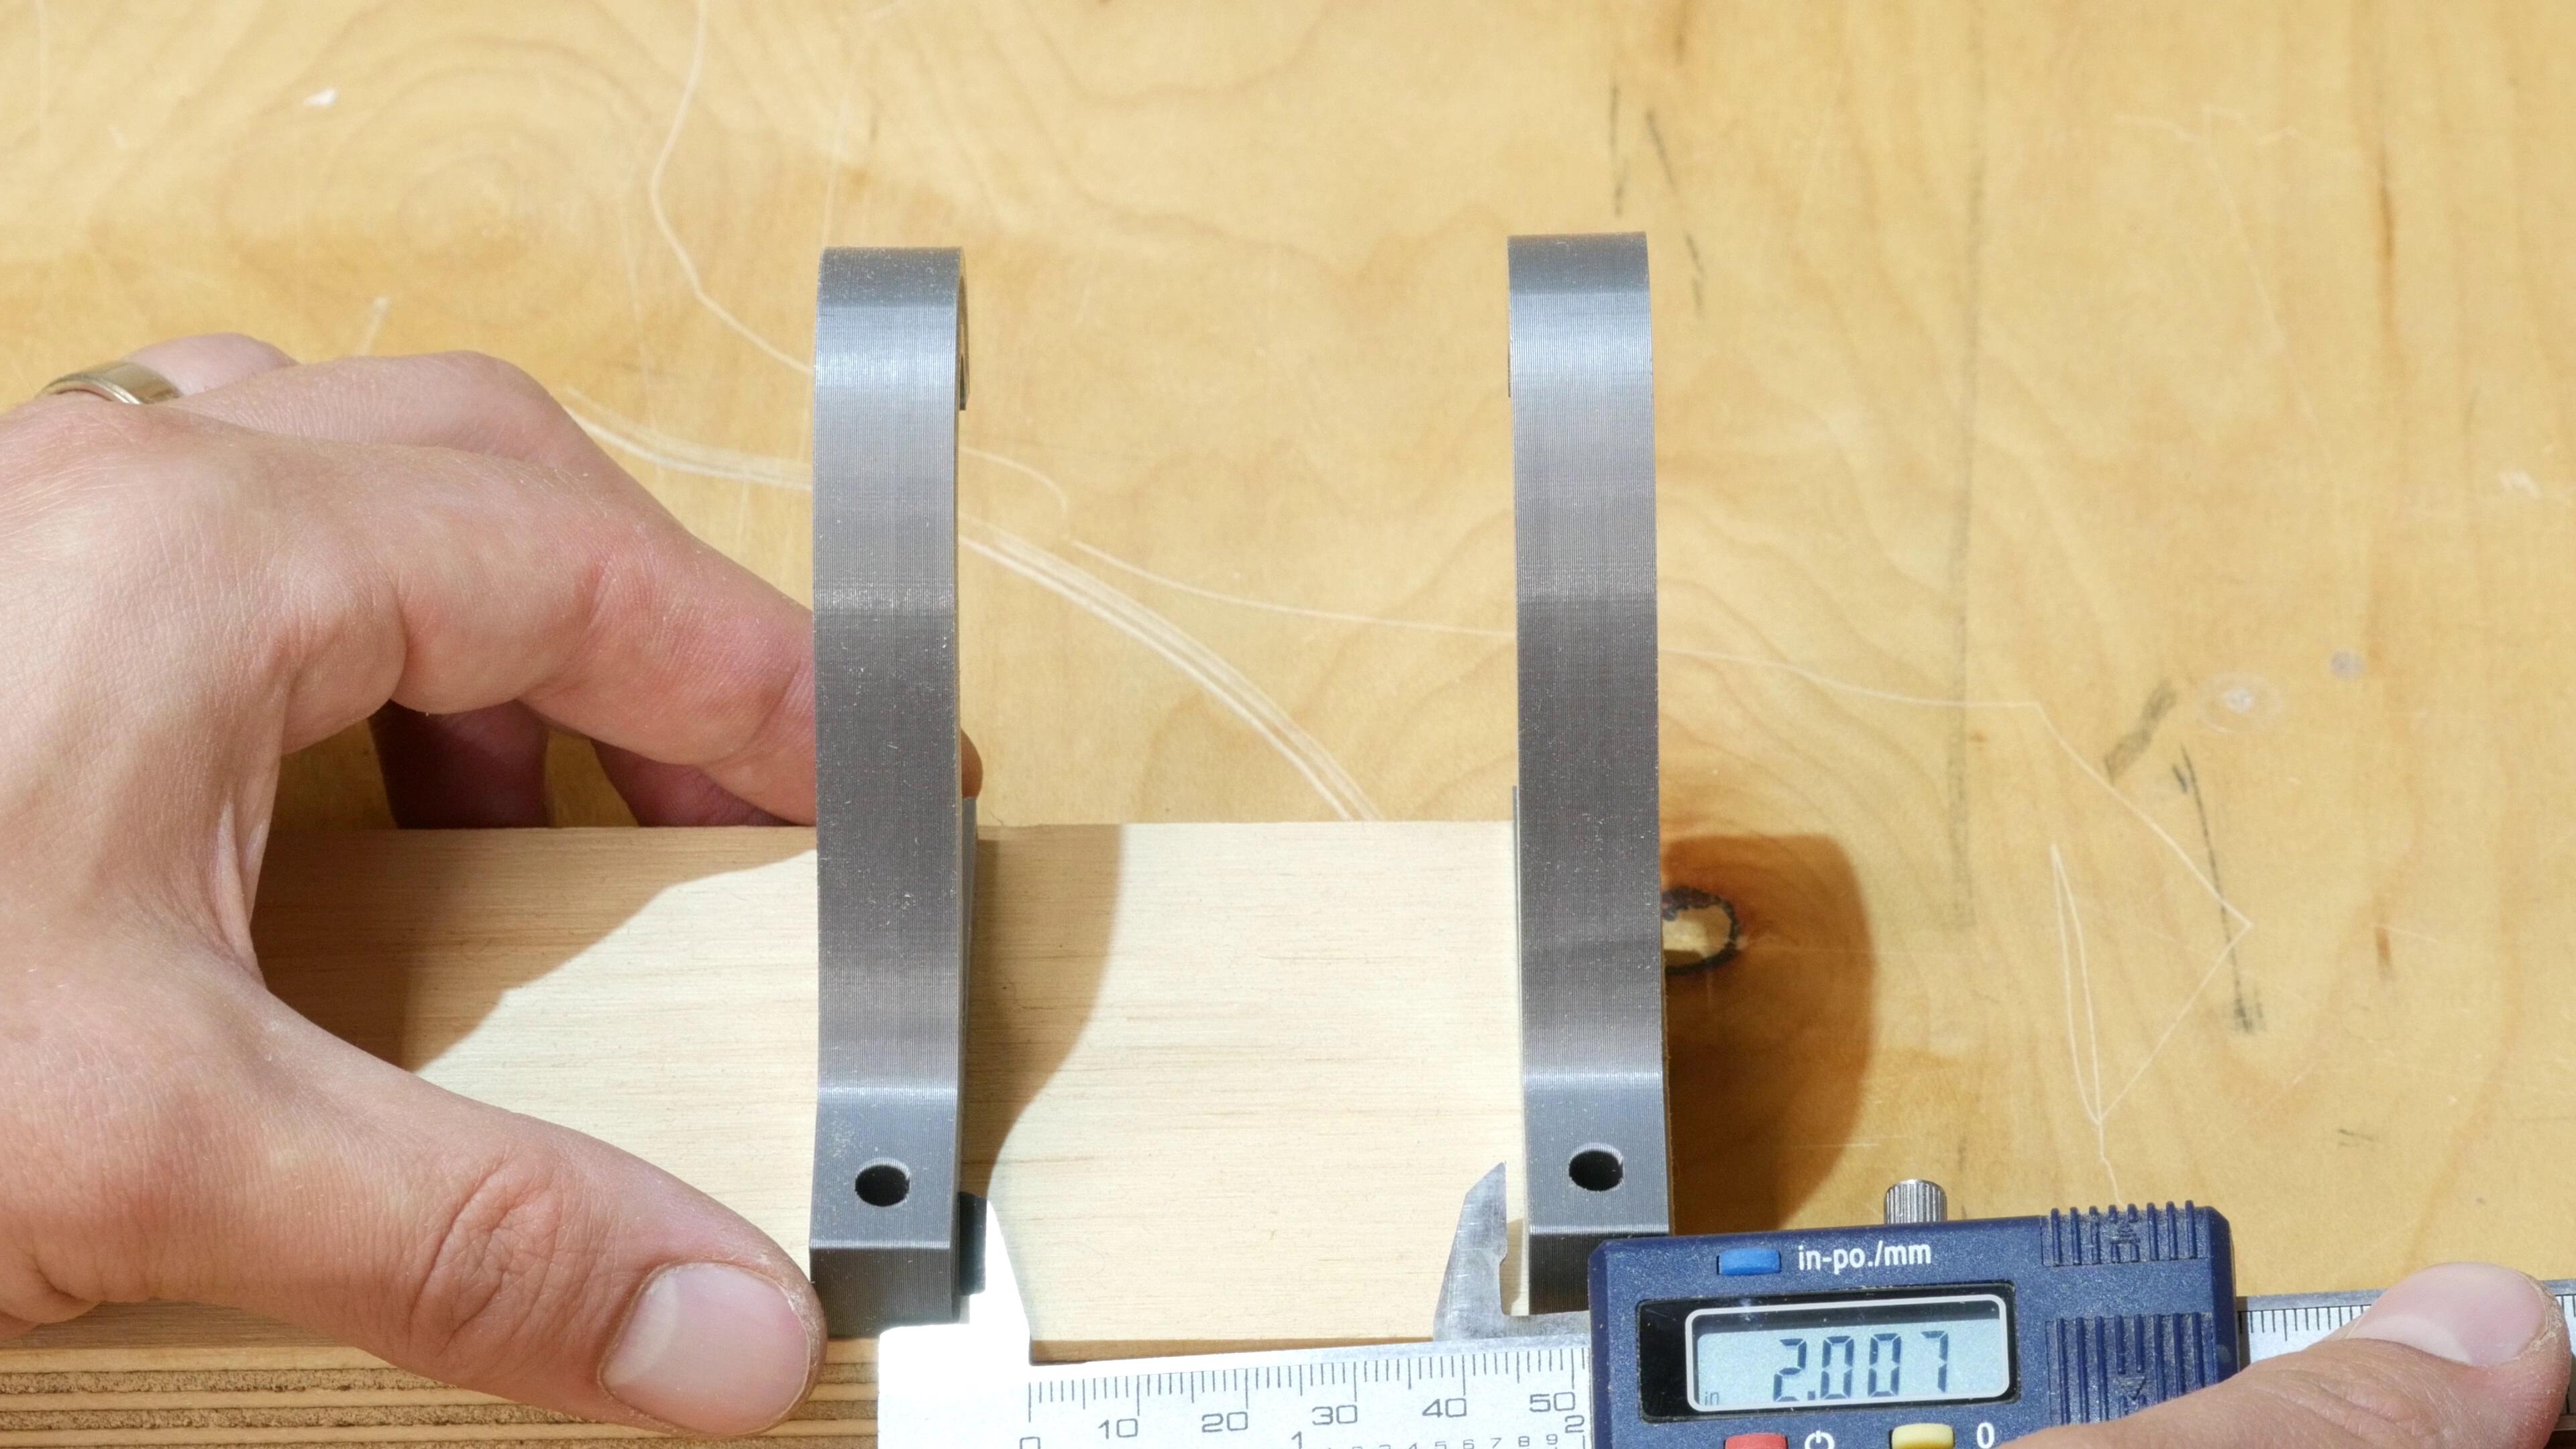
You want as many dowels as you have spools. Each dowel should be at least the width of your spool plus another 0.5". For example if I measure the width of my spools to be 1.75" I would want to cut my dowels at least 2.25" long.
Making your cuts slightly longer is OK, it just means your fingers will have more room to grab the wire spool from the hanger.
If you have more than one width of wire spool you can either cut multiple sizes of dowel, or measure off your widest spool.
Mount Hangers to Your Shelf


The fun part! Mount your wire hangers to your shelf or whatever surface you plan to hang them from. You want to space your hooks by the length of your dowel minus about 1/2".
After mounting the first two hangers double check to make sure that the dowel sits on the hanger properly and that your spool fits! This is the time to make corrections, not when you've got them all mounted.
For the angled hole you want at least a 1 1/4" screw. For the top hole you want at least a 1 1/2" screw. Pan head works best. Drive the screws by hand with a screwdriver (not an impact!) until they are snug. In the photo you can see what happens to the plastic if you crank too hard.
Tip 1: Make sure that you are mounting your hooks to solid material. Particle board shelves will not work because the screws will have nothing to bite into.
Tip 2: I found it helpful to mount my hooks to a strip of plywood and then attach the plywood to my shelf. It gives me more flexibility if I want to change where I mount my wire hangers in the future.
Add Your Electrical Wire Spools and You're Done!


Using the dowel pieces that you cut, hang your wire spools from the wire spool hangers. And that's it!
You now have an organized wire dispenser system that still lets you remove a spool and take it with you wherever you need it.
Tip: when removing a spool it's a good idea to put the dowel back on the hanger so you don't lose it.