Week 2: Modularity (Press-Fit Box)
by madorispiker in Craft > Cardboard
38 Views, 0 Favorites, 0 Comments
Week 2: Modularity (Press-Fit Box)

My objective was to create a kit of laser-cut press-fit parts, ensuring a precise and secure fit between the parts. I designed a press-fit box using Fusion 360. I iterated on the design, adjusting tolerances to ensure the parts fit together securely. After printing a test set and conducting fit tests, I finalized the design and printed the components for the press-fit box.
Supplies
- Fusion 360 (or any CAD software)
- Laser cutter
- Cardboard (for initial testing)
- Wood (for the final version)
Designing the Press-Fit Box
- Open Fusion 360 (or your preferred CAD software) and create a new project.
- Begin designing the box, considering its dimensions and overall structure. Take into account the desired thickness of the material and the joint tolerances.
- Create the press-fit joints by designing slots and tabs that will interlock securely.
- Once you are satisfied with the design, export the file as a dxf using the laser cutter extension for fusion which allows for tolerance adjustment.
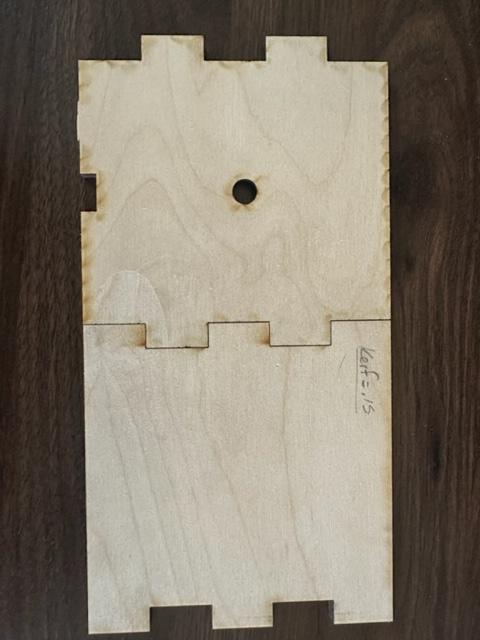
- Experiment with different tolerances. I started with 0.15mm and decided on 0.17mm for a tighter fit. Adjust the dimensions of the slots and tabs accordingly to achieve the desired fit.
Test Set: Cardboard Prototype
- Prepare the laser cutter by loading the cardboard and ensuring proper alignment.
- Import the design file into the laser cutter software and configure the settings for cardboard cutting.
- After leveling the bed, start the laser to cut out the components of the press-fit box.
- Assemble the cardboard prototype, paying close attention to the fit of the joints. Evaluate the tolerances and note any adjustments needed.
Wooden Press-Fit Box

- Now that you have refined the design, it's time to create the final version using wood.
- Prepare the laser cutter for wood cutting and load the appropriate material.
- Import the final design file and configure the laser cutter settings accordingly.
- Laser cut out the components from the wood.
- Sand any rough edges and apply any desired finish to enhance the aesthetic appeal of the box.
- Assemble the wooden press-fit box, observing the carefully adjusted tolerances and experiencing the satisfaction of a well-fitted final product.