Bluetooth 1947 Crosley Radio
by drosenkranz in Circuits > Audio
10191 Views, 133 Favorites, 0 Comments
Bluetooth 1947 Crosley Radio

I picked this radio up because it was going to be thrown out. I was also given an old Bluetooth radio that had a broken charging port so I had an idea! the plan was simple just swap the internals of the radio with the internals in the Bluetooth radio
First Take It Appart


while taking it apart I figured out why the radio didn't work, the cord that drives the channel selector broke and it wouldn't change the channel it would only be static. once I turned the pully by hand I found 4 stations I kept the internals in case i get a bug and decide to clean it up and fix or replace the speaker because of the cracked paper cone and replace the string/ cable that attaches the needle to pulleys to select the stations or if someone else has the same radio and needs parts since it still works. I didn't alter the case or internals other than painting it
Next Was to Take Appart the Bluetooth Radio


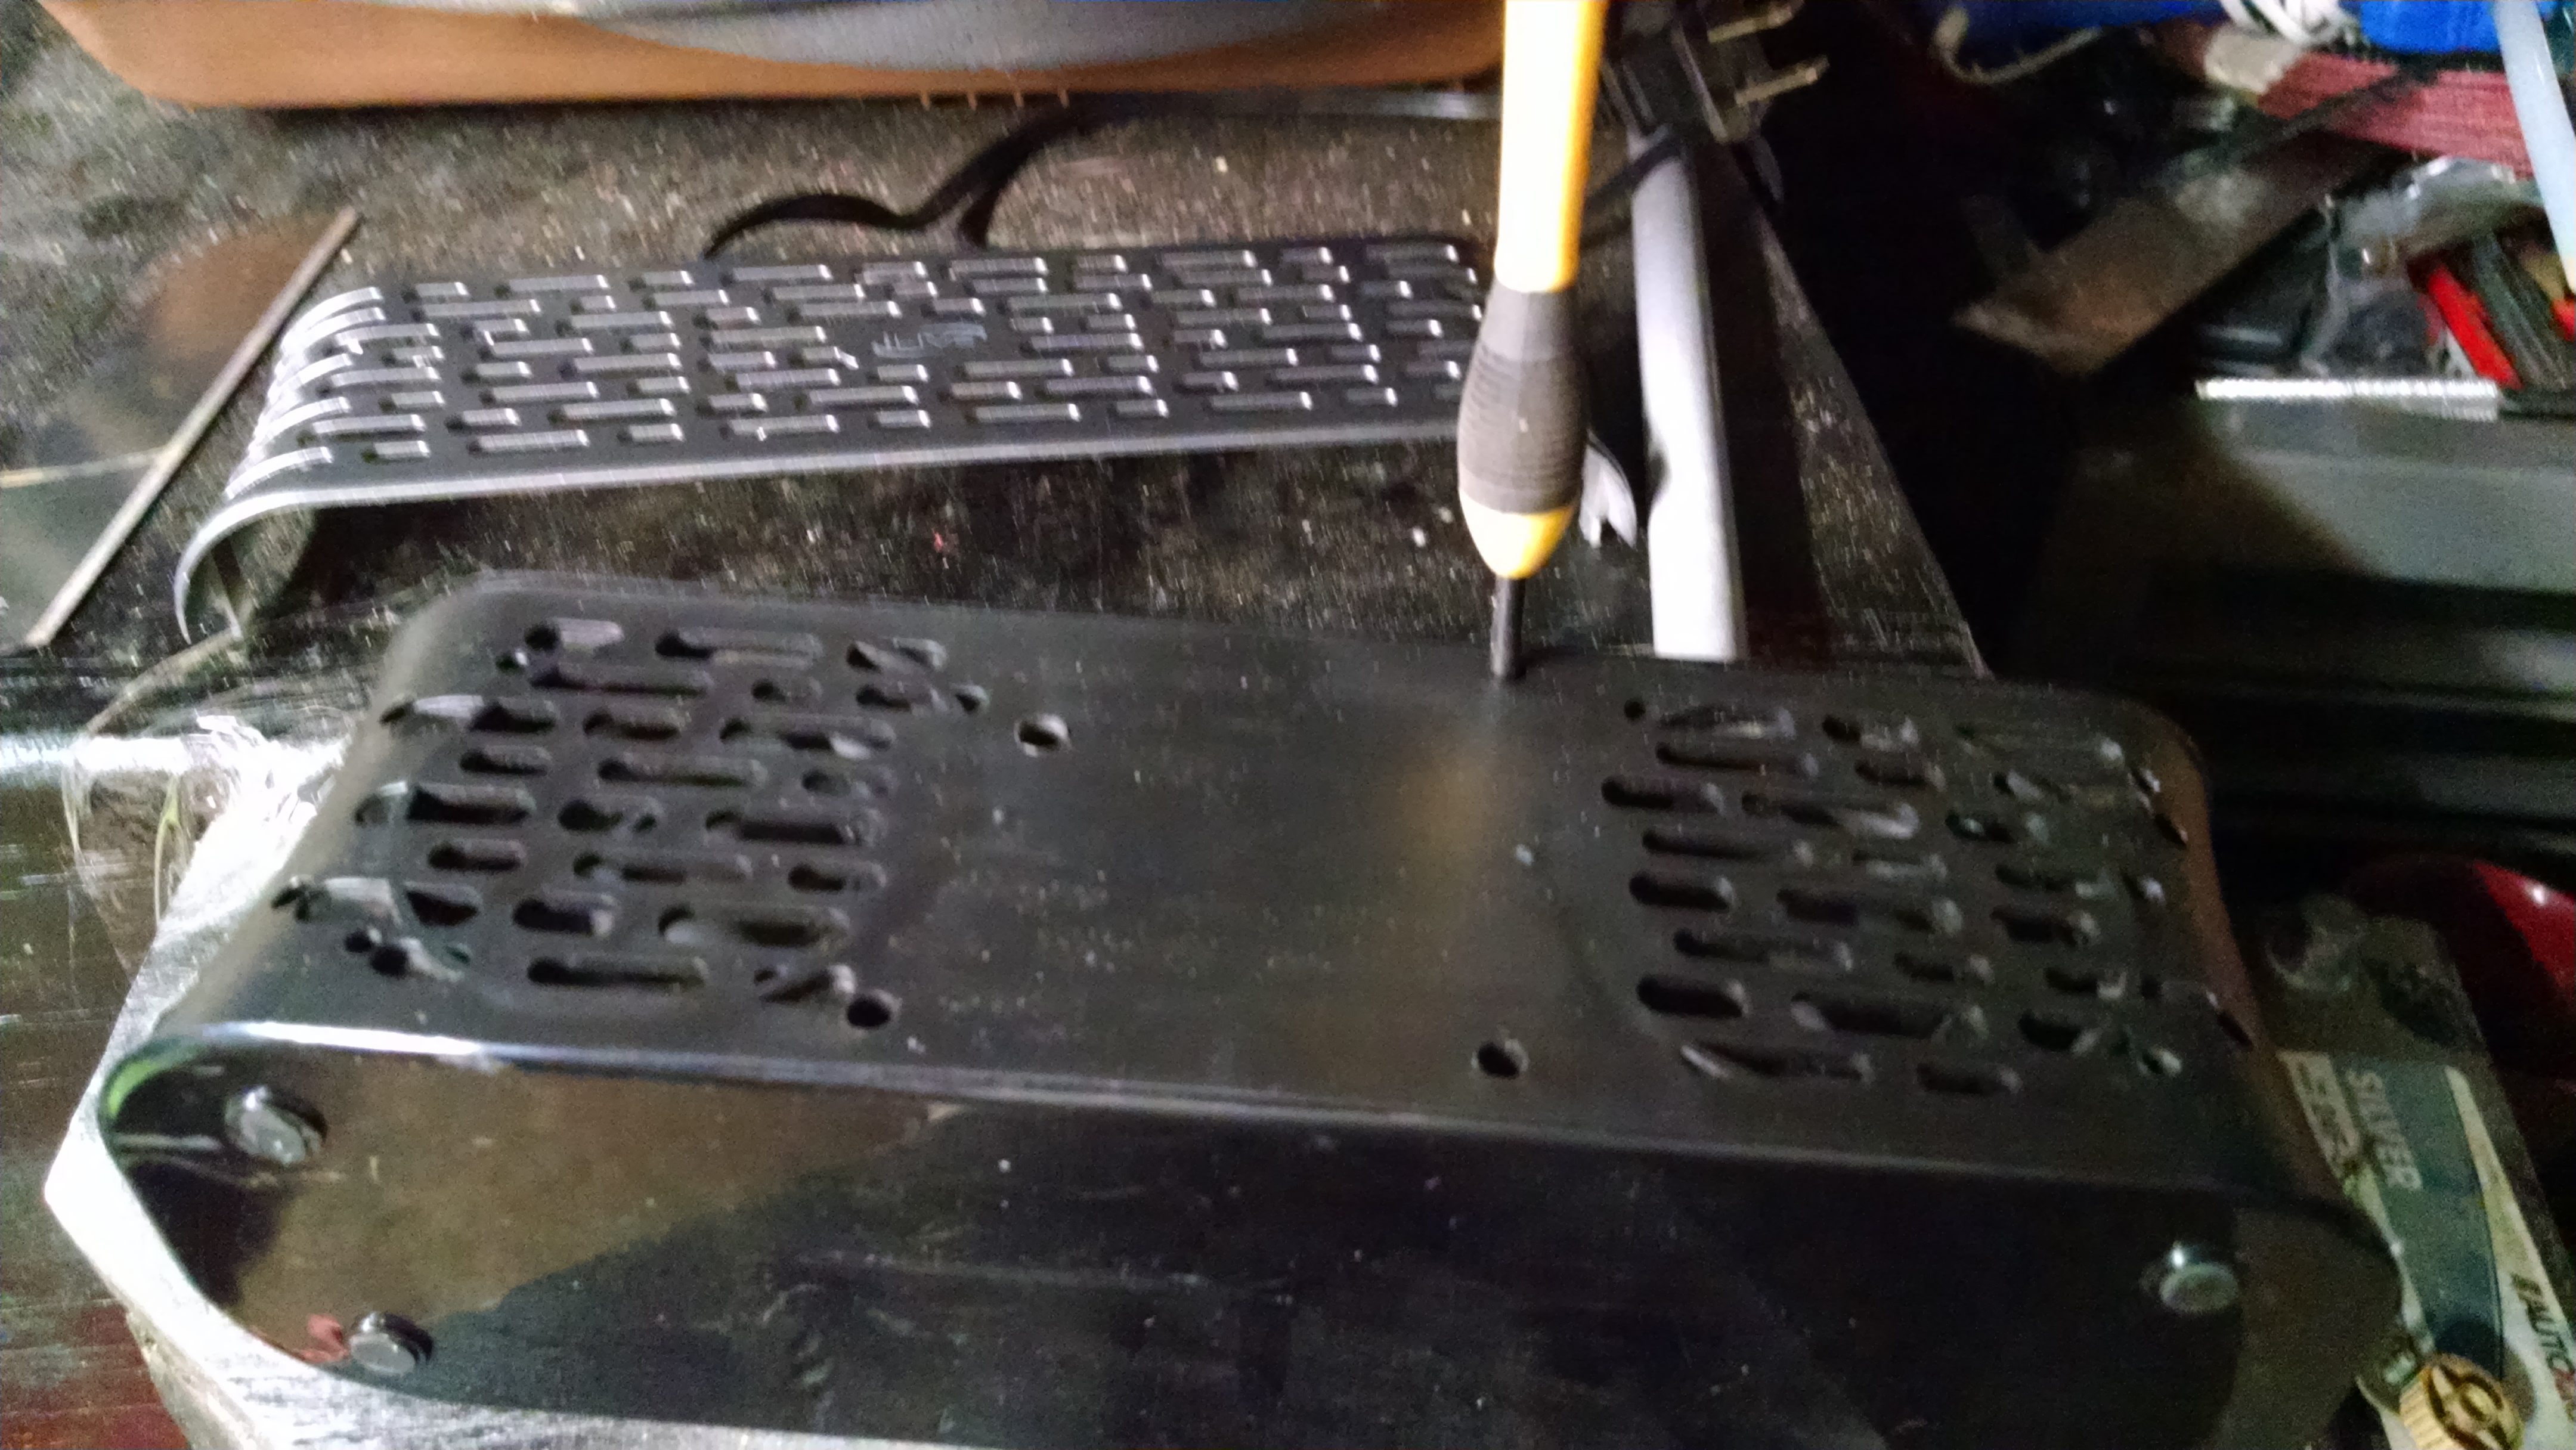
this was easy, there was a decorative cover over the radio once it was removed it had 8 small screws holding it together after that there were 2 more screws holding each speaker.
Fixing the Broken Charging Port
I don't have any pictures of this step but basically its charging port was a micro USB female end and it had broken off. now for me and the soldering iron I have made soldering the connections of the micro usb port back together simply impossible. I know this because I tried a few times to no avail so the next best thing was to cut the male end off a micro USB cable find the positive and negative ends off and trace the positive and negative connections on the board of the Bluetooth radio then solder the cable directly to the board, I don't like this rout and I will most likely change it to a micro USB female cable sticking out flush to the back of the radio so I can get rid of the wired cable sticking out of the radio
Building a Speaker Box


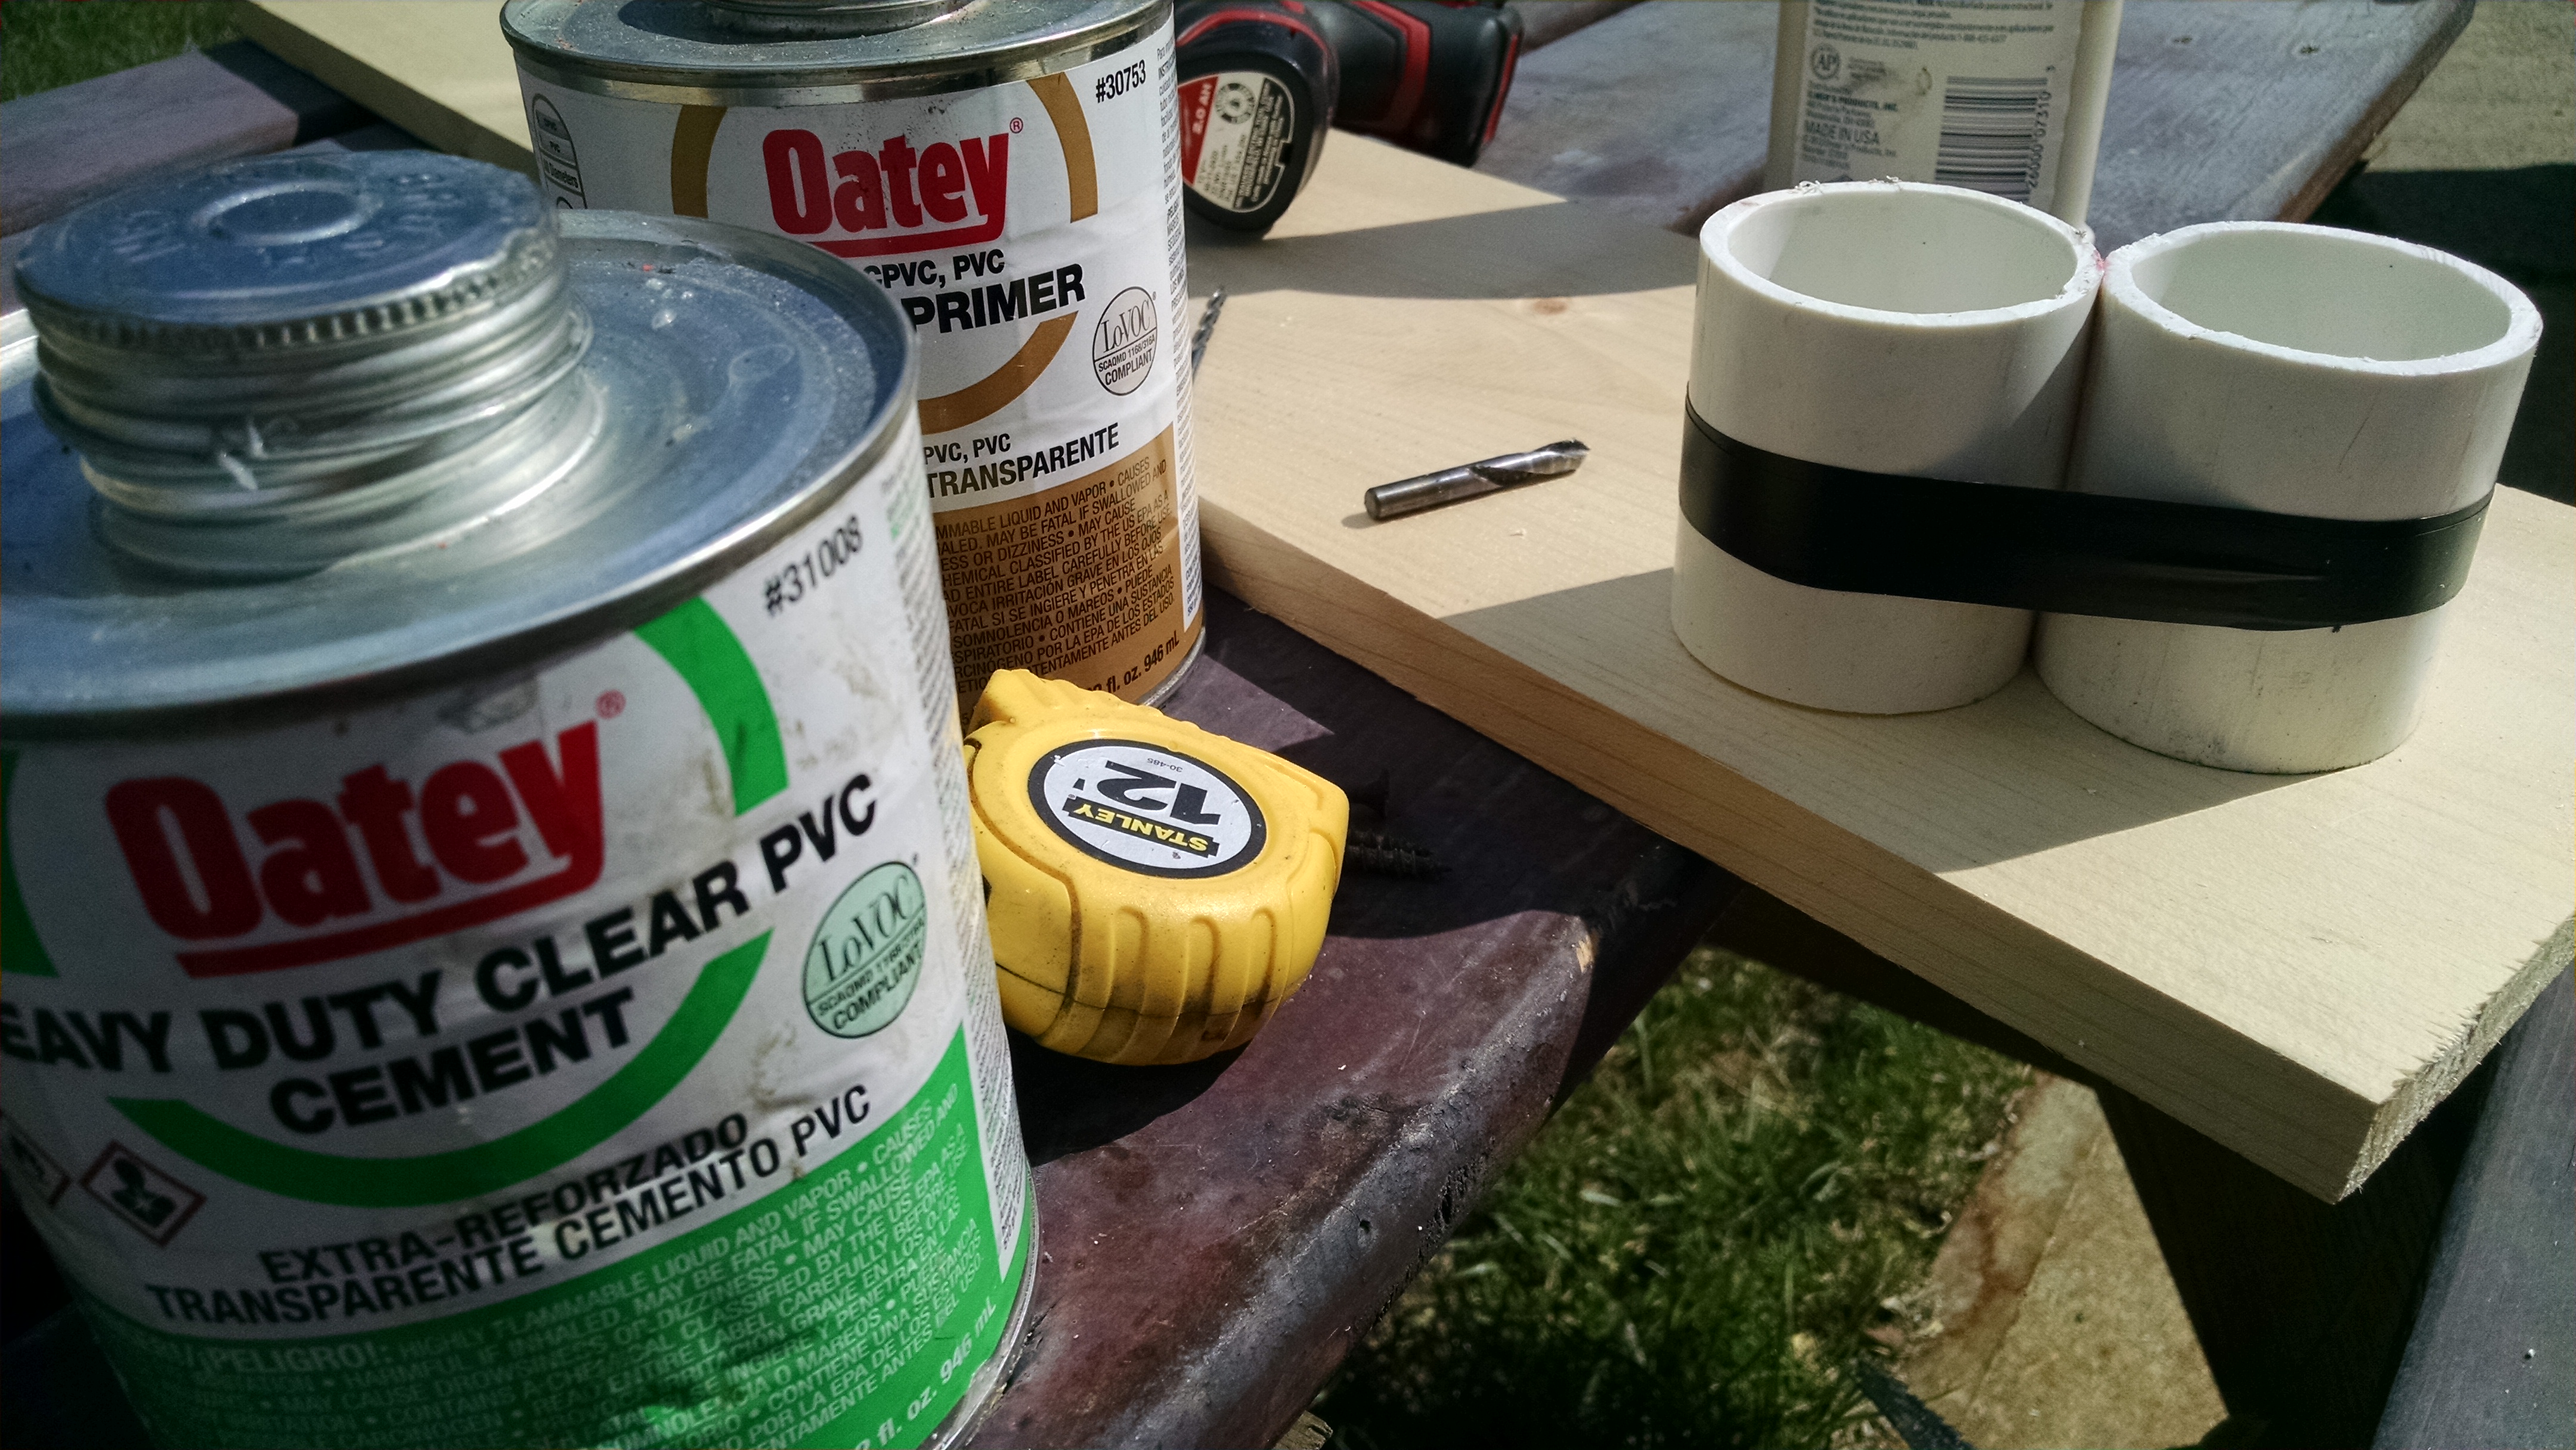
I played the Bluetooth radio while it was out of the box and it was very quiet so I had to put the speakers in an enclosure lucky the speakers fit perfectly inside a 2 1/2 inch PVC pipe so I cut 2 pieces 3" long then notched it to fit the speaker cords then glued them together with PVC cement
Glue and Speaker Install


I cut a bace out of 3/4 pine and used silicon to glue the tubes in place then glued another piece under the tubes for support then tested the sound out again it was better but not how it use to be so I drilled a hole into the tubes and angled them toward the front and tested it again and viola it sounds like it did from the factory
Building a Base


I cut out the base to fit in the radio enclosure and used machine screws and nuts that I recessed and glued in the wood so I don't have to put a wrench on the other side then glued spacers on the bottom to hold the back plate
Assembly


once I had the base mounted I glued the speakers in place as well as hot glued the board and battery
Switch Bypass


I soldered in a rotary switch for the on/ off switch and a momentary switch for the Bluetooth sync button and mounted them in the original holes
Back Pannel


for the back pannel I used a scrap piece of plastic fiber board and traced then cut out the shape and sanded the edges
Prep for Paint


i sanded the entire thing then I taped off the glass.
I wanted to keep the original sticker on the bottom of the radio but it was so dry rotted the painters tape would pull off the writing so I put a top coat of super glue on the sticker to keep it together then I taped it off and painted the case red as well as the back and let them both bake in the sun inside my spare beater car for a full day
I wanted to keep the original sticker on the bottom of the radio but it was so dry rotted the painters tape would pull off the writing so I put a top coat of super glue on the sticker to keep it together then I taped it off and painted the case red as well as the back and let them both bake in the sun inside my spare beater car for a full day
Final Touches


I installed the back panel and pealed off the masking tape put the internals inside, put the knobs on and I used a permanent marker to color the speaker slats black to offset the look of the radio and give it depth. also I'm glad I kept the original sticker to keep the vintage look
Final Product


I'm pretty proud of the radio and I like the1947 vintage look. on a side note the music I have played on this radio probably had crosley rolling in his grave haha