Flyable Camera

Always wanted to take pictures from a great hight, but there aren't any mountains in the neighborhood, choppers are to expensive, and you just realized humans have no wings...
Then this is a quick, simple and very easy build to make pictures from the clouds.
I must apologize for not having any pictures of the rig in action. There have been severe thunderstorms passing through Belgium and I don't want to fly kites in that. Between two storms there is almost no wind at all.
I'll be out there taking flying pictures as soon as I can
Thank you for your understanding
What You'll Need

*a drill
*a camera
*a piece of wood plastic might do fine as well
*some rope, I used shoe lace and I don't regret it. (on this picture you see other rope which broke)
*a few large, and one or two small cable ties
*a kite, if you don't want to buy one, I'm sure there will be instructables about making kites.
*a camera
*a piece of wood plastic might do fine as well
*some rope, I used shoe lace and I don't regret it. (on this picture you see other rope which broke)
*a few large, and one or two small cable ties
*a kite, if you don't want to buy one, I'm sure there will be instructables about making kites.
Preparing the Wooden Board


Mark the outline of your camera.
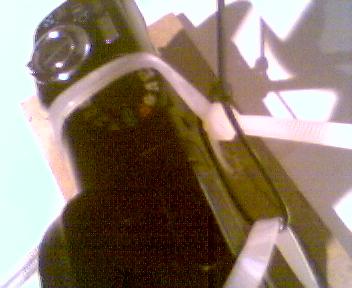
Try and find the best places to drill holes to put the cable ties trough, these will hold you camera so choose carefully!
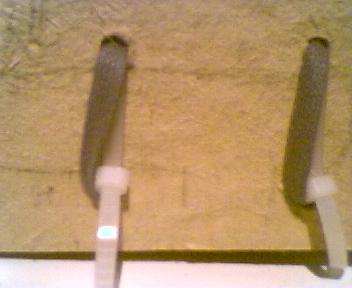
drill the holes and pull the cable ties trough the holes, you might need 4.
you can use a smaller cable tie to hold the two main ties together so they don't slip off.
these cable ties can be easily removed by lifting the ratchet mechanism of the cable tie with a little screwdriver or a nail.
Now the Suspension


I used shoe laces and it works perfect.
thread the rope trough the same hole and in the same direction as the cable ties.
tie a lose knot around a key chain ring, carefully tension the knot while making sure your camera hangs horizontally.
you should be able to point the camera more up or down by adjusting the rope, but your camera should be horizontal at any time.
Enjoy

hang the rig from a large kite , and fly it (carefully) on a perfect windy day.
set your camera for the longest delay you can and if it's possible adjust the settings so that you take as many pictures as possible.
Maybe some of you have a remote controlled camera, that would be working perfectly!
watch out for the landings though ;-)
photo's of the rig in action will be posted as soon as I can get my kite airborne =D